Metal Textures For Blender 3D
Metal Textures - How to install
Note: For unpacking the *.zip files I recommend the program 7-zip. You can download 7-zip here: https://www.7-zip.org/.
- Navigate with Windows Explorer to the directory with the downloaded *.zip files.

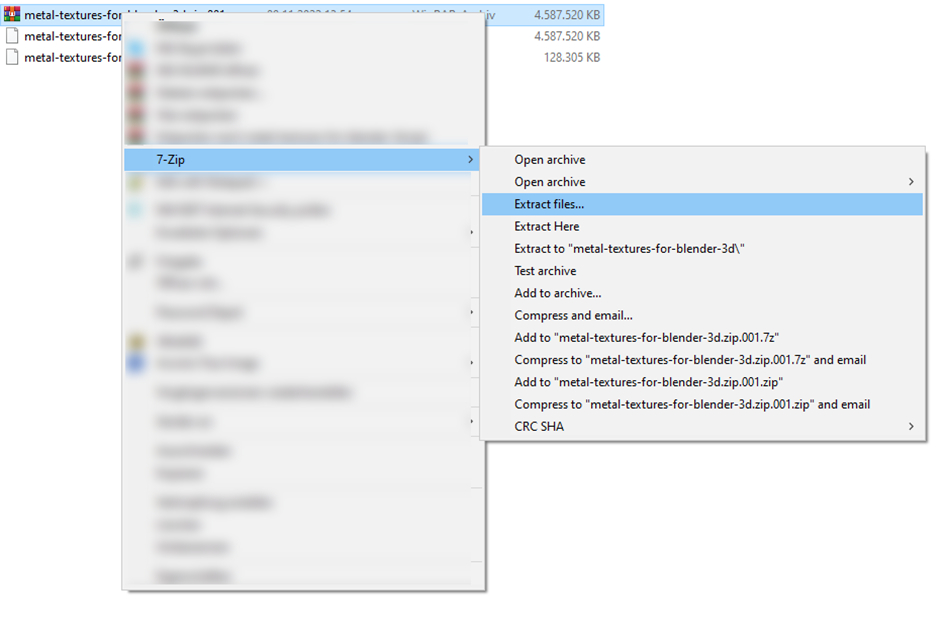
- Right mouse click on the first zip File (metal-textures-for-blender-3d.zip.001). Choose from the context menu 7-zip -> Extract files.

- Use the following settings and click OK.

- Lean back and have a coffee.

Metal Textures - How to use
- After extracting all *.zip files into a folder of your choice (for example: C:\BFD Metals) start Blender 3D and navigate to Edit – Preferences – File Paths. Then enter the library name (for example: BFD METALS) and the path to the metal textures you just extracted (for example: C:\BFD Metals).

- Save the settings (Preferences) and restart Blender.

- Drag upwards while holding the left mouse button (see picture).

- Navigate to the Editor Type in the bottom left and select the Assets Browser (Shortcut: Hold Shift and press F1 twice).

- Click with mouse on Current File and then click on BFD Metals.

- A new entry called BFD Metals should now appear.

- Click now BFD Metals and you will see all metal categories.

That's all. Happy Blending.