Kinematic Tool
The Kinematic Tool is an animation & rigging addon for Blender. I built it because I was tired of parts of the kinematic switching workflow. Here's what was annoying me and how I solved it:
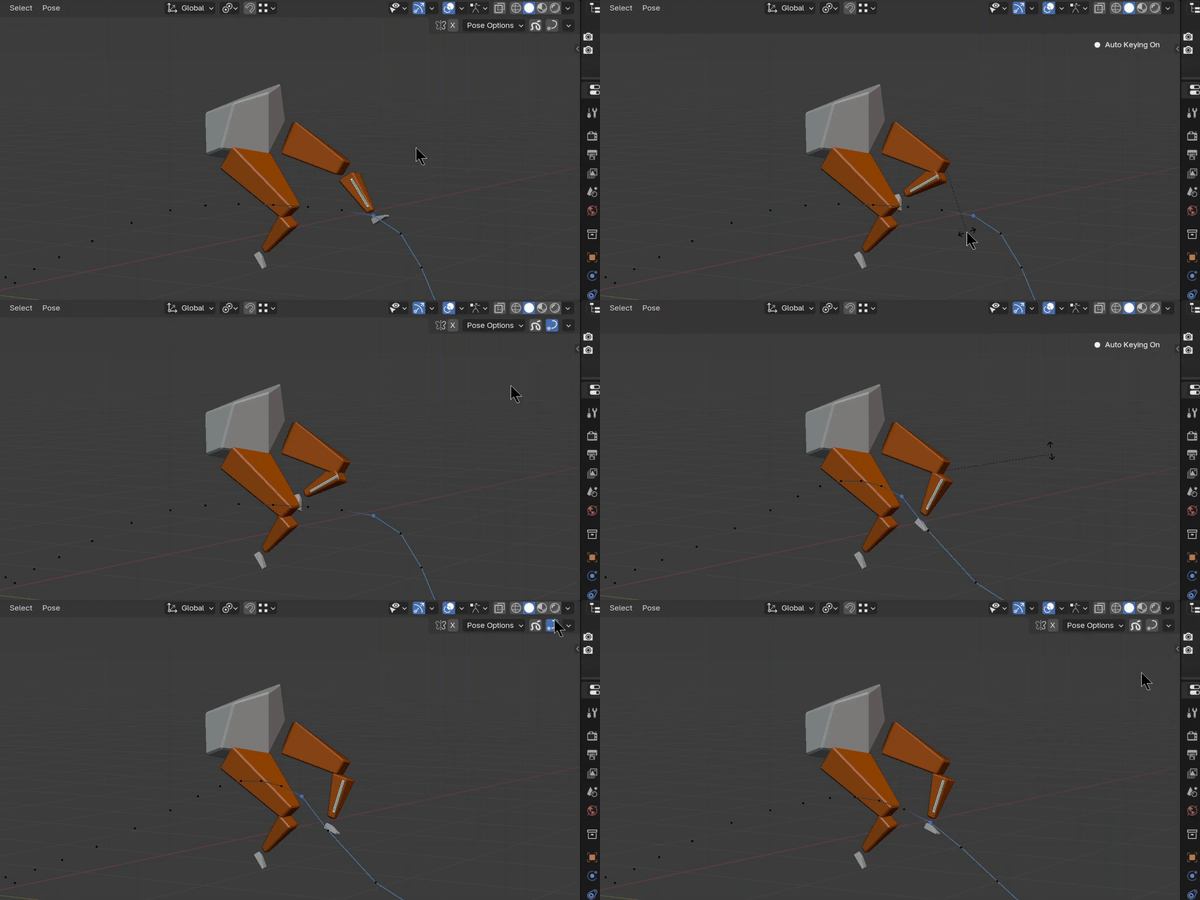
PROBLEM #1: Too much work is required to edit poses at the ends of IK ranges.
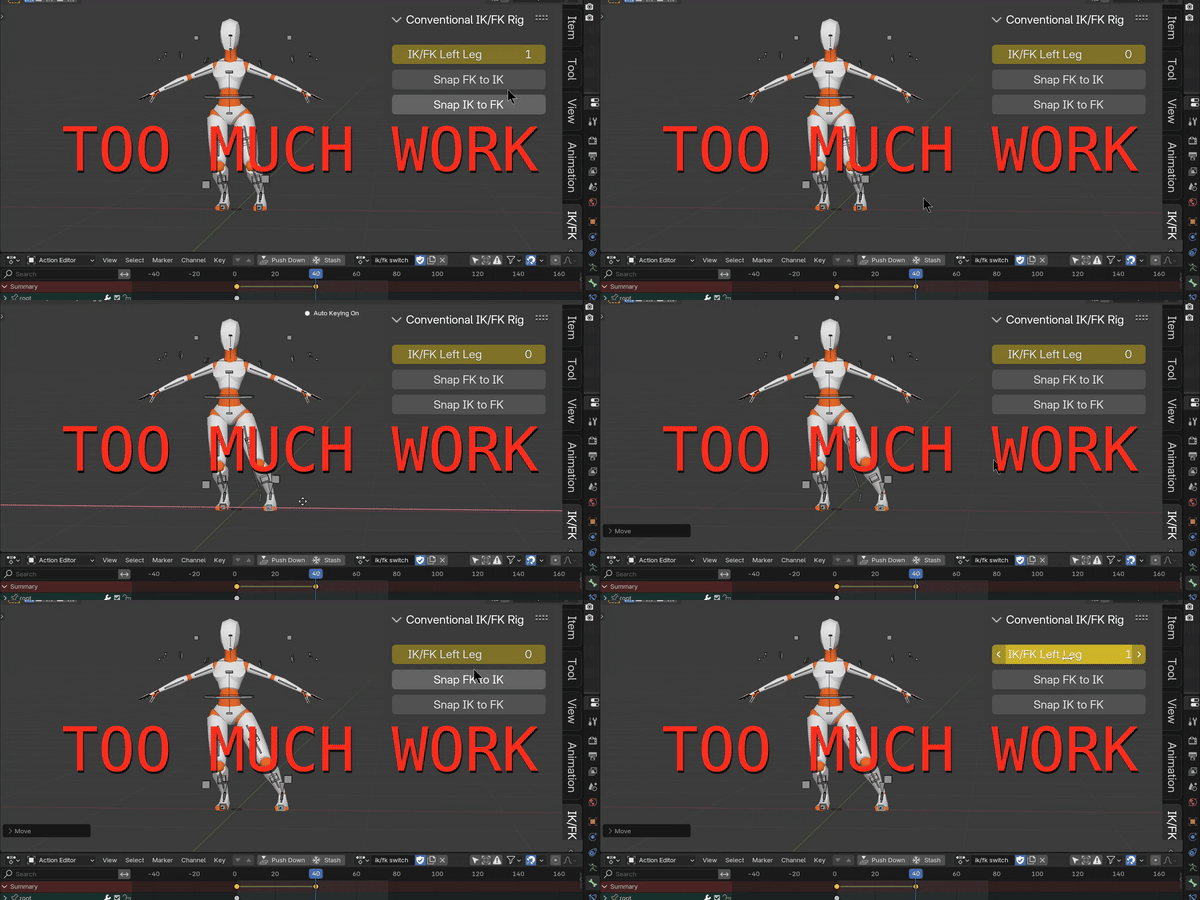
IK-FK switching is fundamental to 3D animation, and yet it's not handled well. We have to fiddle with all these extra buttons just to get to a place to edit a pose, then fiddle with other buttons to return to a state that allows the animation to function, and there's no harmony with the timeline.
So I started wondering, "What if there was a way to automate the necessary parts and make the ends of an IK range actually remain in IK?" That way I wouldn't have to do all this back-and-forth just to edit my pose.
SOLUTION: Automate FK-to-IK snapping and make the ends of IK ranges remain in IK.
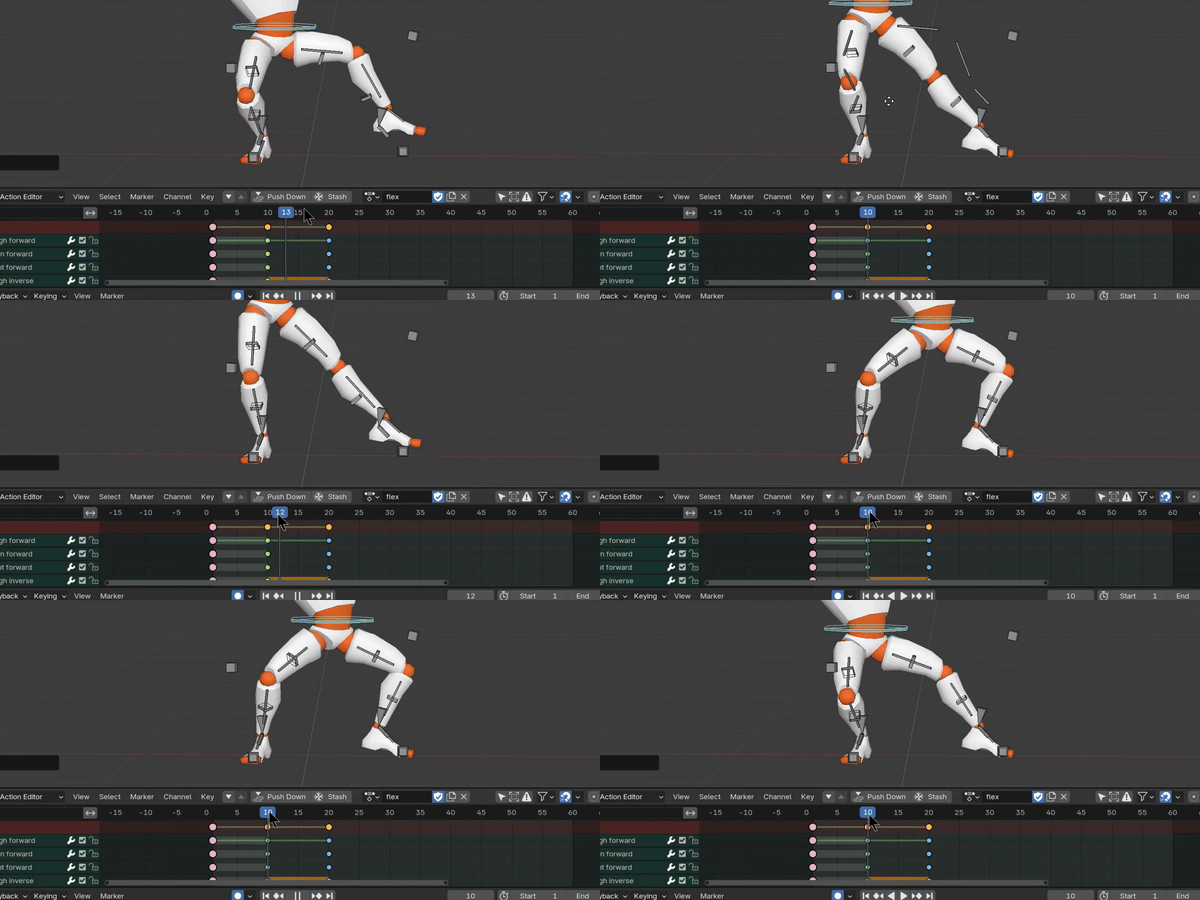
Now, it's so simple. I can go right up to the start or end of an IK range, edit my pose, then go on my merry animating way. No more fiddling with buttons.
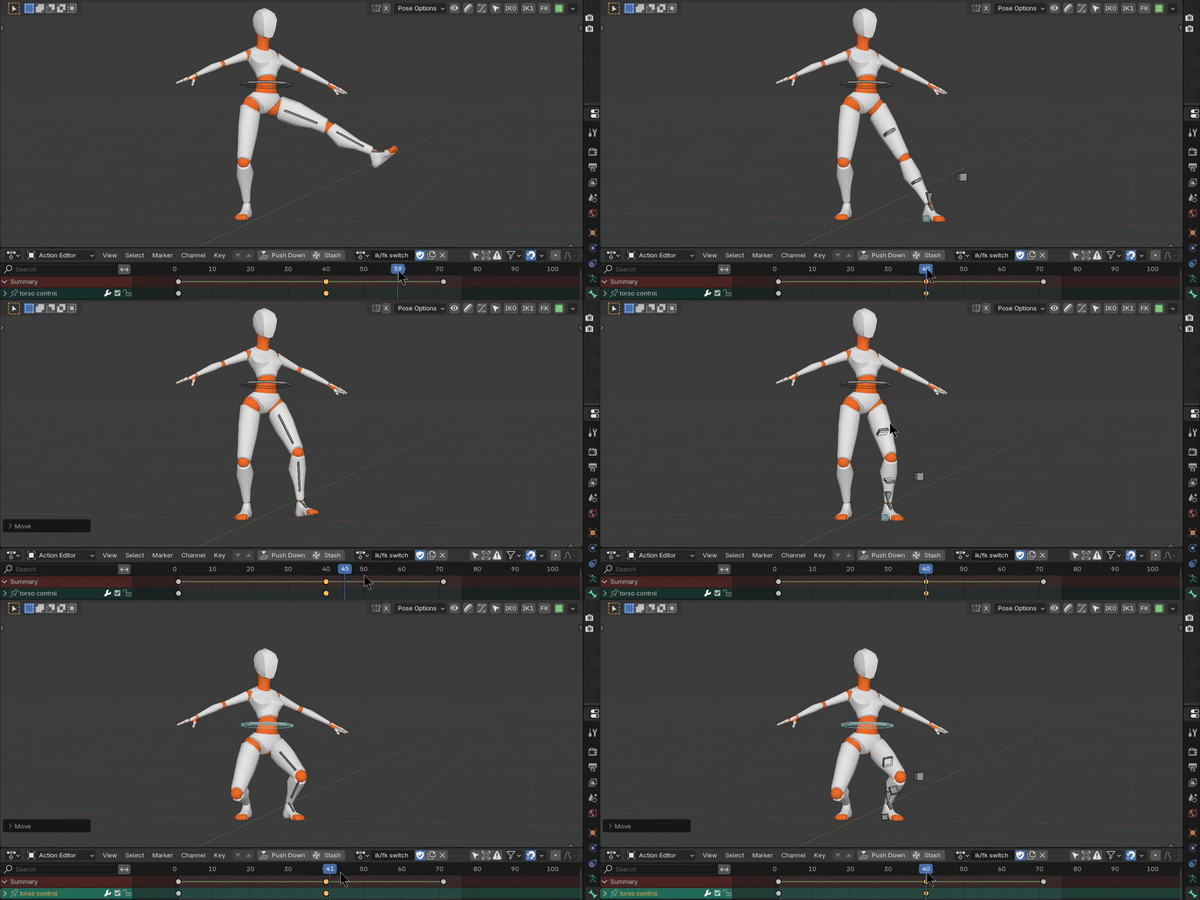
PROBLEM #2: Limited pivoting systems.

The traditional systems seem cool and clever, but I quickly discovered it's terribly limited. Once you twist the foot to one side, the pivot stays in the middle of the base of the foot.
I need something with pinpoint accuracy so I can actually animate awesome footwork...
SOLUTION: A movable pivot point.
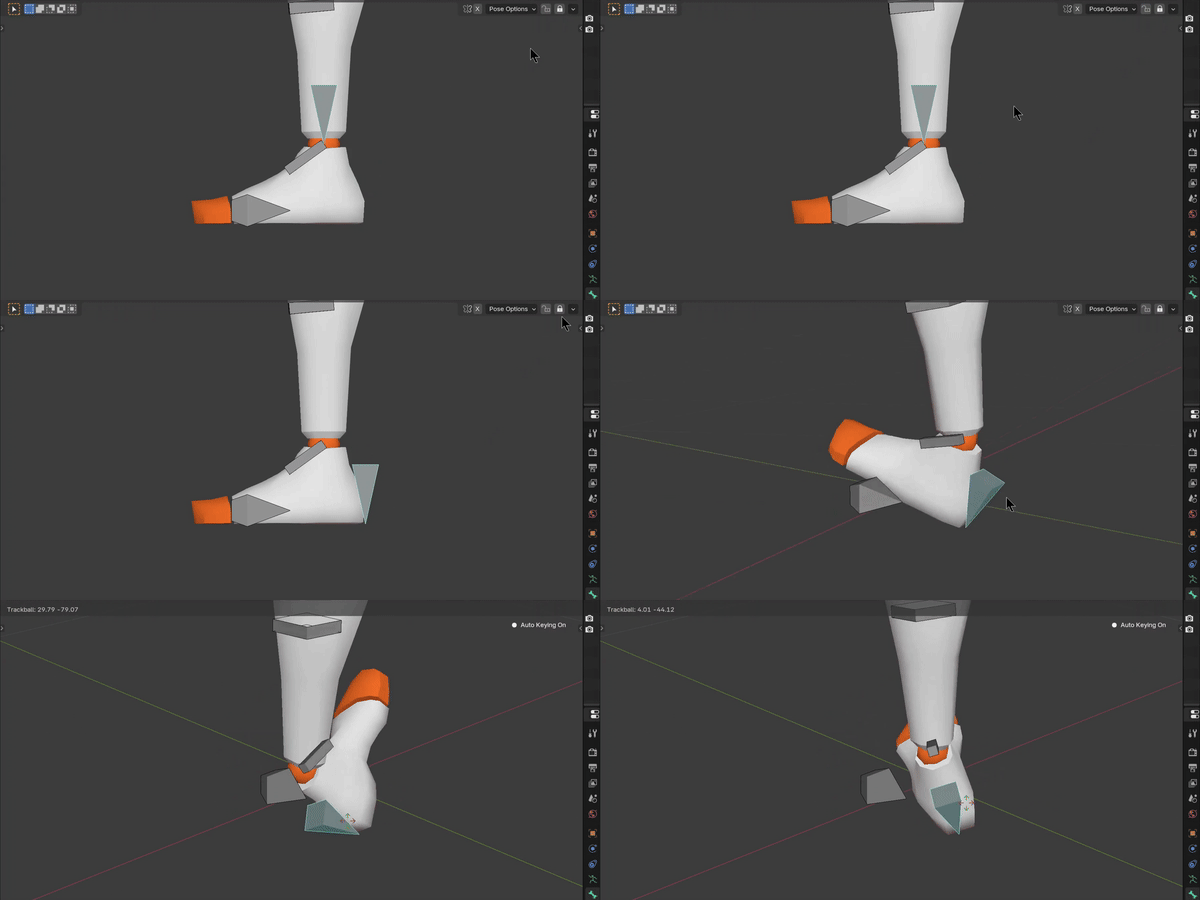
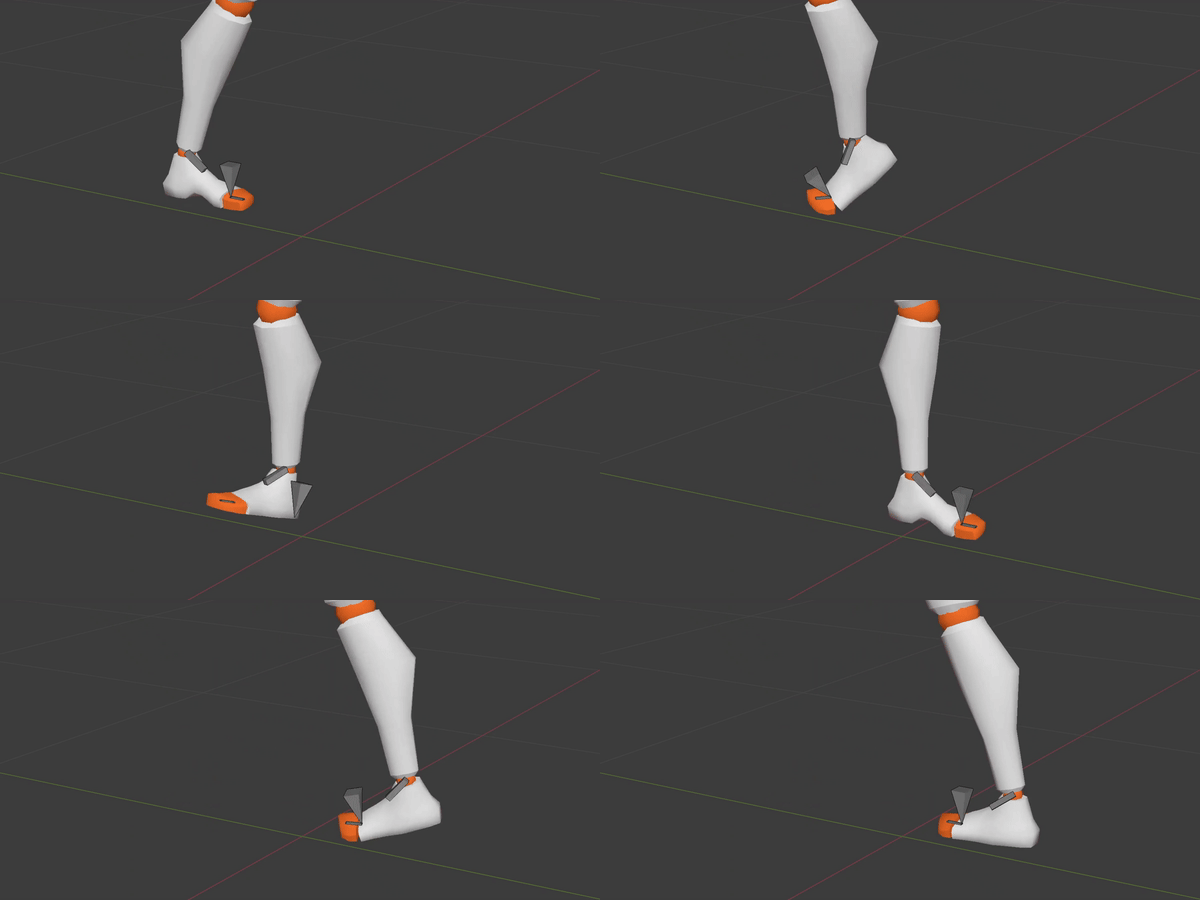
Now I can unlock the pivot bone to move it to any new point, and pivot from there. Great for walk cycles...
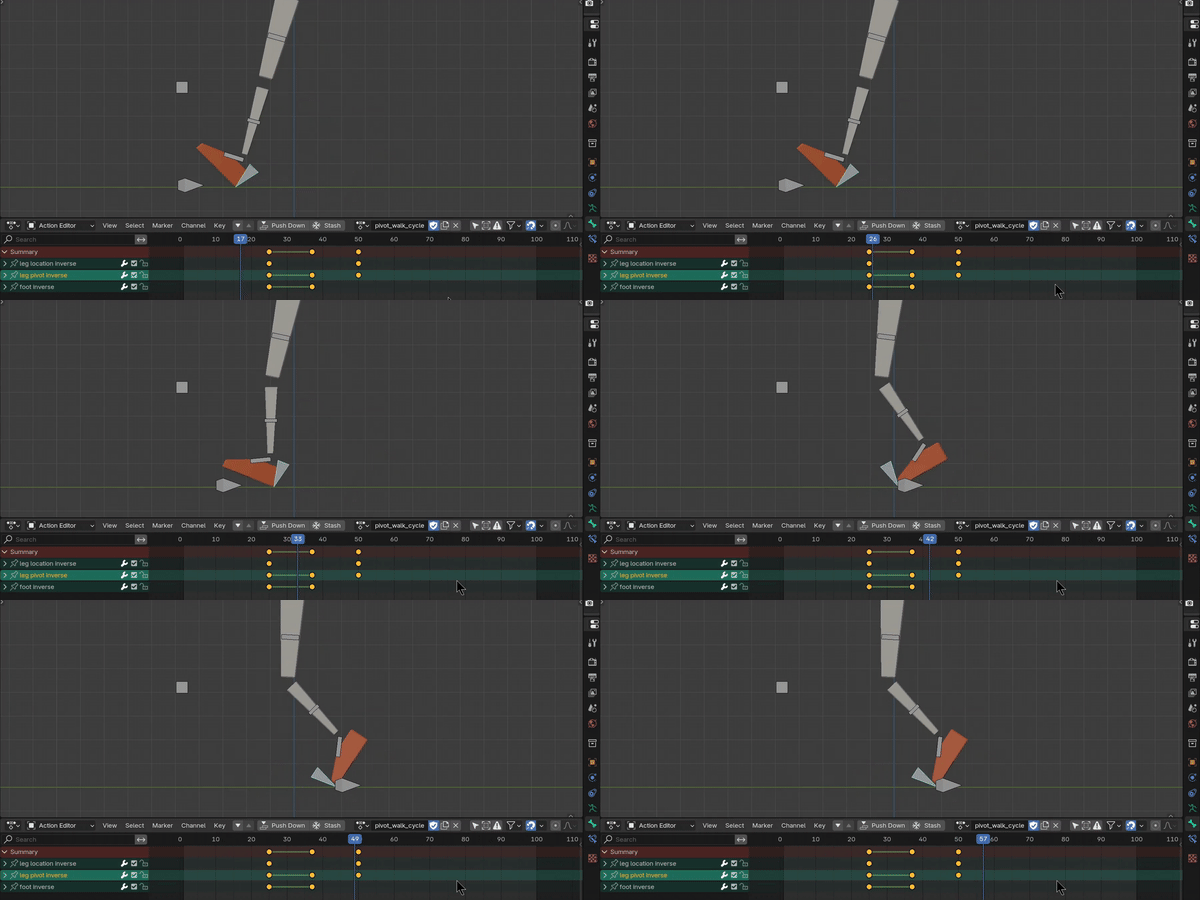
...or even fancy footwork.
PROBLEM #3: Too much noise in the viewport.
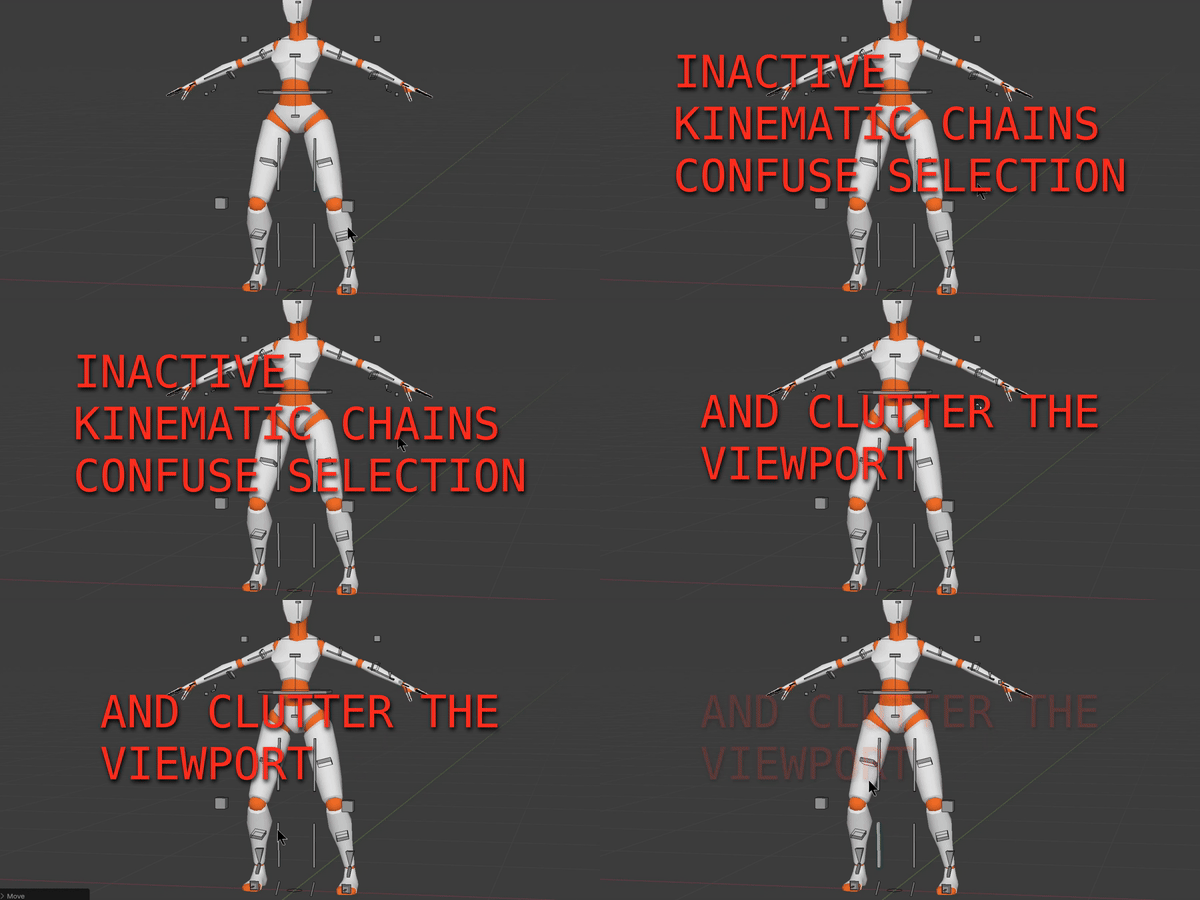
With conventional rigs, both the IK and FK chains occupy the viewport and confuse selection.
SOLUTION: "Hide" the inactive kinematic chain.
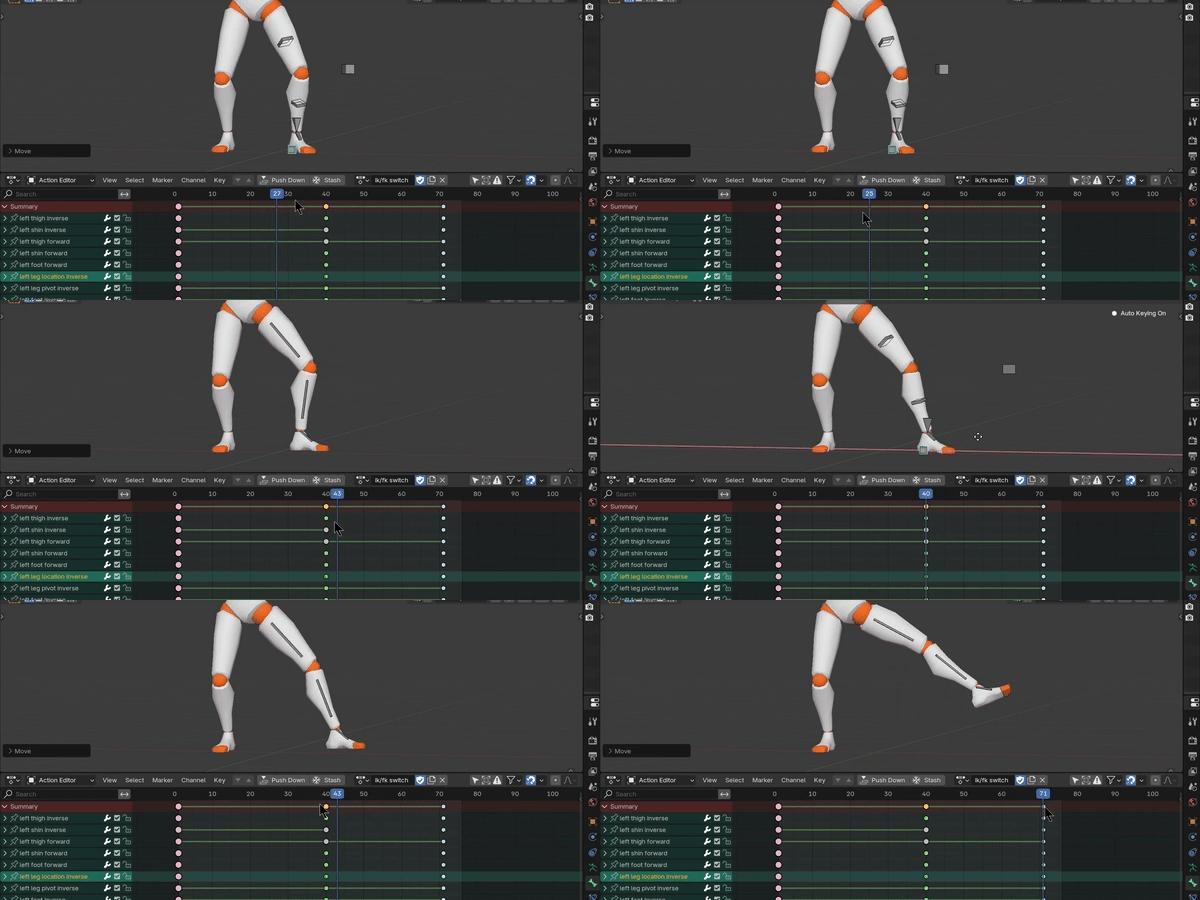
I say "hide" in quotes, because if you hide bones in the viewport, you also hide those bones from the timeline, and that breaks any harmony with the timeline.
My tool uses a special trick to "hide" the inactive kinematic chains without it actually hiding the the bones from the timeline. And I can toggle visibility of the inactive chain whenever. This way I don't have to figure out which chain is controlling the limb, and the viewport is free of clutter.
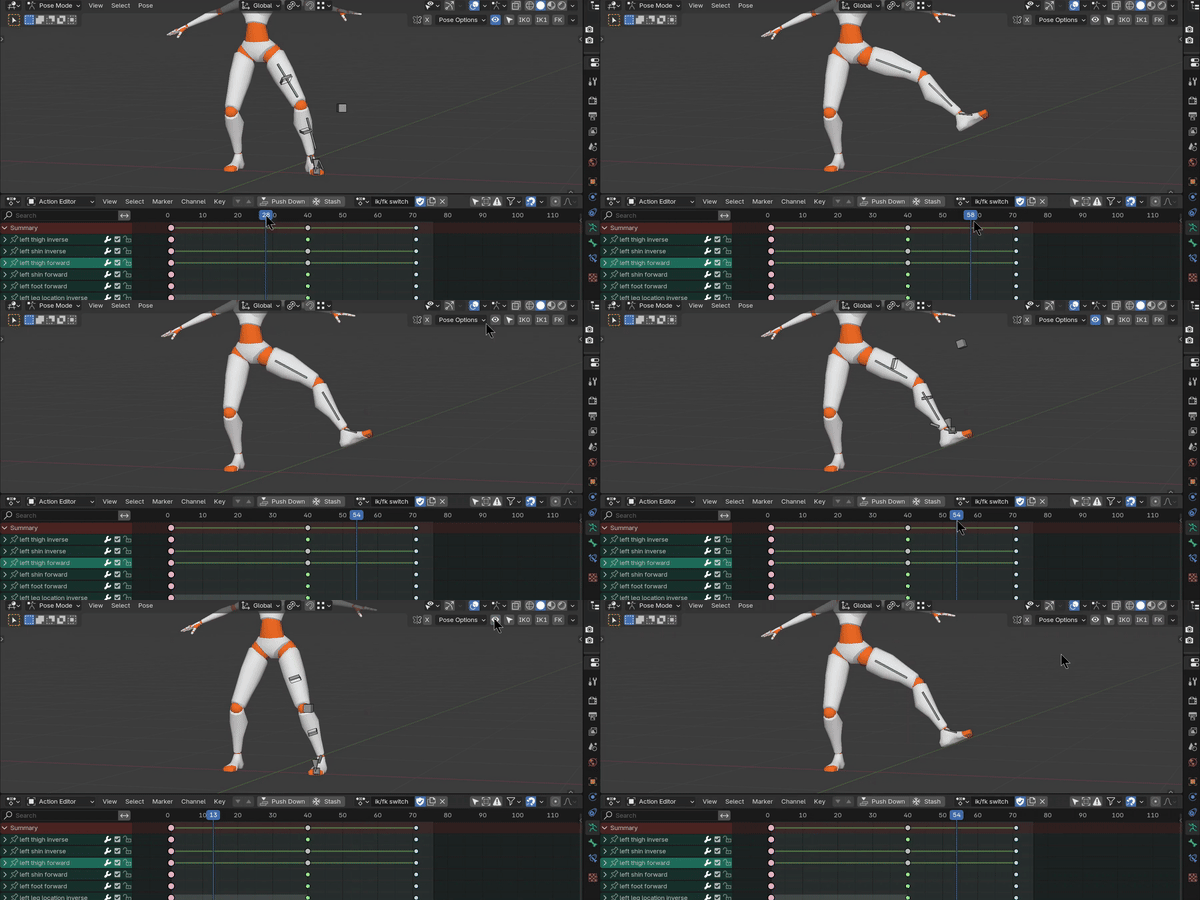
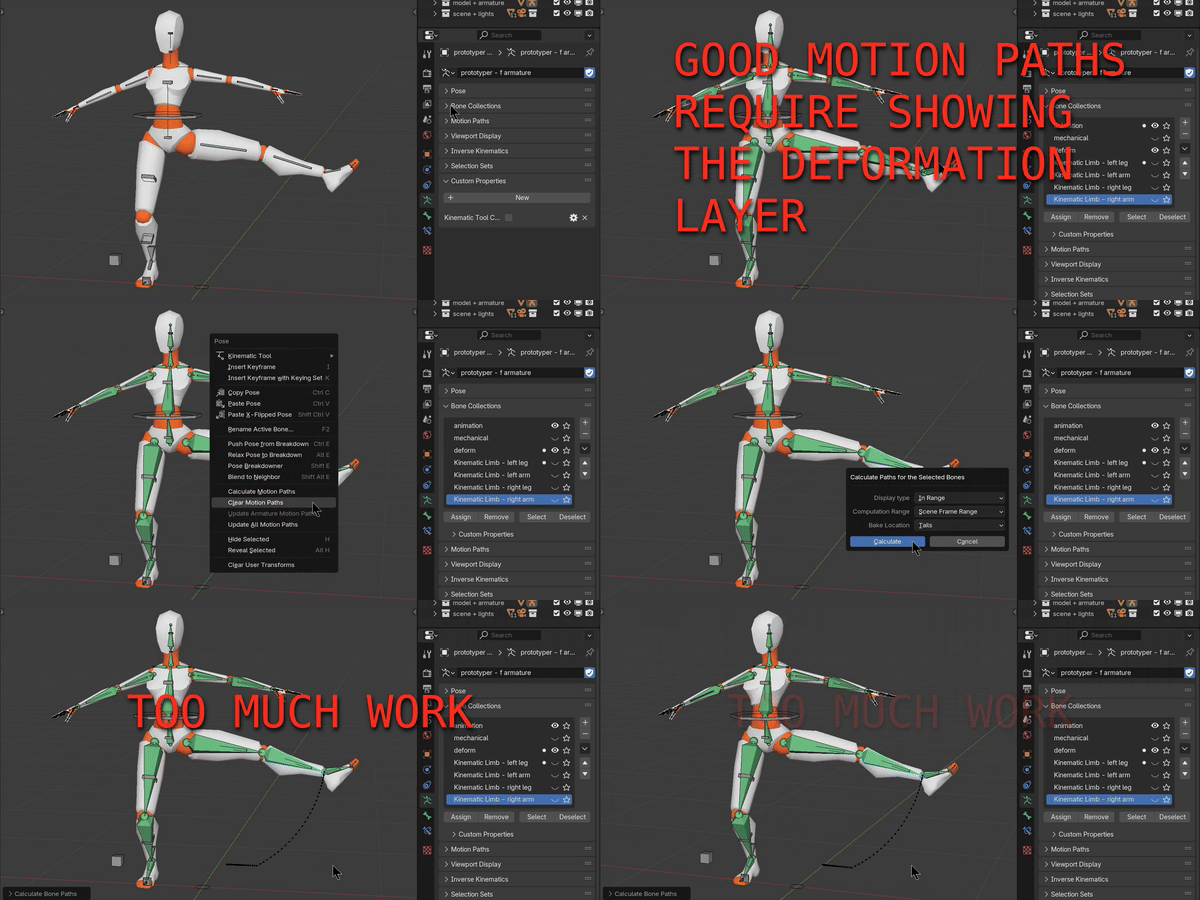
PROBLEM #4: Creating a motion path requires digging down into the deform bone collection.
...because Blender doesn't calculate the motion path for the bone that is actually moving a limb. What if there was a way to get the same information without having to jump around bone collections?
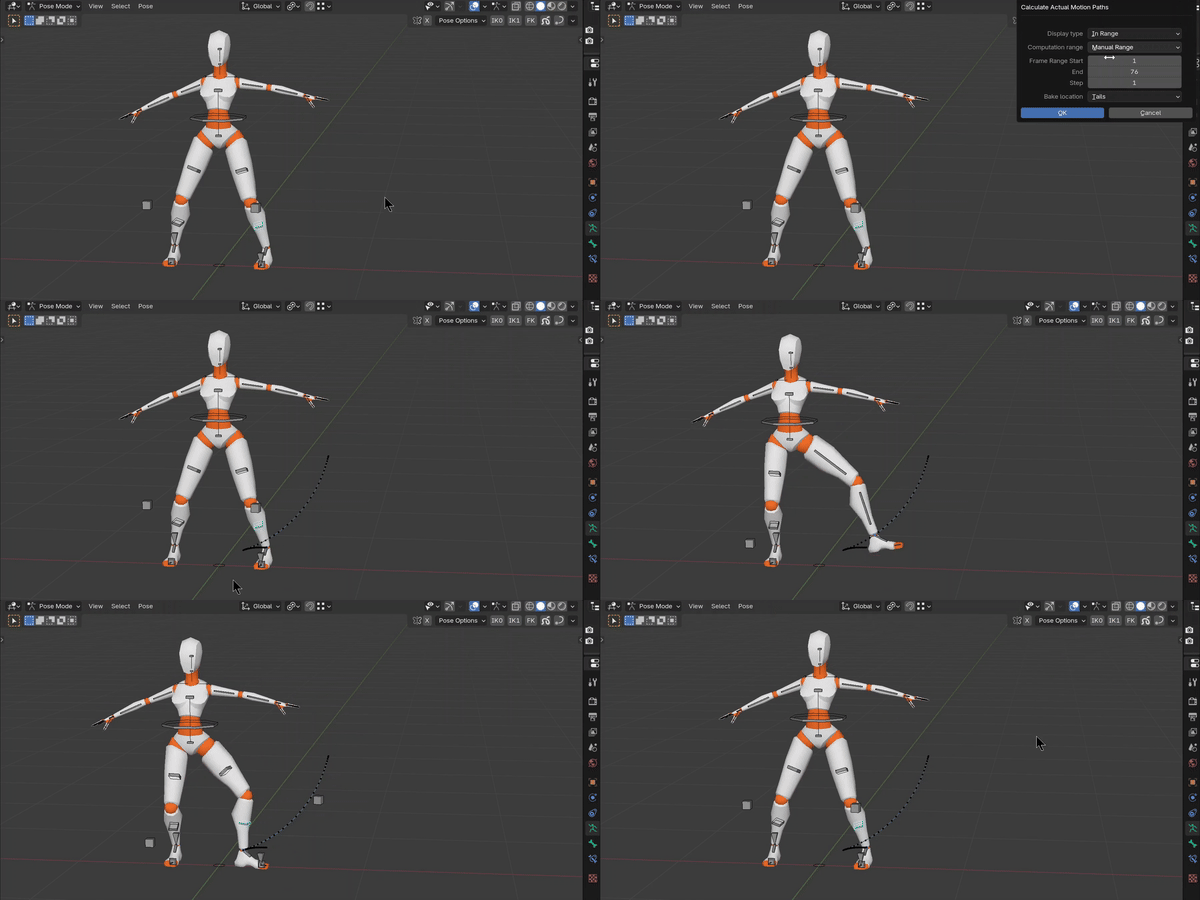
SOLUTION: Create motion paths for the deformation bone no matter which kinematic chain is active.
The tool calculates the motion path on the deformation bones the kinematic chains are assembled on. The tool also comes with a button to update the motion paths in a flash.
Take advantage of these speed boosts by RIGGING your character with the Kinematic Tool on any 3-bone chain.
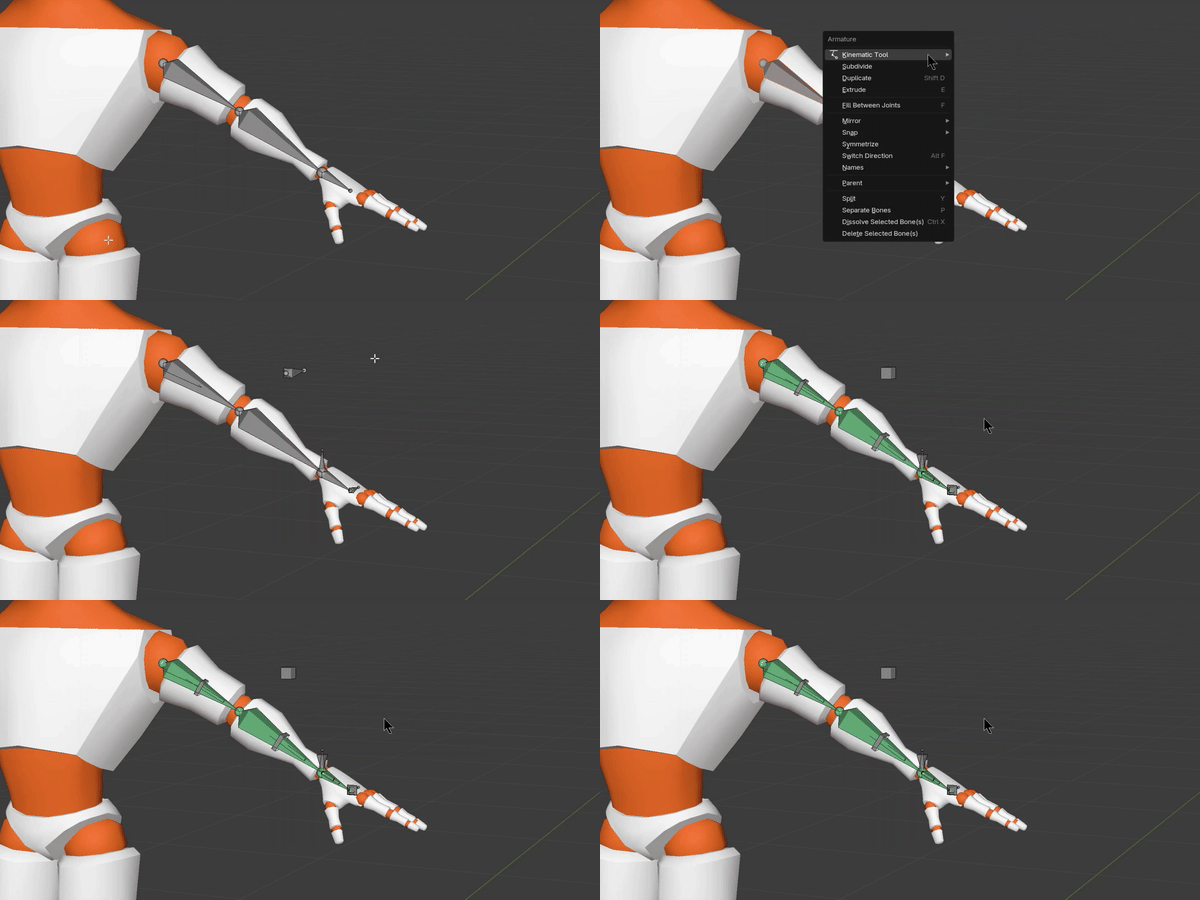
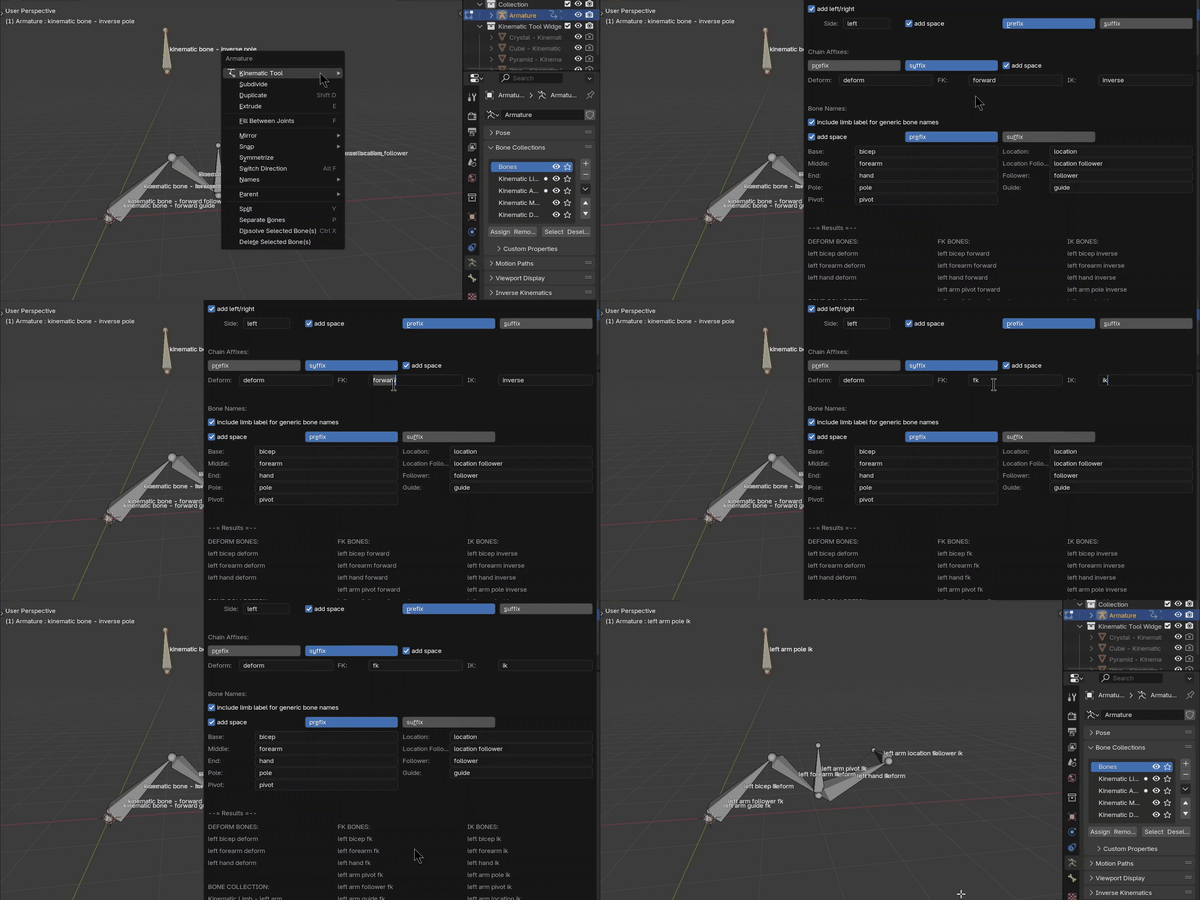
Rigging comes with batch renaming...
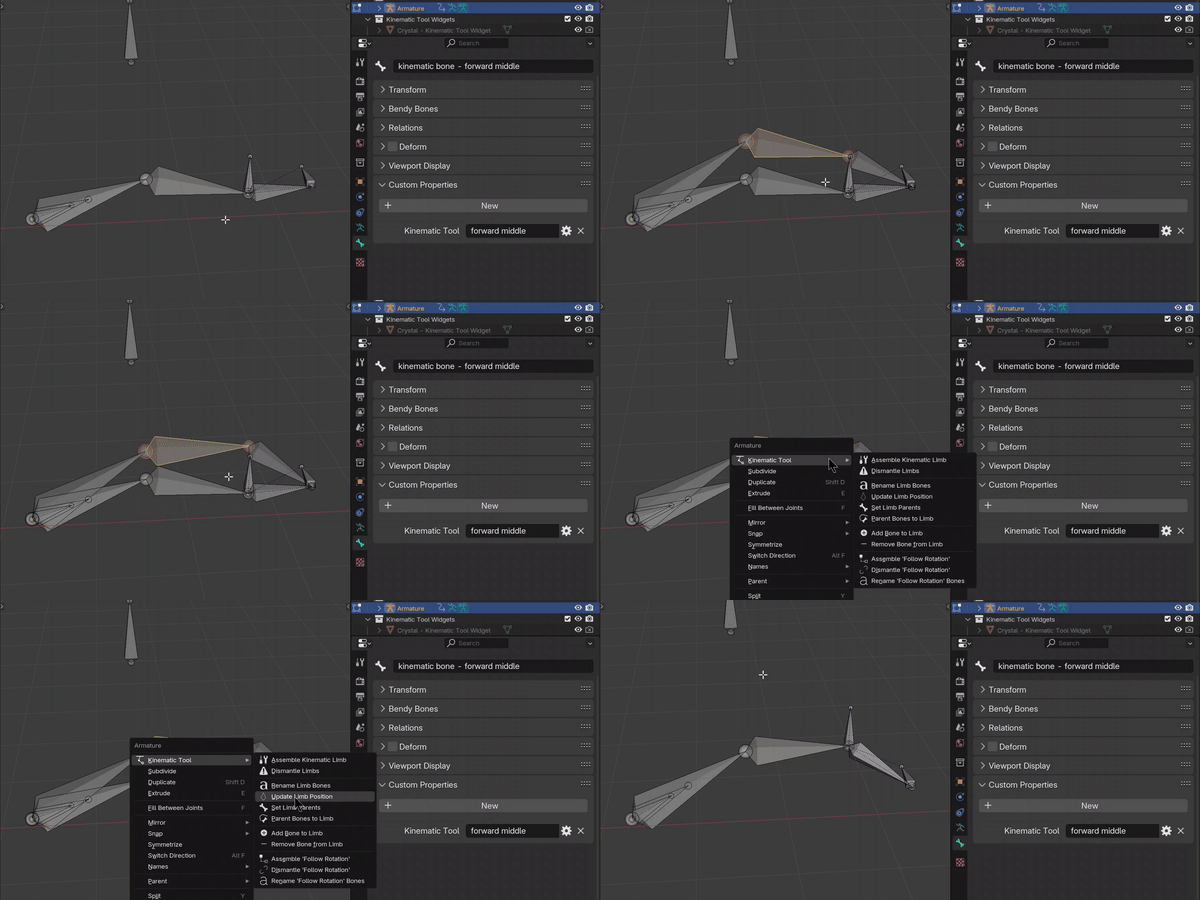
...and repositioning (so you don't have to disassemble and reassemble if you make changes to your model)...
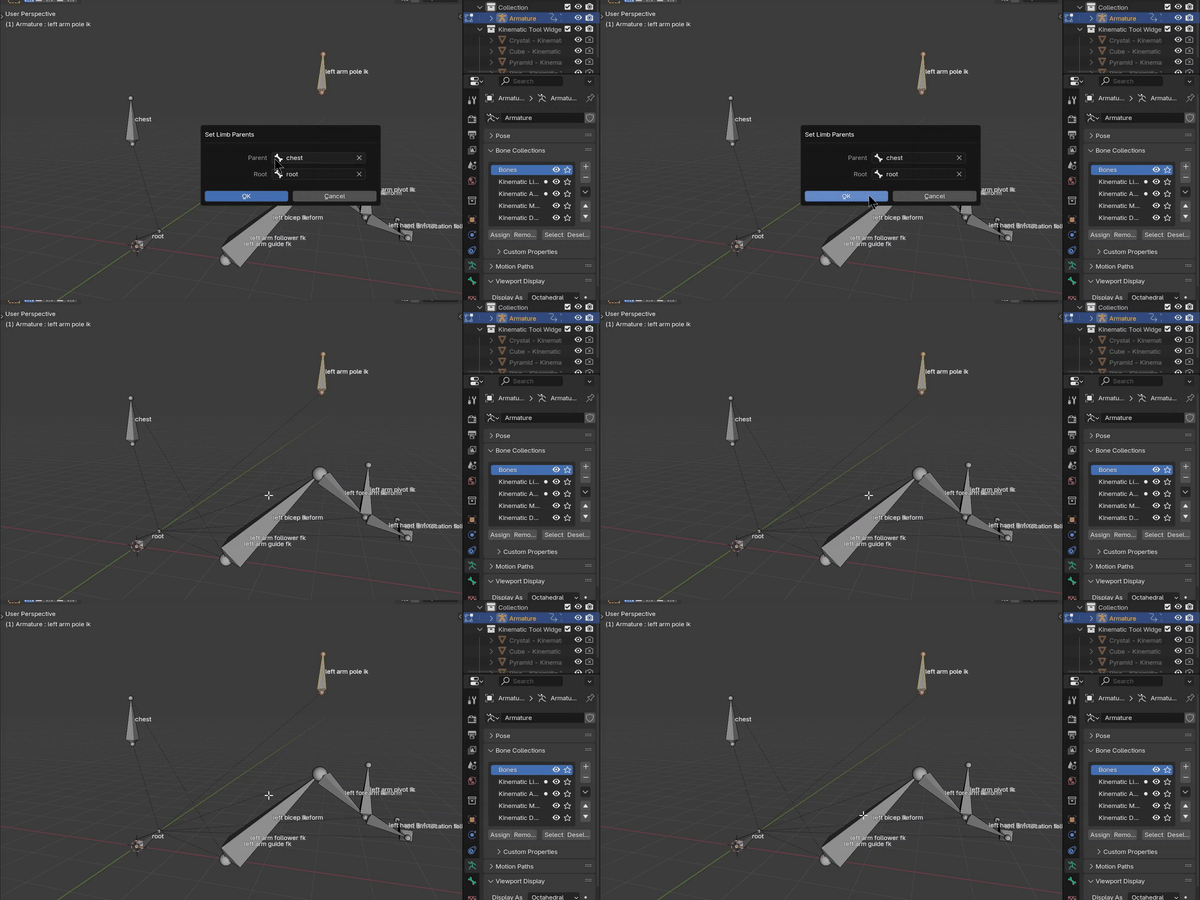
...and parenting helpers...
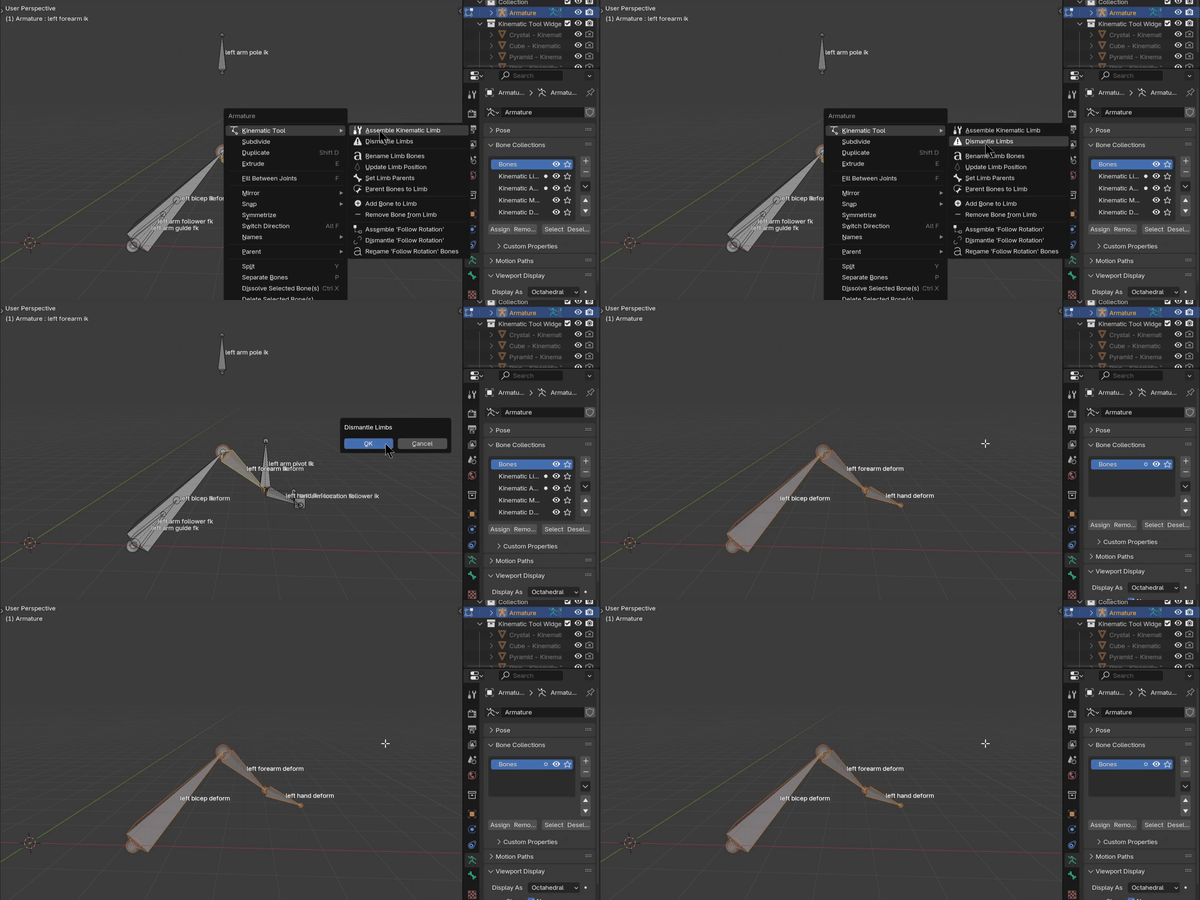
...and a clean disassembly option.
Assembled limbs come with a follow-rotation system.
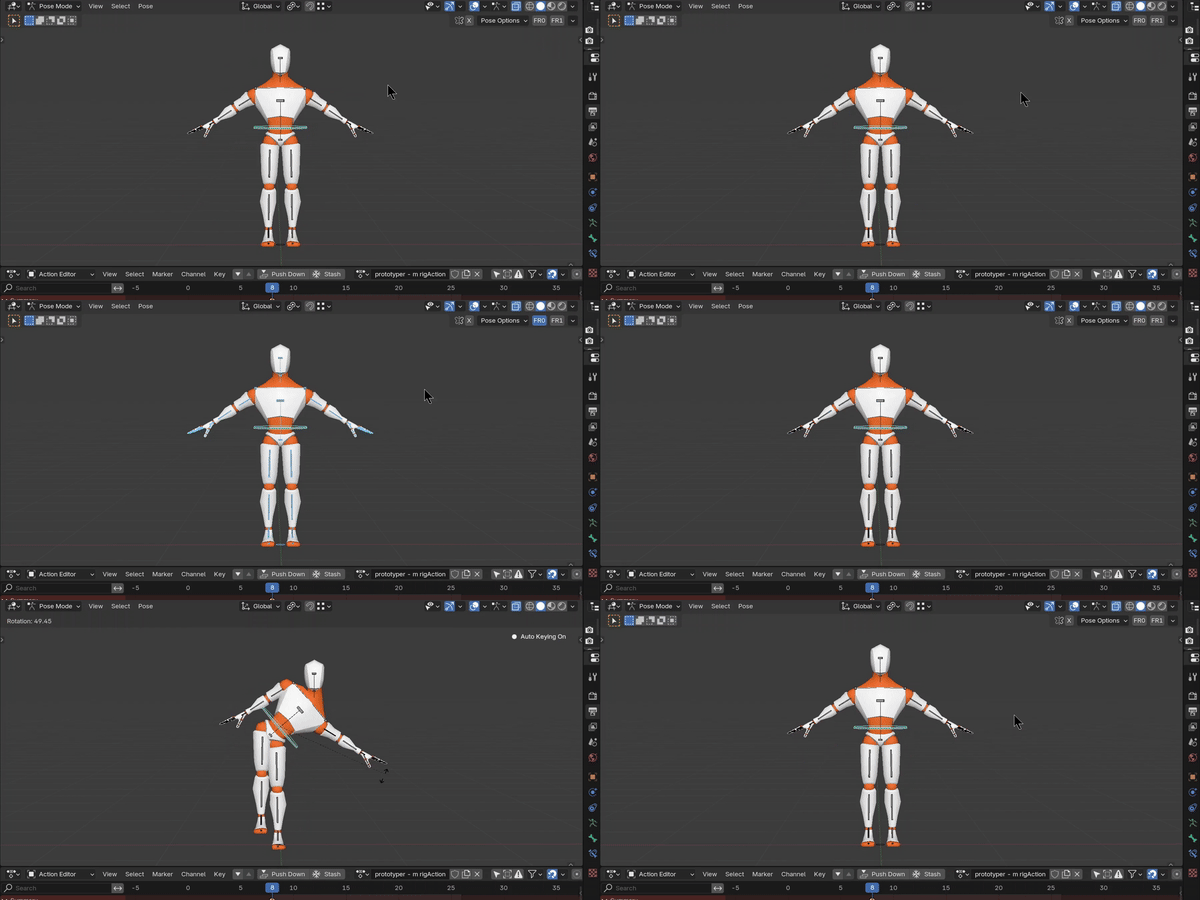
This way you can animate walk and run cycles easily, or anytime you need the limbs to remain oriented in a certain direction.
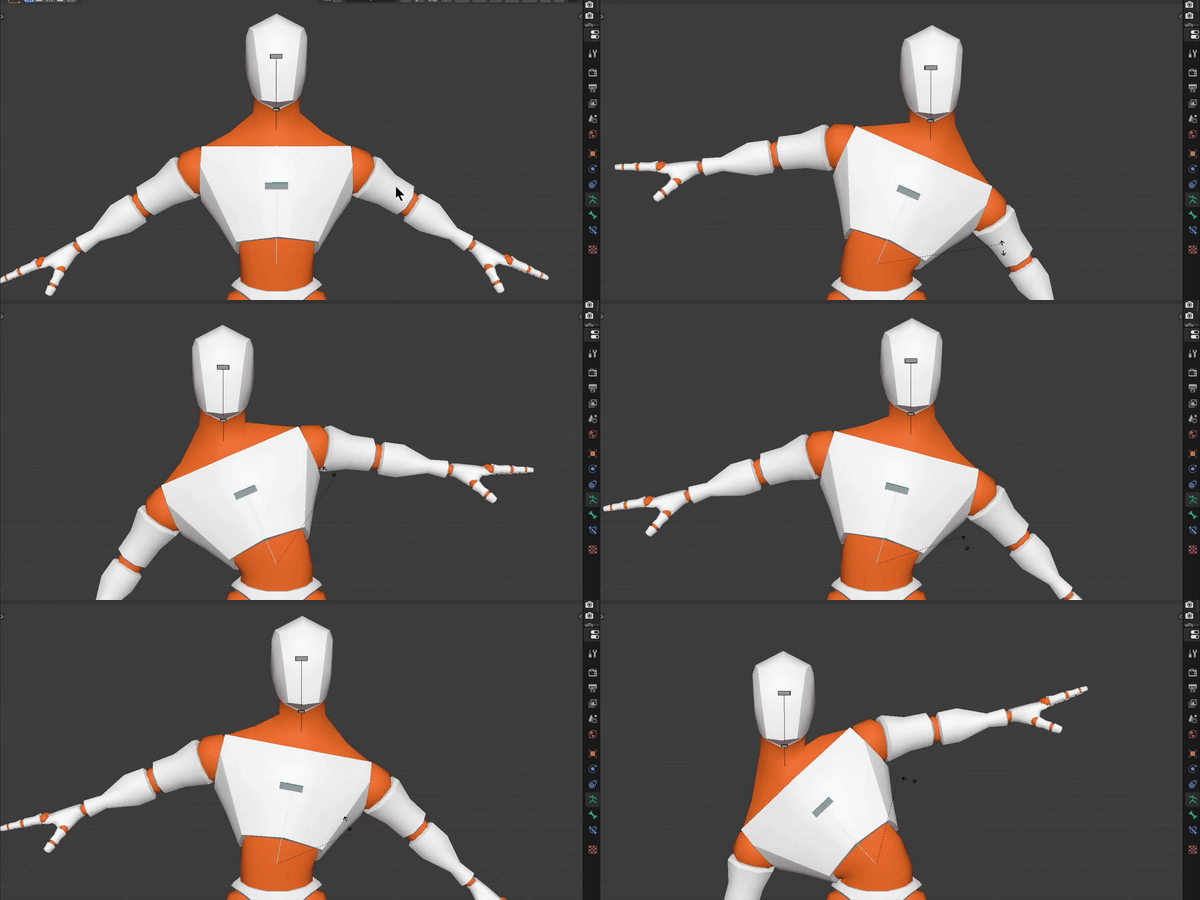
The tool even allows you to assemble a follow-rotation system on a single bone.
For parts like the neck, head, and toes.
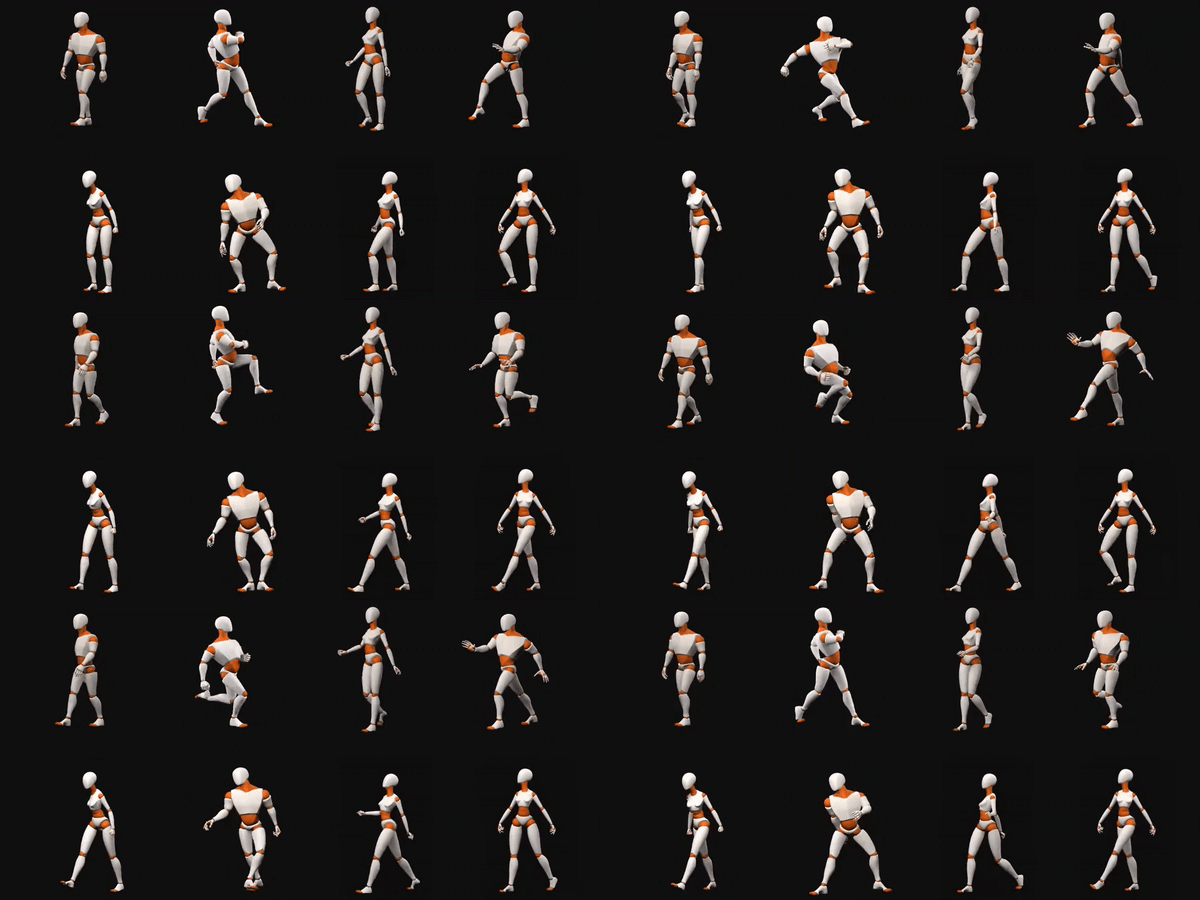
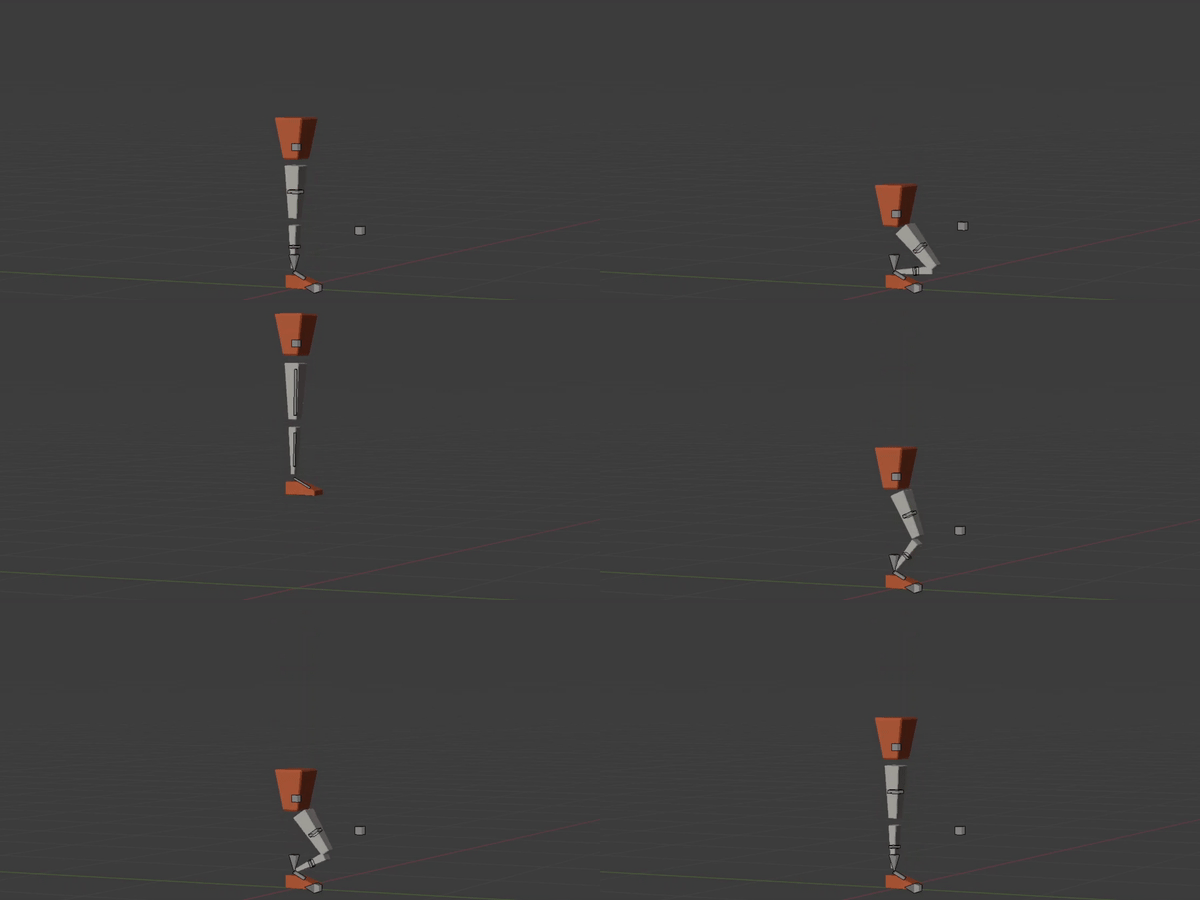
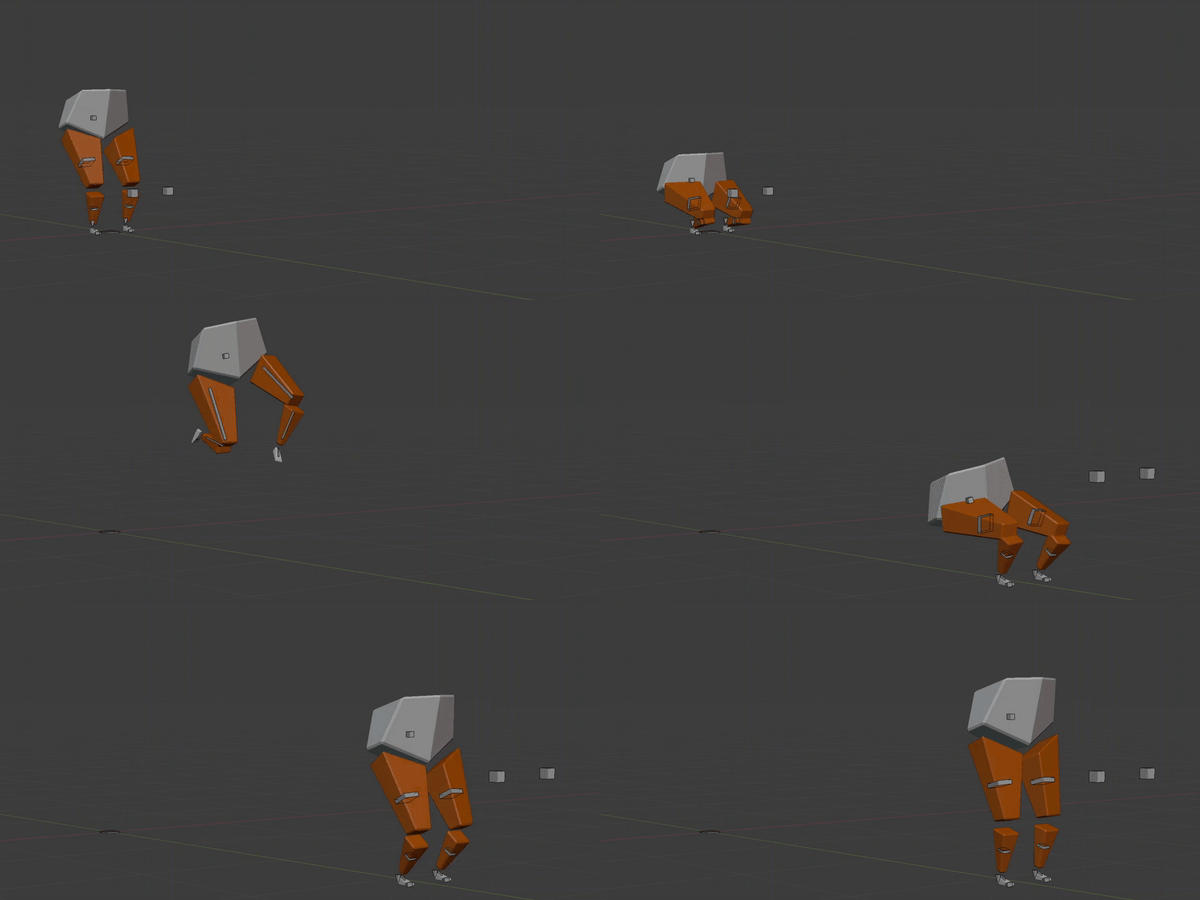
On top of all that, the tool even comes with 4 PRE-RIGGED MODELS, so you can jump right into animating before rigging it on your own character.
Uniped:
Biped:
Prototypers:
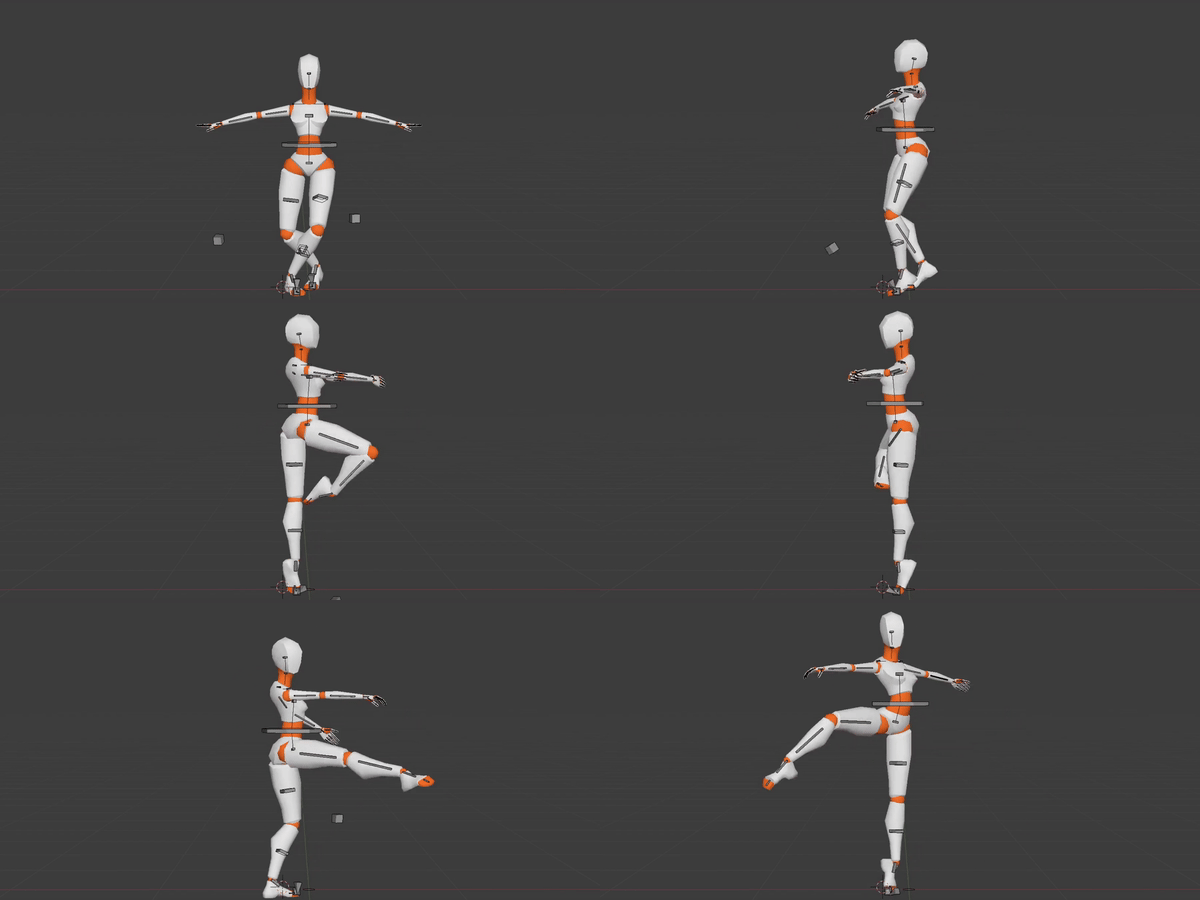
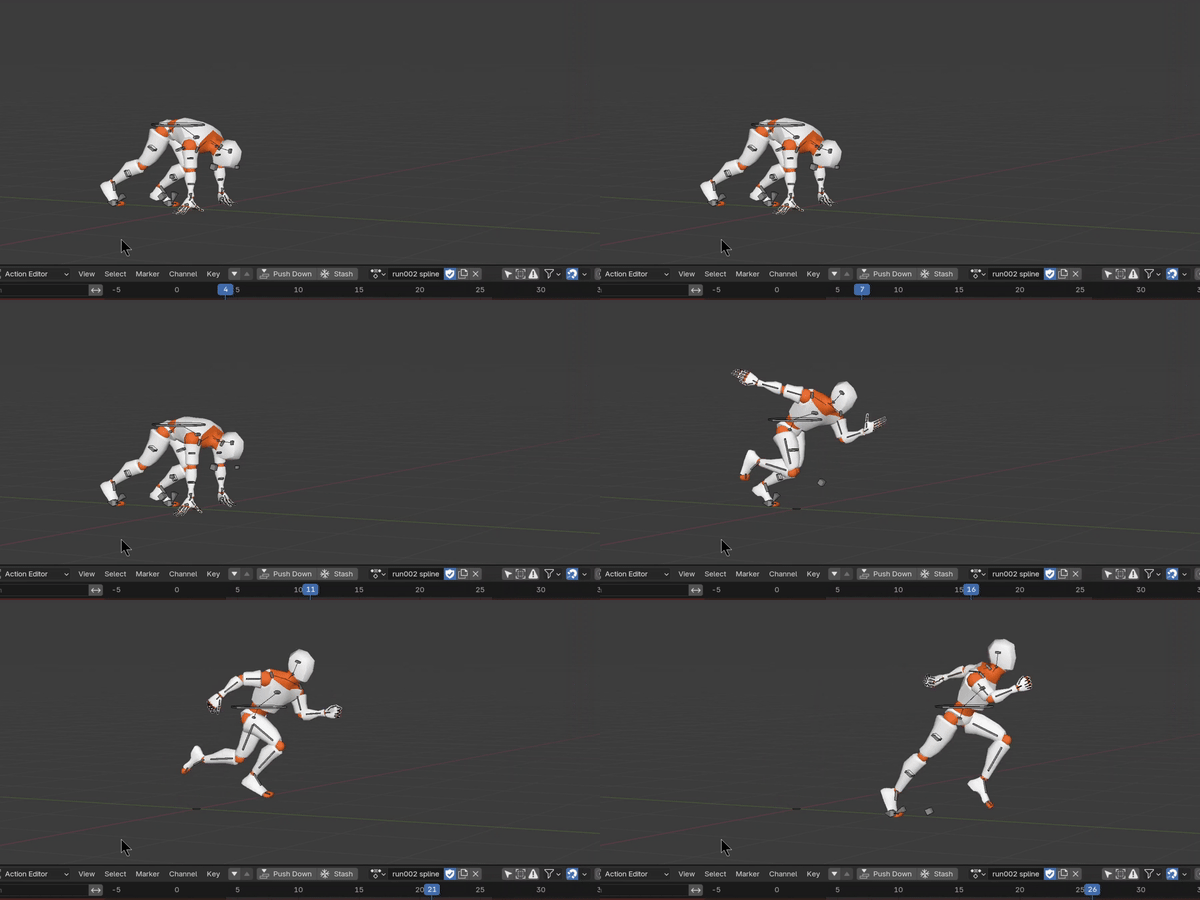
The Kinematic Tool is the perfect solution for animators that are tired of the sluggishness and lack of control common with entry-level rigs. Pick it up and dive right in!
Kinematic switching so effortless, you can actually animate.
Current version: Kinematic Tool v2.0.3
Discover more products like this
3d animation ik fk rigged 3d character rigging 3D animation tool animation Inverse Kinematics Blender Rigging ikfk IKFK Snapping auto rigging


