Iridescence - Thin Film Shading
Blender's missing shader, being in Octane and LuxCore for years now. After rigorously studying the physics, modeling the effect, and calibrating the shader, it is now available for your Cycles or Eevee workflow too.
What is it?
This is a physically correct shader node, with presets, that model thin-film interference. The effect creates not only the lively colours of iridescence and pearlescence in materials like soap, oil, or pearls. It also determines the hues of anodized metals, beetle shells (yes, really), and is the main part of colour-changing car paint. One shader node can do all of the above without being overcomplicated to use.
Besides the main node, the download includes 15 premade iridescent materials. Including all of the material types seen in the gallery.
Entering real-world material properties (ones you can easily find online) will generate the actual colour of the material.
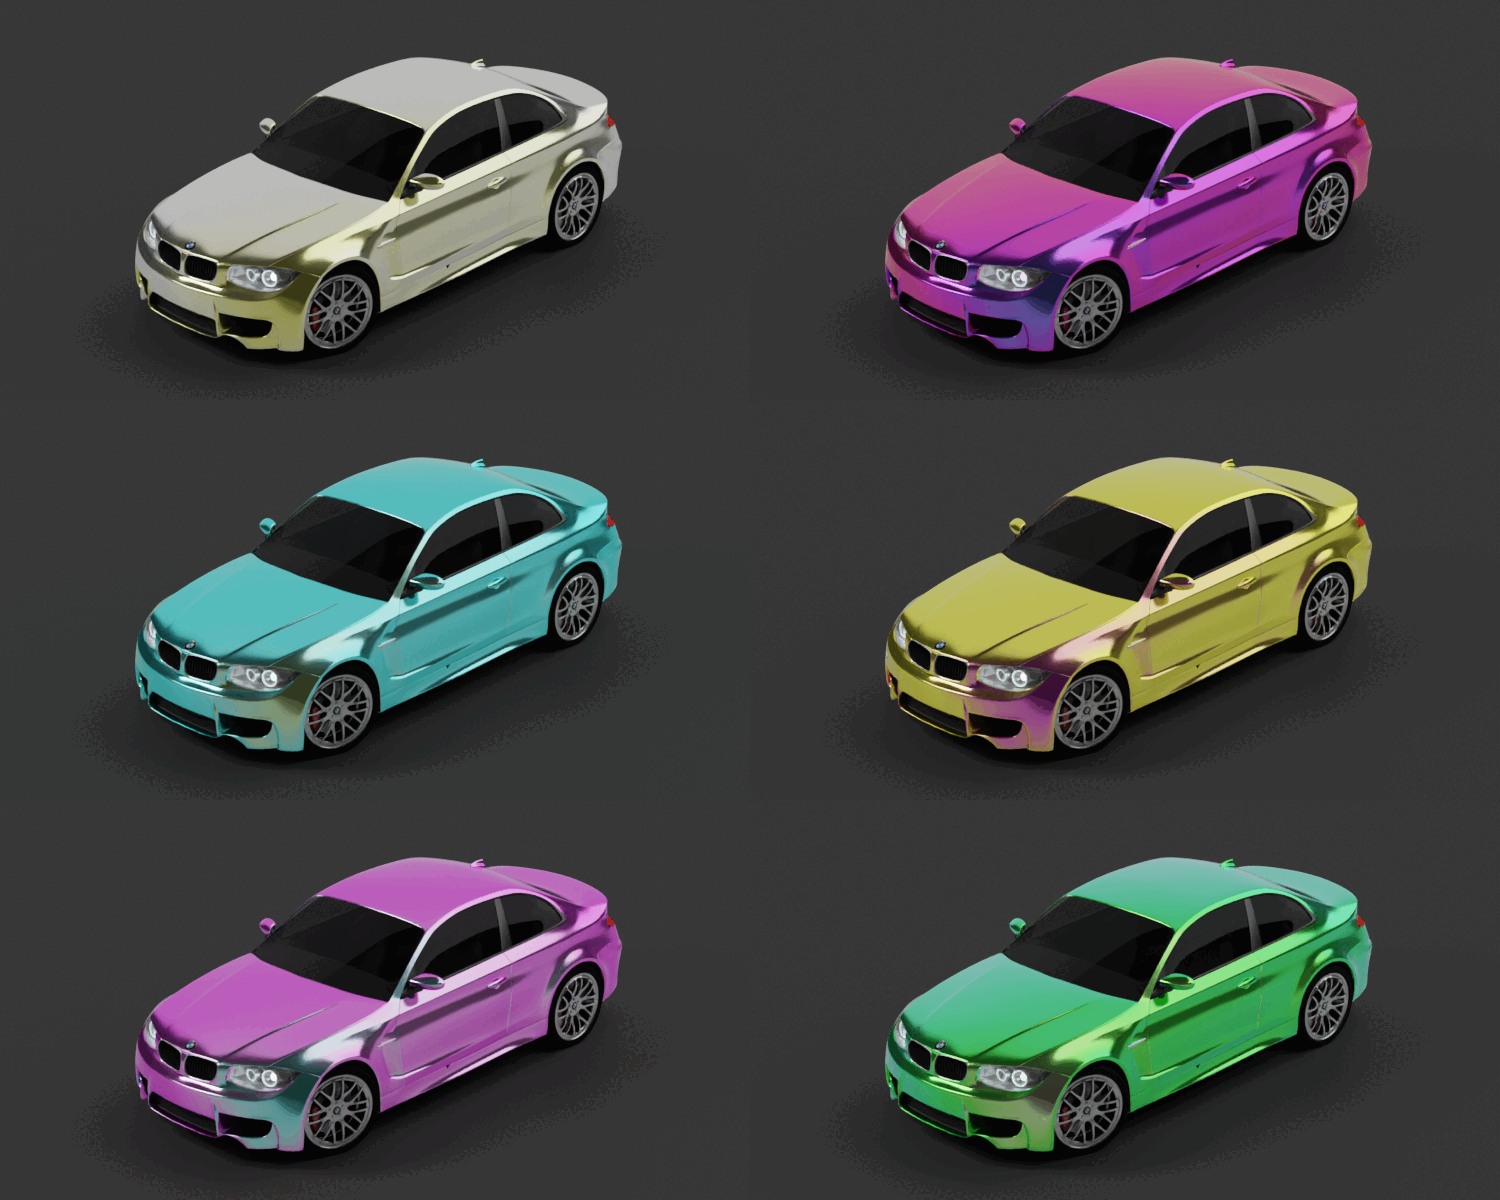
Different car paints made with Iridescence.
Why do you need it?
-
It works for any material that has any iridescence
- It makes photorealism possible
- Using this shader saves valuable time
- It doesn't just look real, you can rely on it being accurate
Advantages
Realism
The shader is built on physics equations and considers concepts like Rayleigh scattering, wave interference, internal reflection, and absorption.
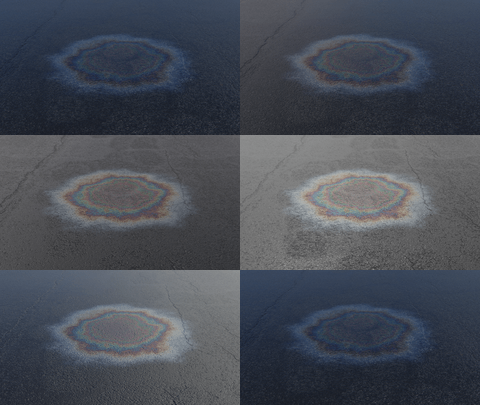
So, when you make a shader with Iridescence, it looks realistic in any environment. Workarounds with color ramps might also give rainbow-like patterns, but they will feel out of place. They wouldn't react to lighting as you'd expect. The color wouldn't change as it does in real life. That all gives away that it's a render. If the goal is photorealism, looking like the material isn't enough, it needs to be the material!. People can tell the difference!
Saving time
Even if a workaround could look acceptable in certain situations, it would still cost much more time. You might spend valuable time going back and forth between settings, comparing test renders to references. Because workarounds are not physically correct, you will need to start all over again when the lighting or environment changes.
With Iridescence, you would look up the required values on the internet within a single minute. After entering them and seeing the result looking like expected, you can safely leave the material behind and move on within minutes. No node troubleshooting, endless tweaking, or test renders are needed. It's immensely more time-efficient and comfortable.
Easy of use
Use the node as the colour of a metallic or glossy shader. Then enter the IOR and film thickness values you found. Hook up a normal map and that's it!
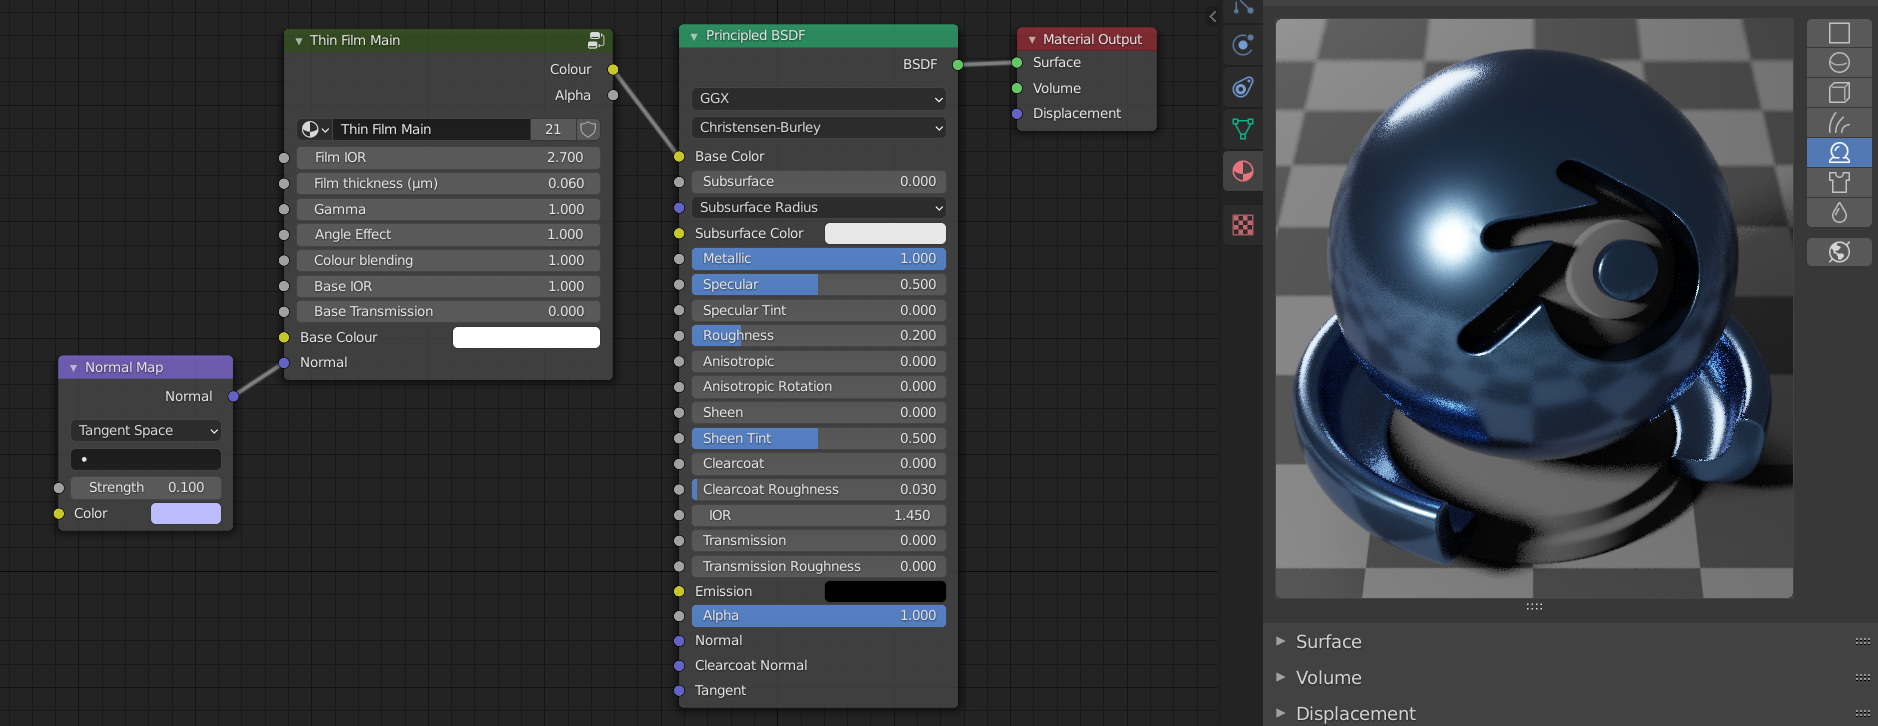
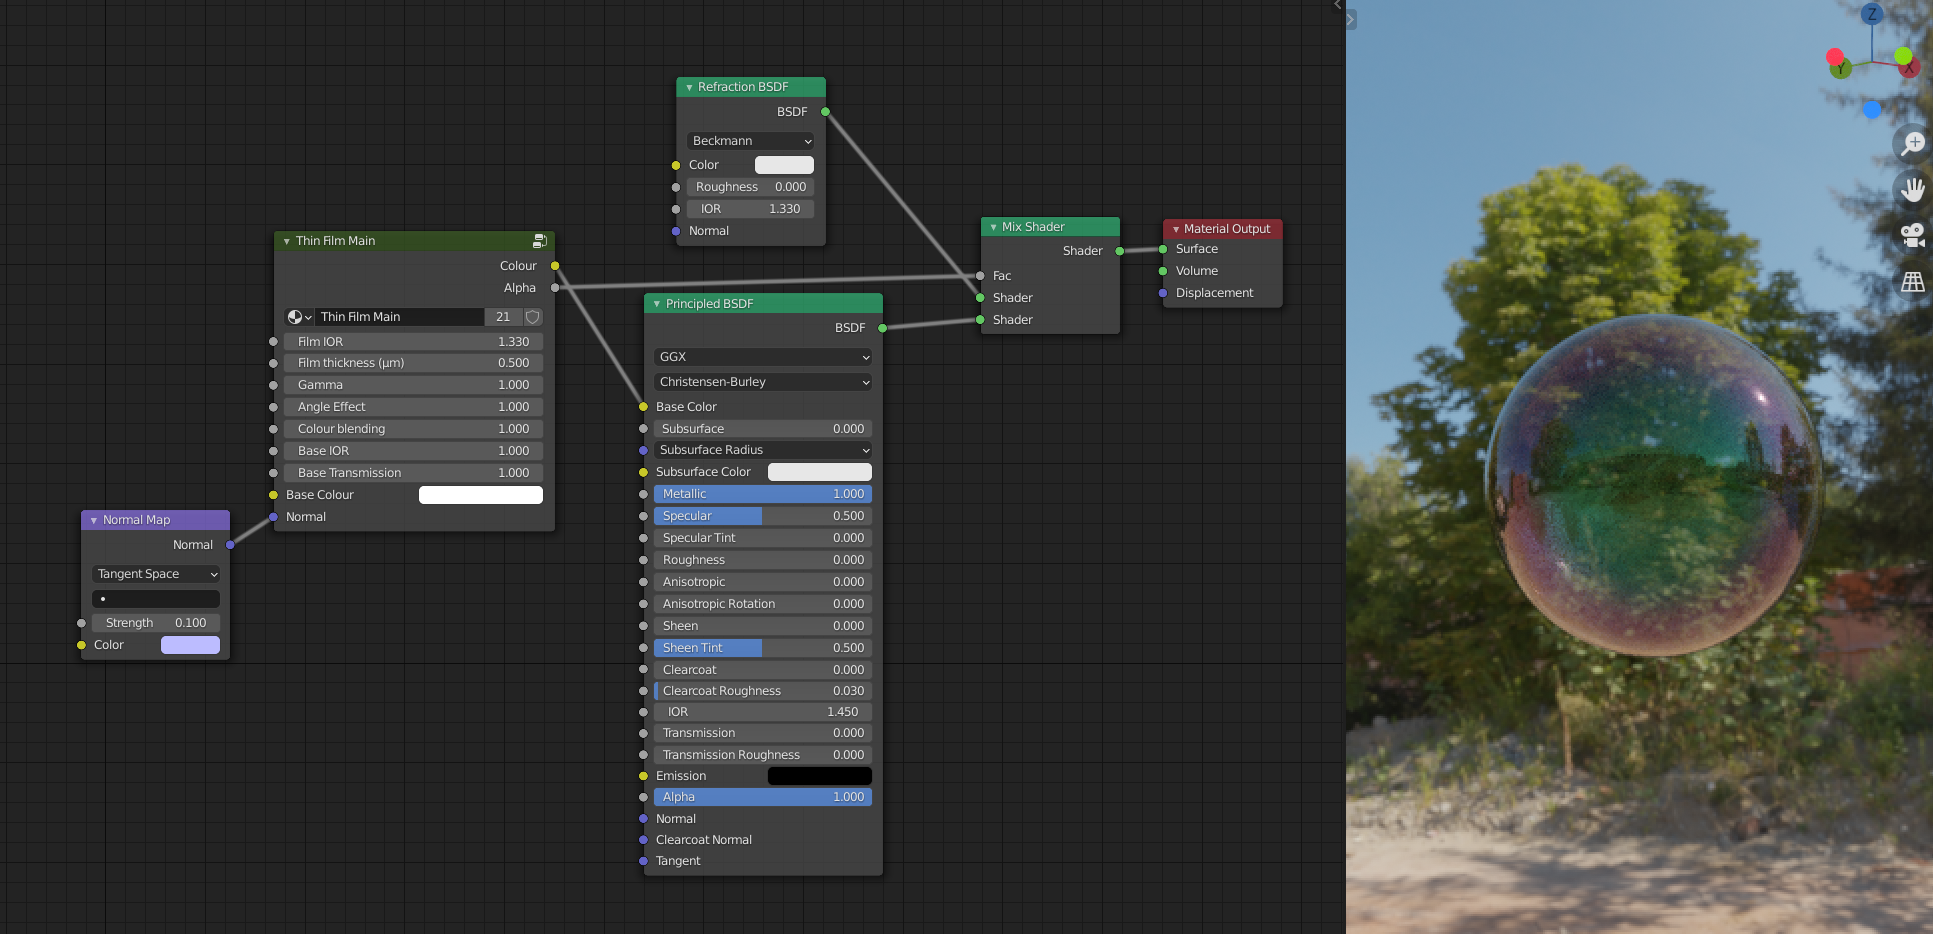
For a film on a transmissive base like water, , or air, simply set the Transmission to 1. The colour will be corrected and a physically correct alpha mask is generated, you can use it directly as a factor to mix with any non-opaque shader.
Alternatively, you can simply use one of the included materials. Then adjust the settings from there if necessary.
Control and flexibility
The way the thin-film node integrates into the shader workflow, leaves almost all control to the end-user. It can perform very well at modeling just the base thin-film effect. For other cases:
- A texture can be used as film thickness to create detailed patterns.
- Artificial override settings are available for more artistic control.
- The node's output can be manipulated and used for any shader you want.
Because of this, while being realistic, it allows artistic control and stylized shaders.
The flexibility is demonstrated by the completely different materials in the featured gallery, all of them built on the same thin-film node.
Accuracy
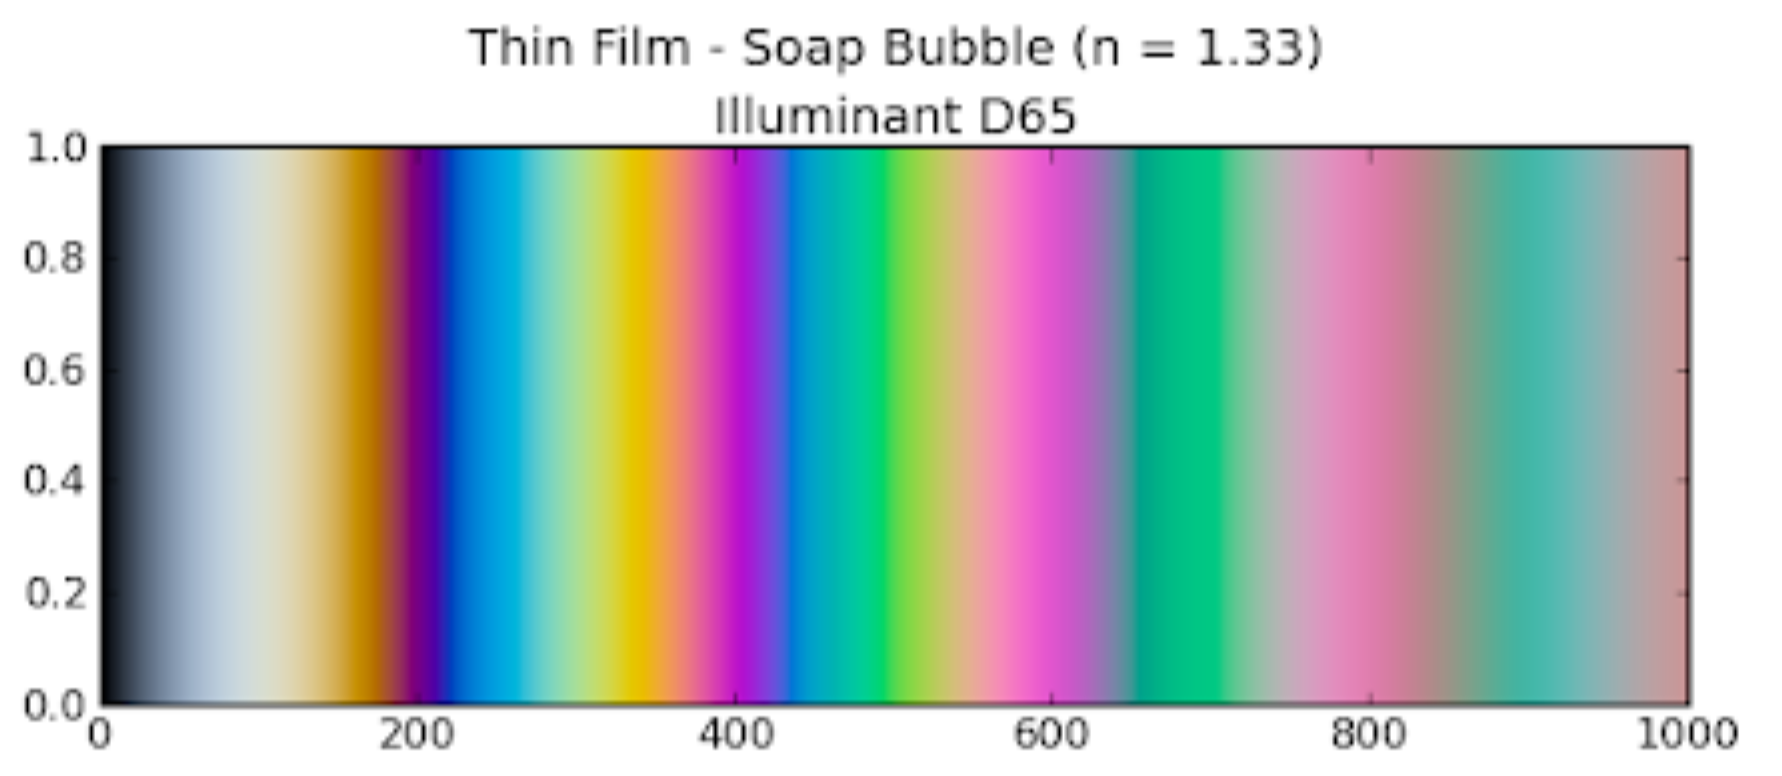
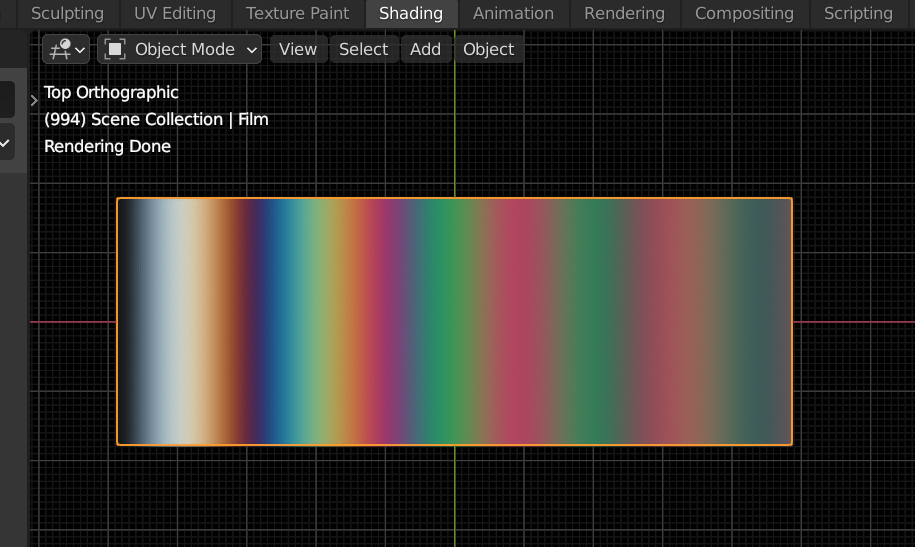
To verify that it's accurate, here it is compared to soap bubble colours measured in the real world. The rectangle below shows Iridescence, with the same thickness gradient as input (0-1 um).
Reference Chart (source):
Blender cycles (nodes):
As expected, the exact same pattern and scale appeared without any adjustments, proving that material properties you can find on the internet can be used as-is.
Support
If you have any questions before purchasing, feel free to use the FAQ or "Ask A Question" feature and I will try to respond personally. Support doesn't end with purchase though;
There is extensive documentation available here on Blender Market. If you can't find what you're looking for there, I will be glad to both help you and update the documentation, so that others don't encounter the same problem.
Discover more products like this
summer24 bcon22 bfcm22 iridescence spring23 reflections spring22 summer23 summer22 spring21 photorealistic bfcm24 loveblender spring24 Shader winter24 bfcm21 PBR Cycles bfcm23


