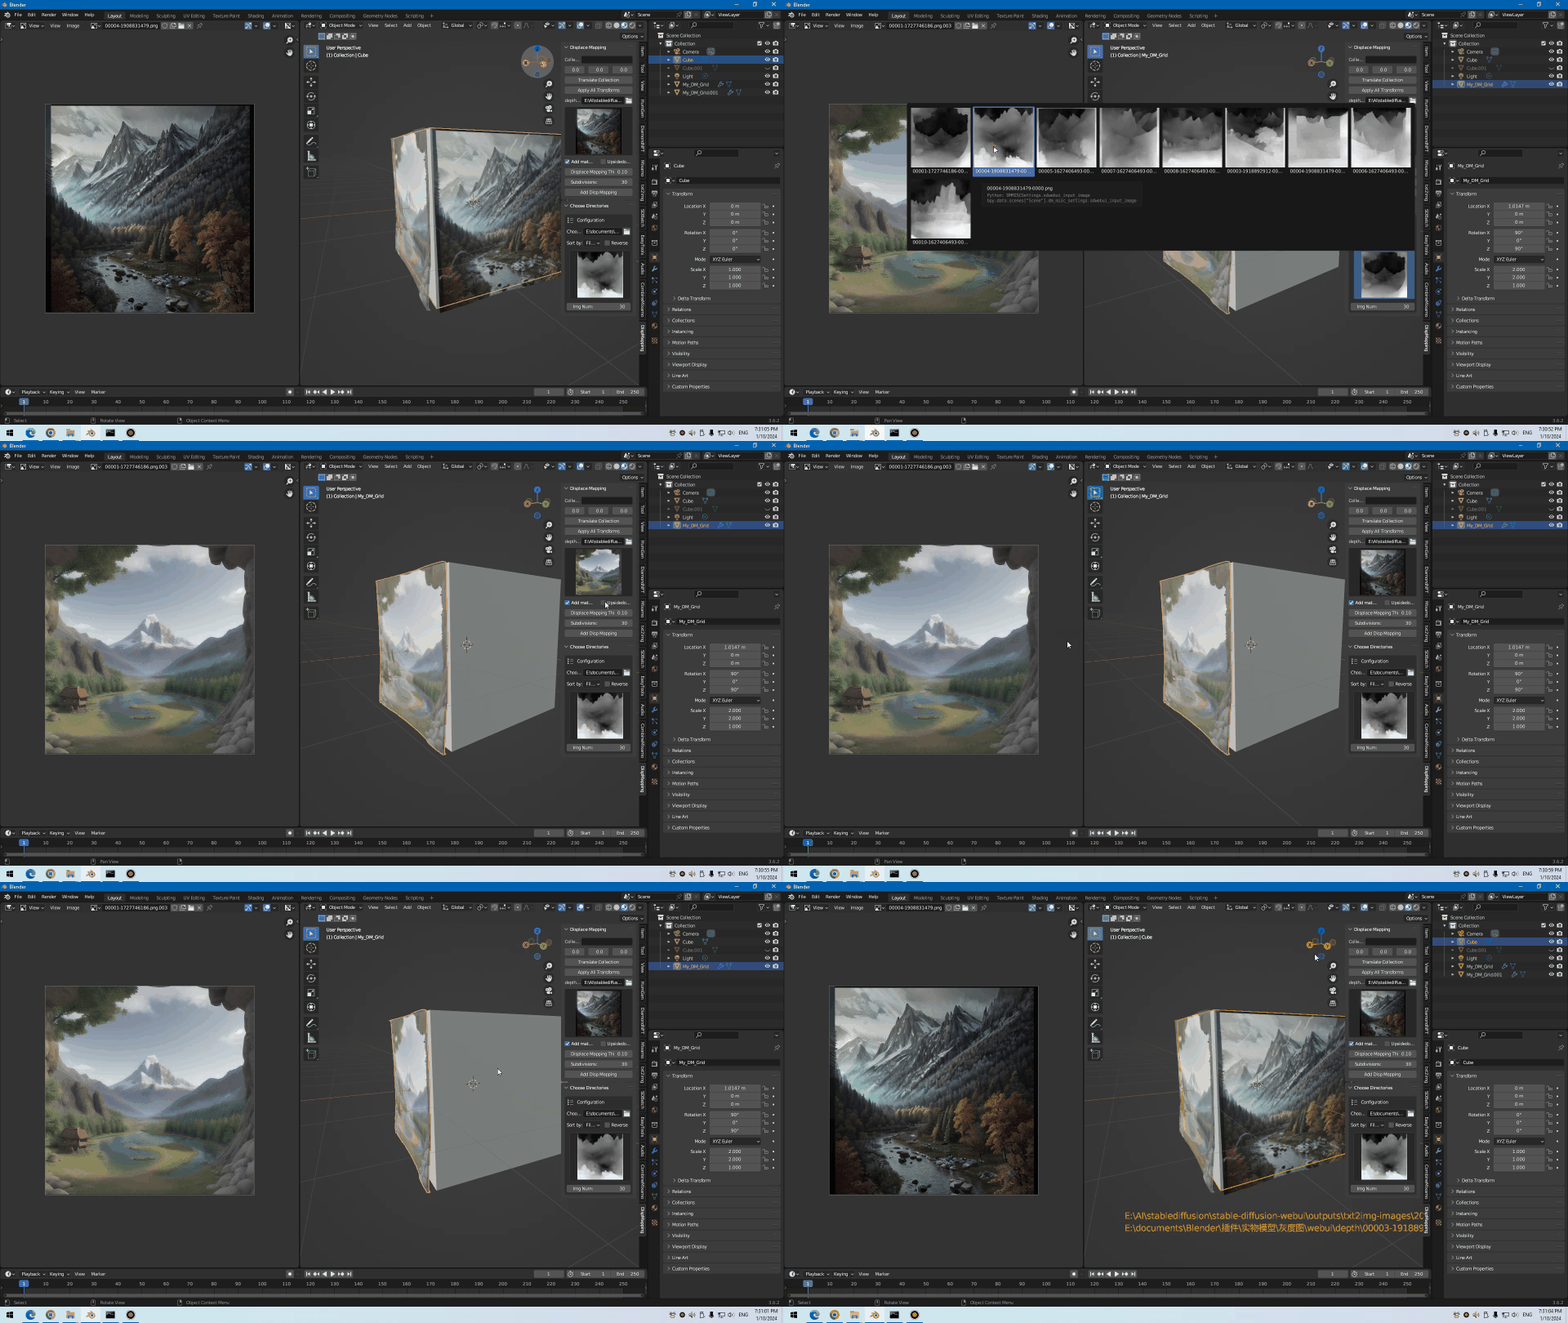
Dispmapping
Only supports Windows OS.
It has been updated to 1.5.4 which support image real time overview and Blender 4.2. We need to unzip mydispmapping1.5.4.zip and inside the zipped file is the installation zip file mydispmapping.zip to keep edition consistent.
It can combine with stable diffusion webui depth to generate depth image, and then create 3D scenes in Blender by one click. Also adds shading material function.
The above depth image is the stable diffusion generated image used for add AI materials to the grid, if no AI images, it can be ignored.
In C:\Users\Username\AppData\Roaming\Blender Foundation\Blender\4.1\scripts\addons\mydispmapping\grayscale\sdwebui, there are two directories: depth and rawimgs, inside depth is depth image, and inside rawimgs is AI generated image for adding materials.


The garyscale images can be in png, jpg or bmp format.
The grayscale directory name needs to remain unchanged. Inside the grayscale directory, the 1st level sub diectory and the 2nd level sub directory need to specify the category names. Looks like this grayscale-animal-dragon. The grayscale images needs to put inside dragon -- the 2nd level sub directory.

User needs to apply all transforms at first and then to add displacement mapping.

User can press Y key to add a floating panel to change the category names.


