**Update!
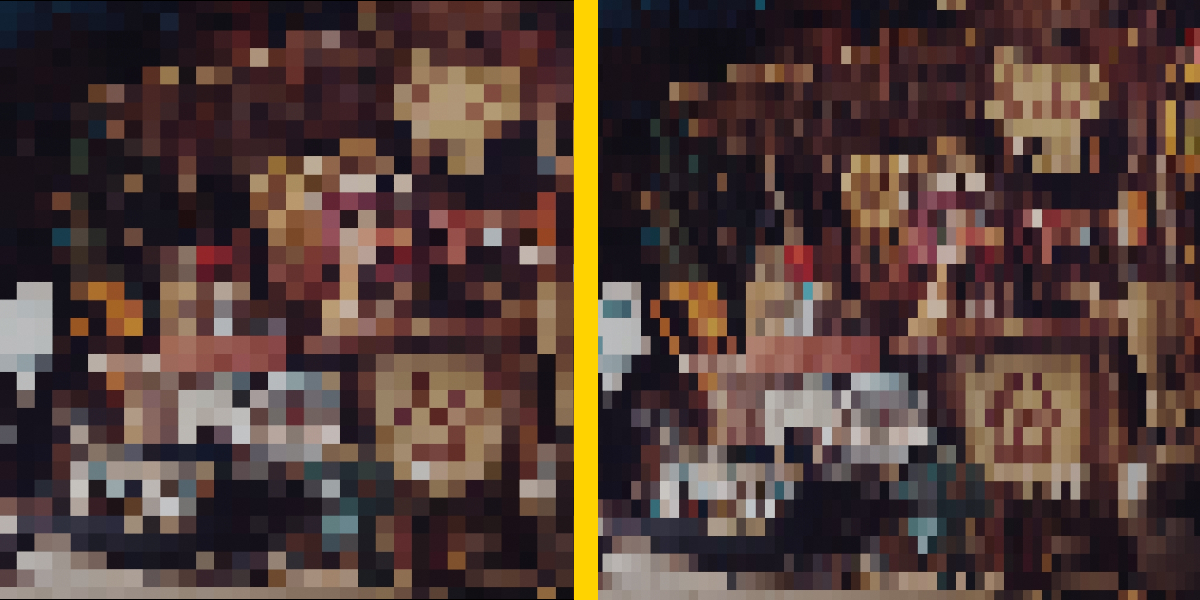
Dead Pixel v2 comes for free with your download (so you get both v1 and v2)! What's the difference? I decided to remove the X-stretch and Y-stretch and replace it with a AspectRatio slider. This will let you control the 'dimensions' of your pixelation (so it doesn't have to be nxn resolution). Here is an example:
What is Dead Pixel?
Dead Pixel is a completely procedural material that will pixelate any image you want with a ton of additional controls. Make sure to watch the demo video for full details on Dead Pixel's functionality:
What do the controls do?
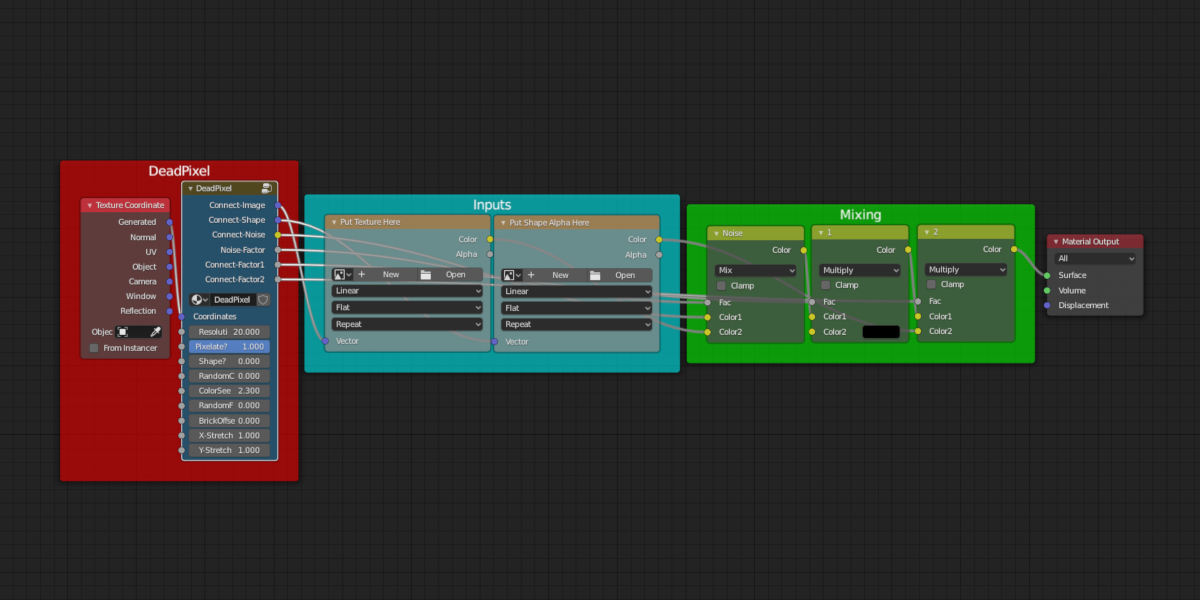
- Resolution: This represents the 'density' of your pixels. More specifically your image is a nxn grid of pixels where n = resolution
- Pixelate: This is a transition slider between your original image and the pixelated version; 1 = pixelated, 0 = original, and everything in-between is a mix of the two
- Shape?: This slider should only be used when an input 'shape-alpha' has been added; 1 = use shape, 0 = don't use shape
- RandomColor: This adds some random color variation to each pixel cell. This will also work with custom shape alphas
- ColorSeed: This seed value will generate new random colors
- RandomFade: This slider is used for a random opacity transition; 1 = fully invisible, 0 = fully visible. Play around with this one, it gives cool results :)
- BrickOffset: This slider will offset every other row of pixels; use this to create more complicated pixelations
- X-stretch & Y-stretch: These sliders just stretch the image horizontally/vertically
Installation?
Everyone's favorite part. Using this material in your blender project is super easy just:
Use the append command: (can be found in file > append):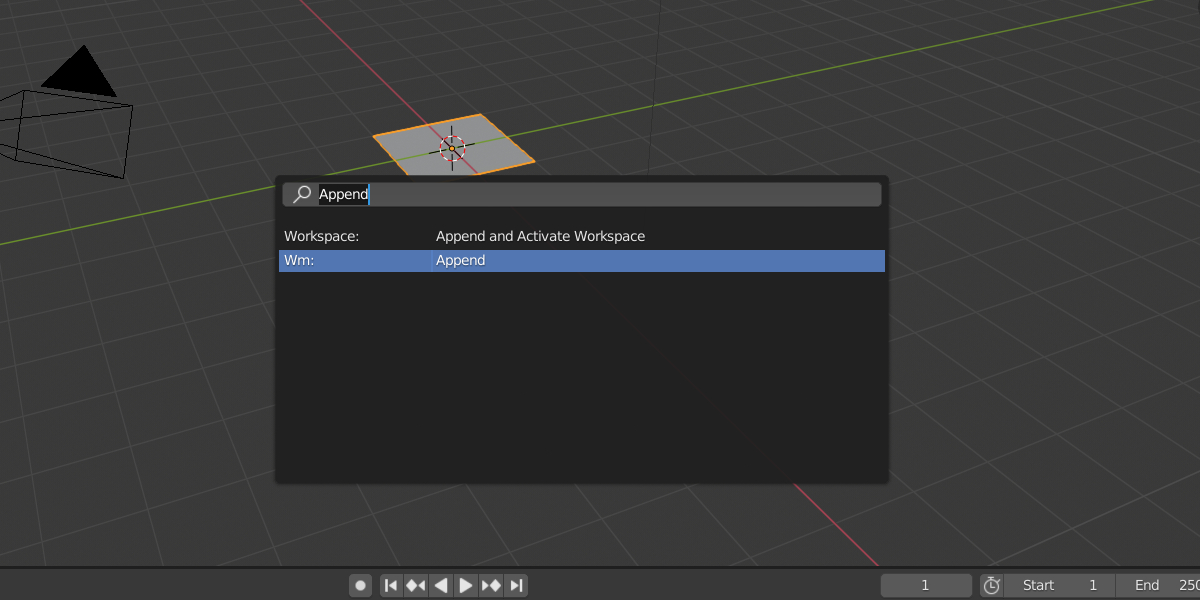
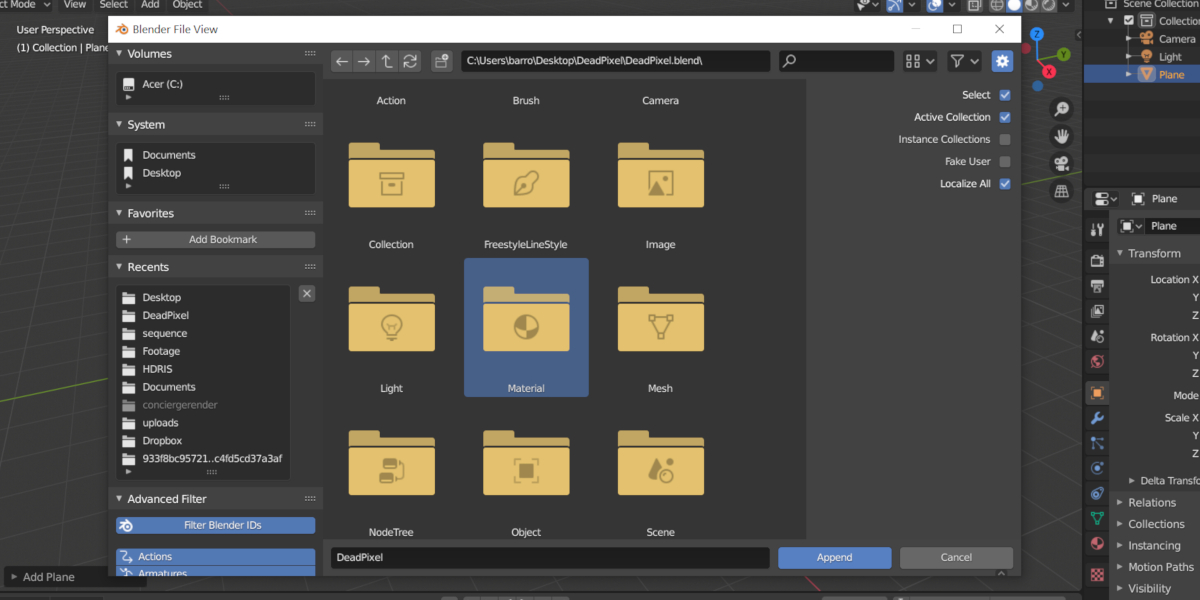
Navigate to the Dead Pixel blend file, choose materials, and append the Dead Pixel material: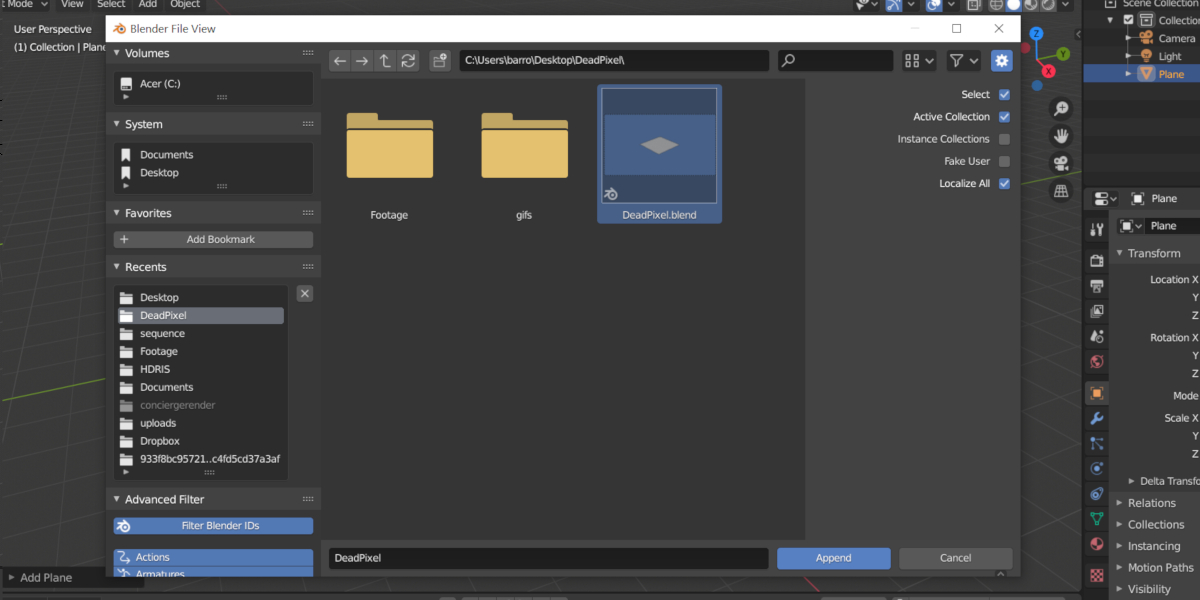
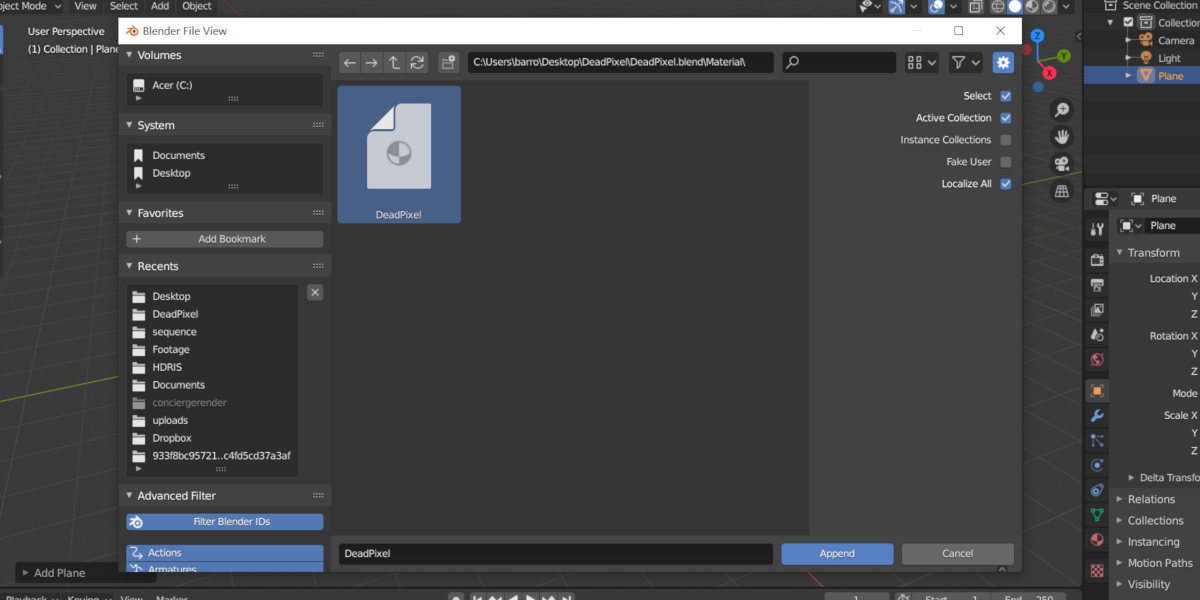
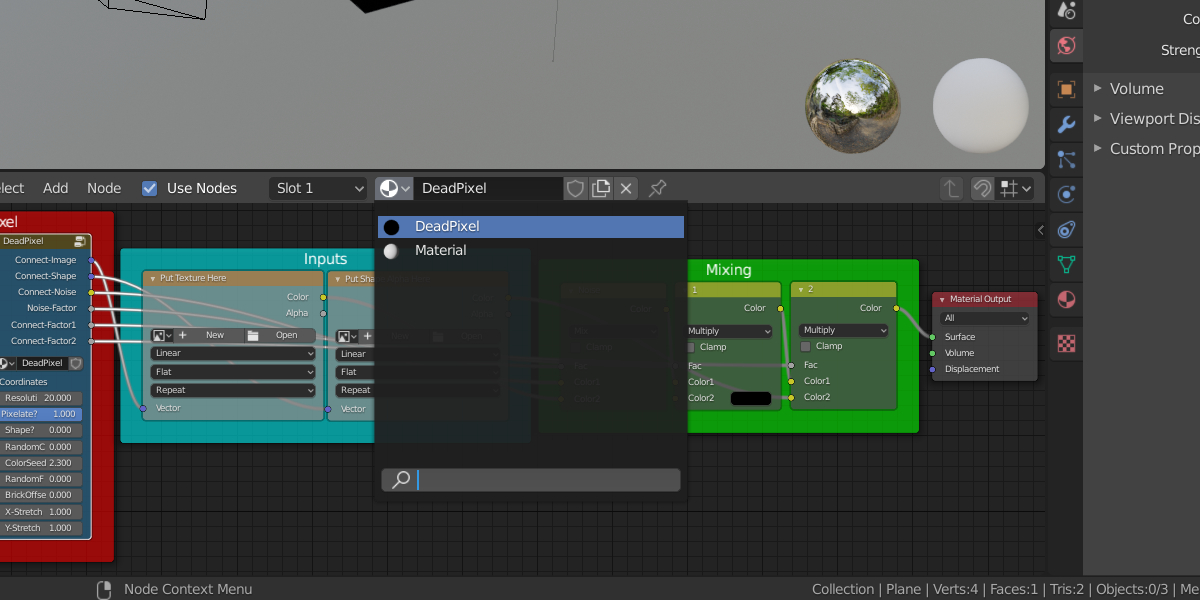
You will now have the Dead Pixel material! Hoorah: