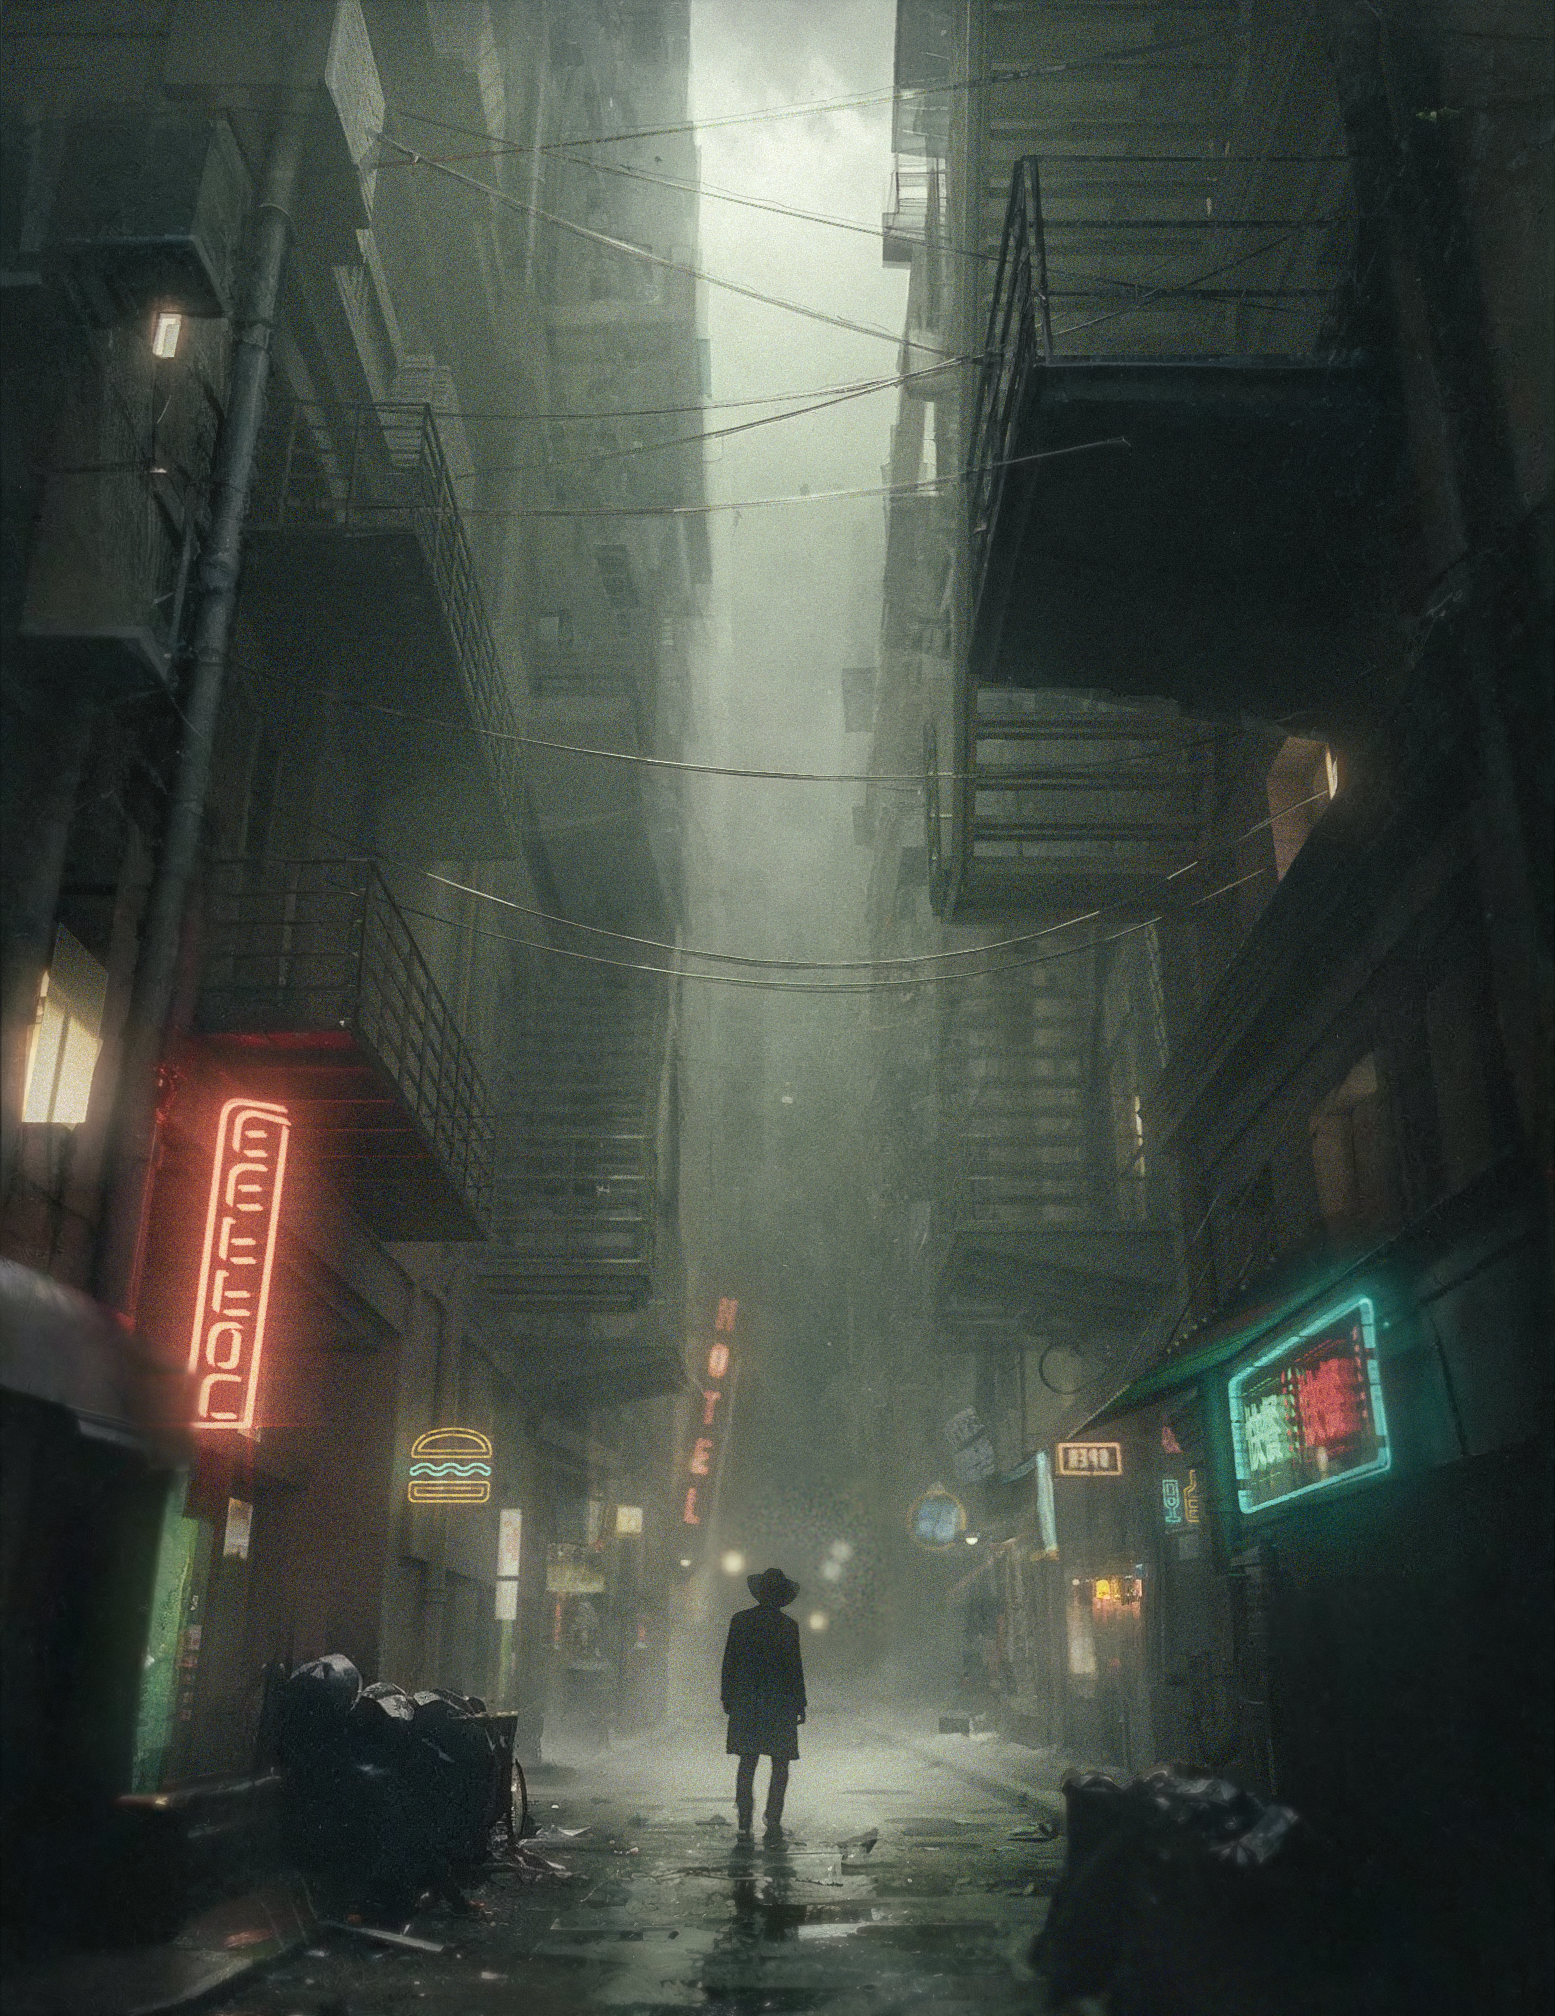
Dark Alley Scene - Full Cinematic Workflow
What does this package contain?
The package contains a 4-hour long step-by-step tutorial and several asset packages that you can see below.
In the tutorial we will create this scene step-by-step.


The entire process of creating the scene is recorded, so the tutorial is suitable for beginners.
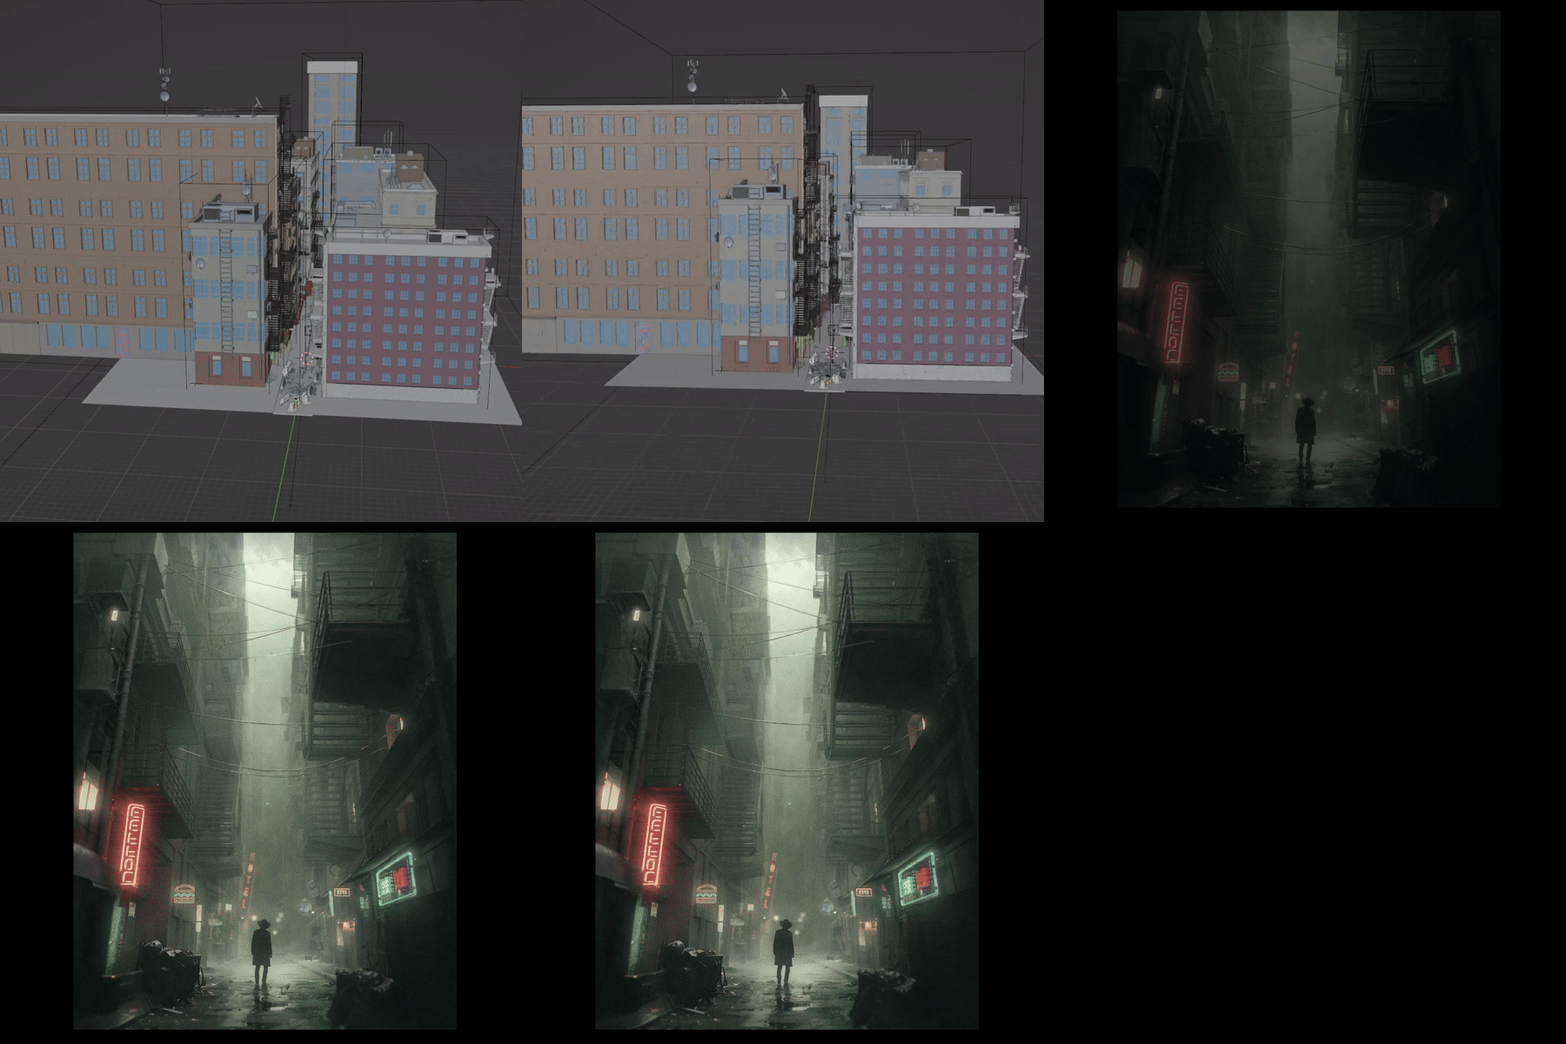
Considering that a good part of the scene falls on buildings, and for the buildings I use my Editing Buildings Asset Pack, I decided to divide the tutorial into two parts:
In the first 7 lessons lasting about 1 hour and 20 minutes, I talk about how I created the Building asset package. Although I will share the asset pack with you, I think the tutorial has much more value if you learn the process of creating assets, rather than just inserting them into the scene.
First part (Process of creating Buildings asset pack)
1 - Preparing the textures (7 min)
2 - Asset modeling (4 min)
3 - Fixing UV (28 min)
4 - Materials improvement (9 min)
5 - UV and materials (3 min)
6 - Continuation of modeling (22 min)7 - Asset two, fast modeling (9 min)
Dark Alley scene part of tutorial From lesson 8, the creation of the Dark Alley scene begins. In the following 16 lessons lasting about 3 hours, we create this scene step-by-step.
8 - Dark alley scene - Introduction (5 min)
9 - Buildings asset package import (9 min)
10 - Scene blocking (10 min)
11 - Ground, cables and details (12 min)
12 - Neon signs and decoration (7 min)
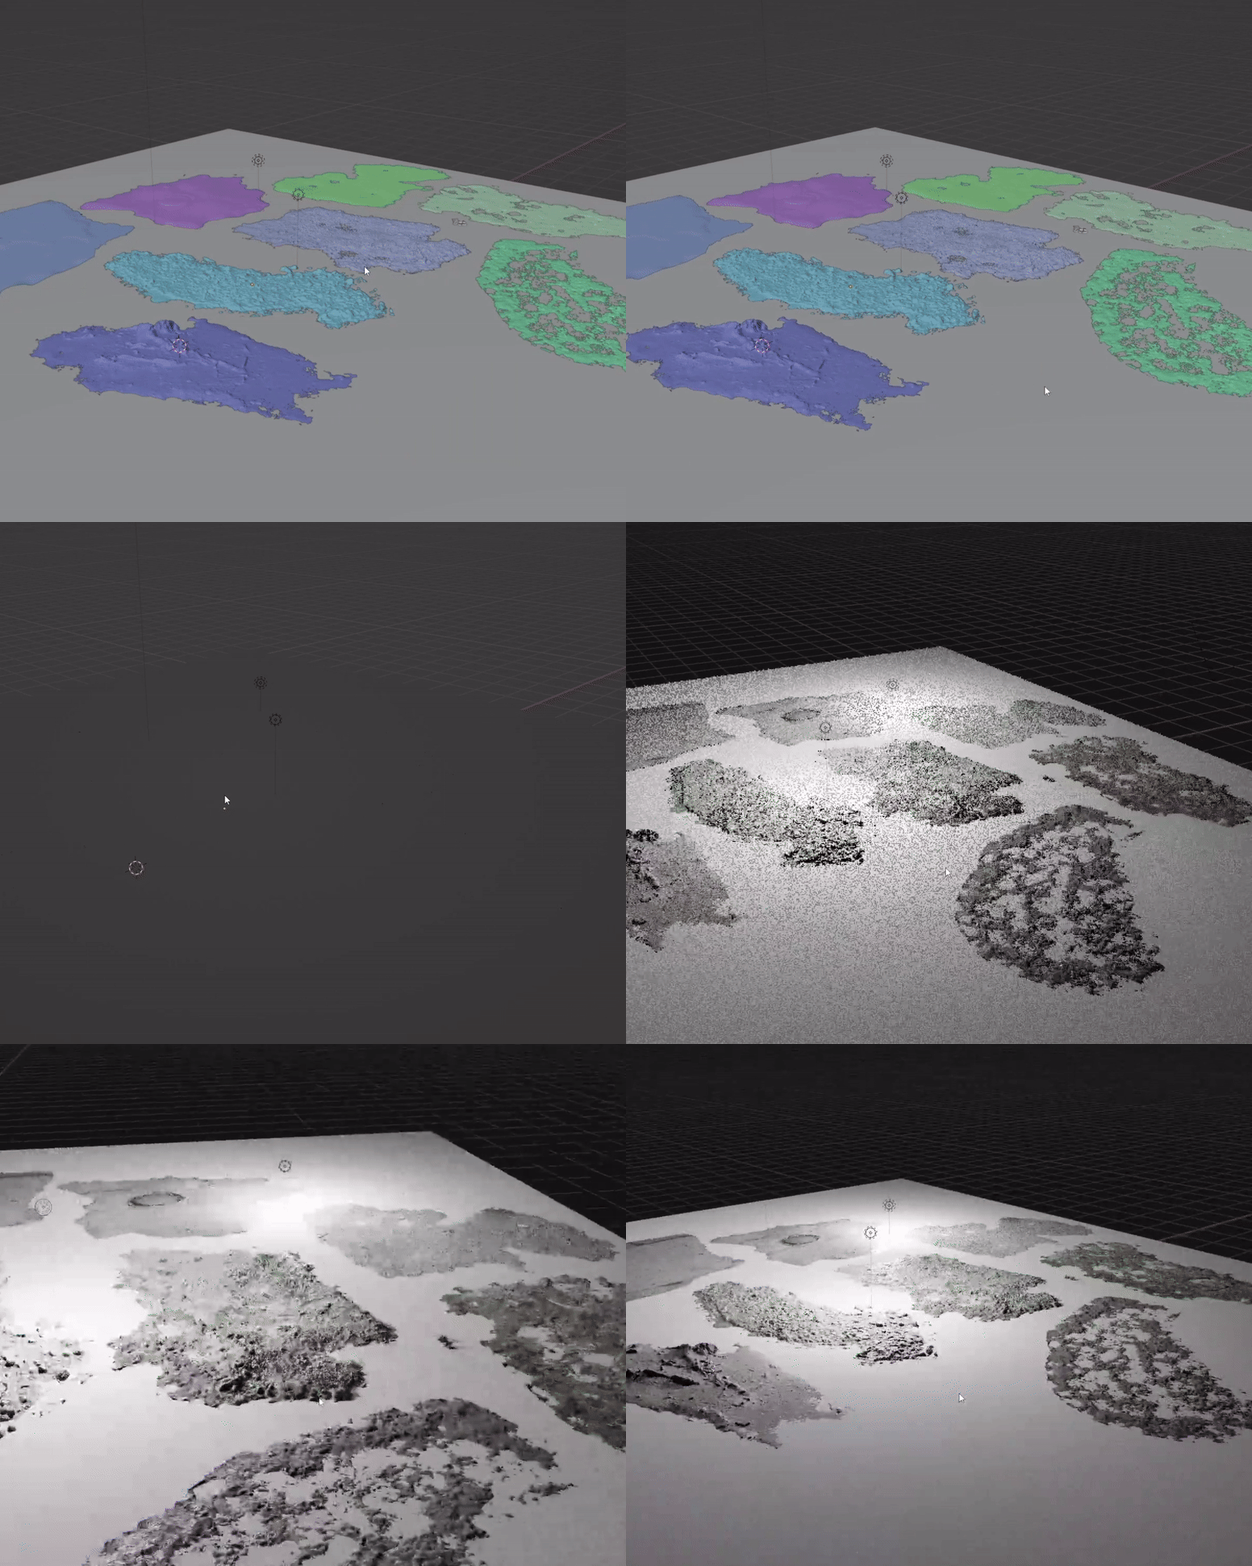
13 - Asphalt (6 min)
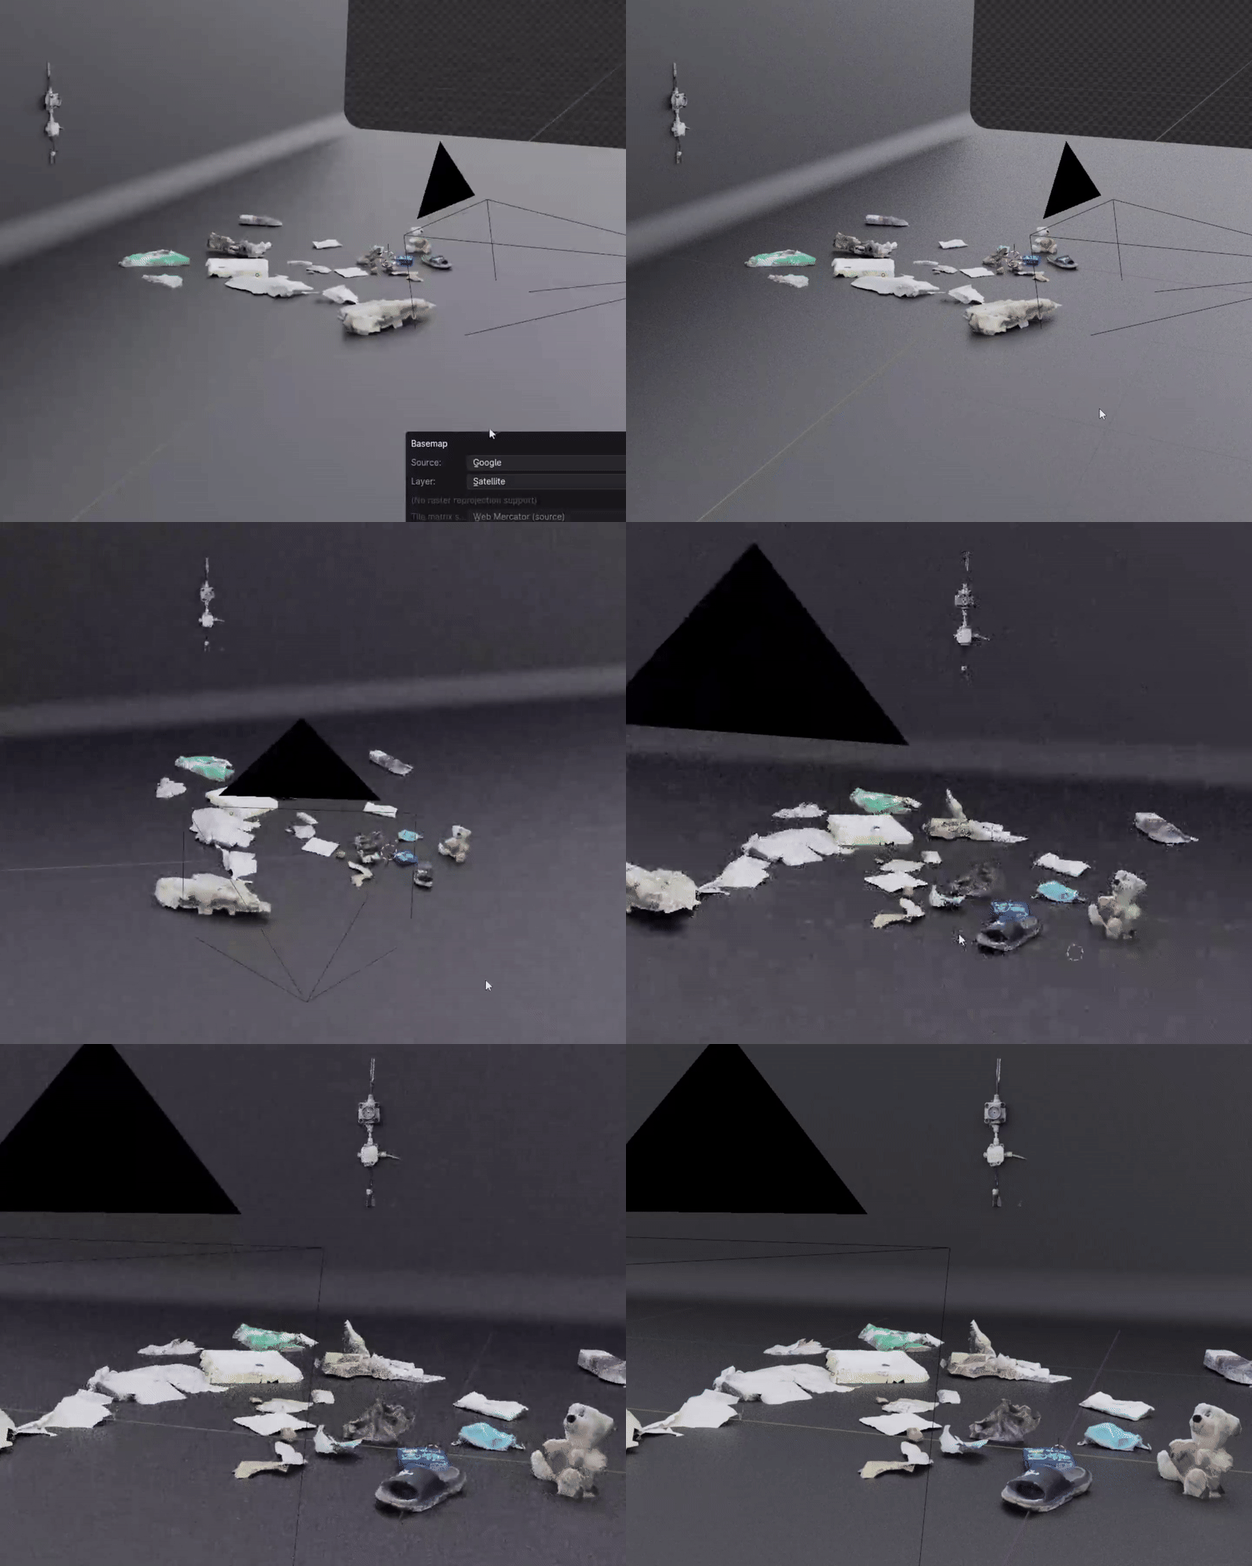
14 - Puddles, pebbles, garbage (14 min)
15 - Import assets from Sketcfub (10 min)
16 - Lighting, passes and rendering (10 min)
17 - Post-processing introduction (4 min)
18 - Smoke in post-processing (9 min)
19 - Shadow and ground (14 min)
20 - Emission and glow (6 min)
21 - Details in the sky (11 min)
22 - Boke effect (9 min)
23 - Post in Blender Compositor 1 (13 min)
24 - Post in Blender Compositor 2 (15 min)

The post-processing part was done in After Effects but also in Blender Compositor.
I recorded the After Effects part because it's part of my normal workflow, after that I transferred everything to the Blender compositor for users who only use Blender so that only Blender is enough to follow the tutorial.
In addition to the Building asset package, I will share with you the neon sign asset package as well as the smaller garbage and ground package and the final blender file where everything is together.
ASSETS INCLUDED
Editing Buildings Asset Pack
A buildings asset pack is an asset pack that contains in one place everything you will ever need when it comes to building buildings, city blocks, or an entire city.
The pack contains 50 high-detailed buildings, but the 50 buildings are only a small part of this pack. With 162 modular assets, you can build any type of building in minutes.


Which package to choose?
Since many of you have already purchased the "Editing Buildings Asset Pack", I have prepared a discount for you.
Instead of “Tutorial + Editi building asset pack”, you can buy the option "I already have "Editi building asset package" and save some money.
Other assets needed for following the tutorial will also be included in that package.
Take a look at my other products


