Core | Fundamentals Of Texturing
This course is also available as part of the CORE Bundle of Fundamental Blender Courses
Fundamentals of Texturing
with Ewa Wierbik-Ziąbka
The art of texturing in Blender: Bring Your 3D Models to Life with Realism and Detail.
Texturing adds essential details and realism to 3D models, making them look more lifelike and interesting. With just shaders and plain materials, your models might feel flat or incomplete.
What you'll learn
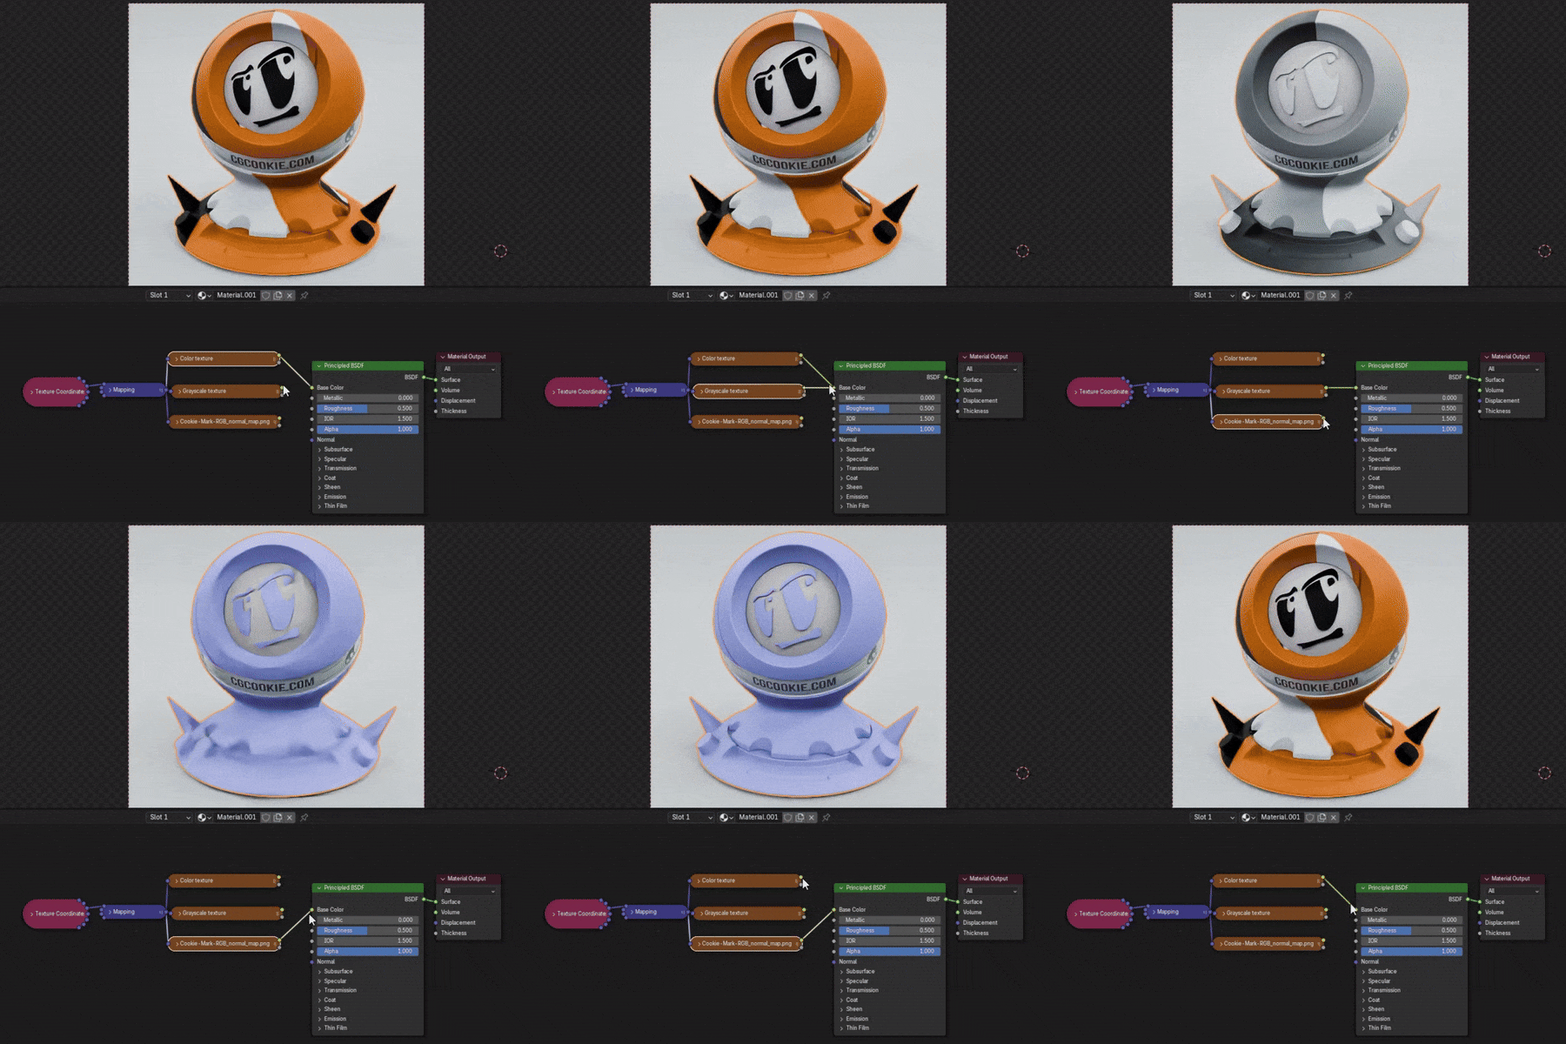
Chapter 1: Introduction
In this course, we will discover everything we need to know to start using textures in our projects. We will go through explaining different helpful nodes in shader editor, unwrapping, physically based rendering, procedural texturing, texture painting and an exercise to practice everything we’ve learned.
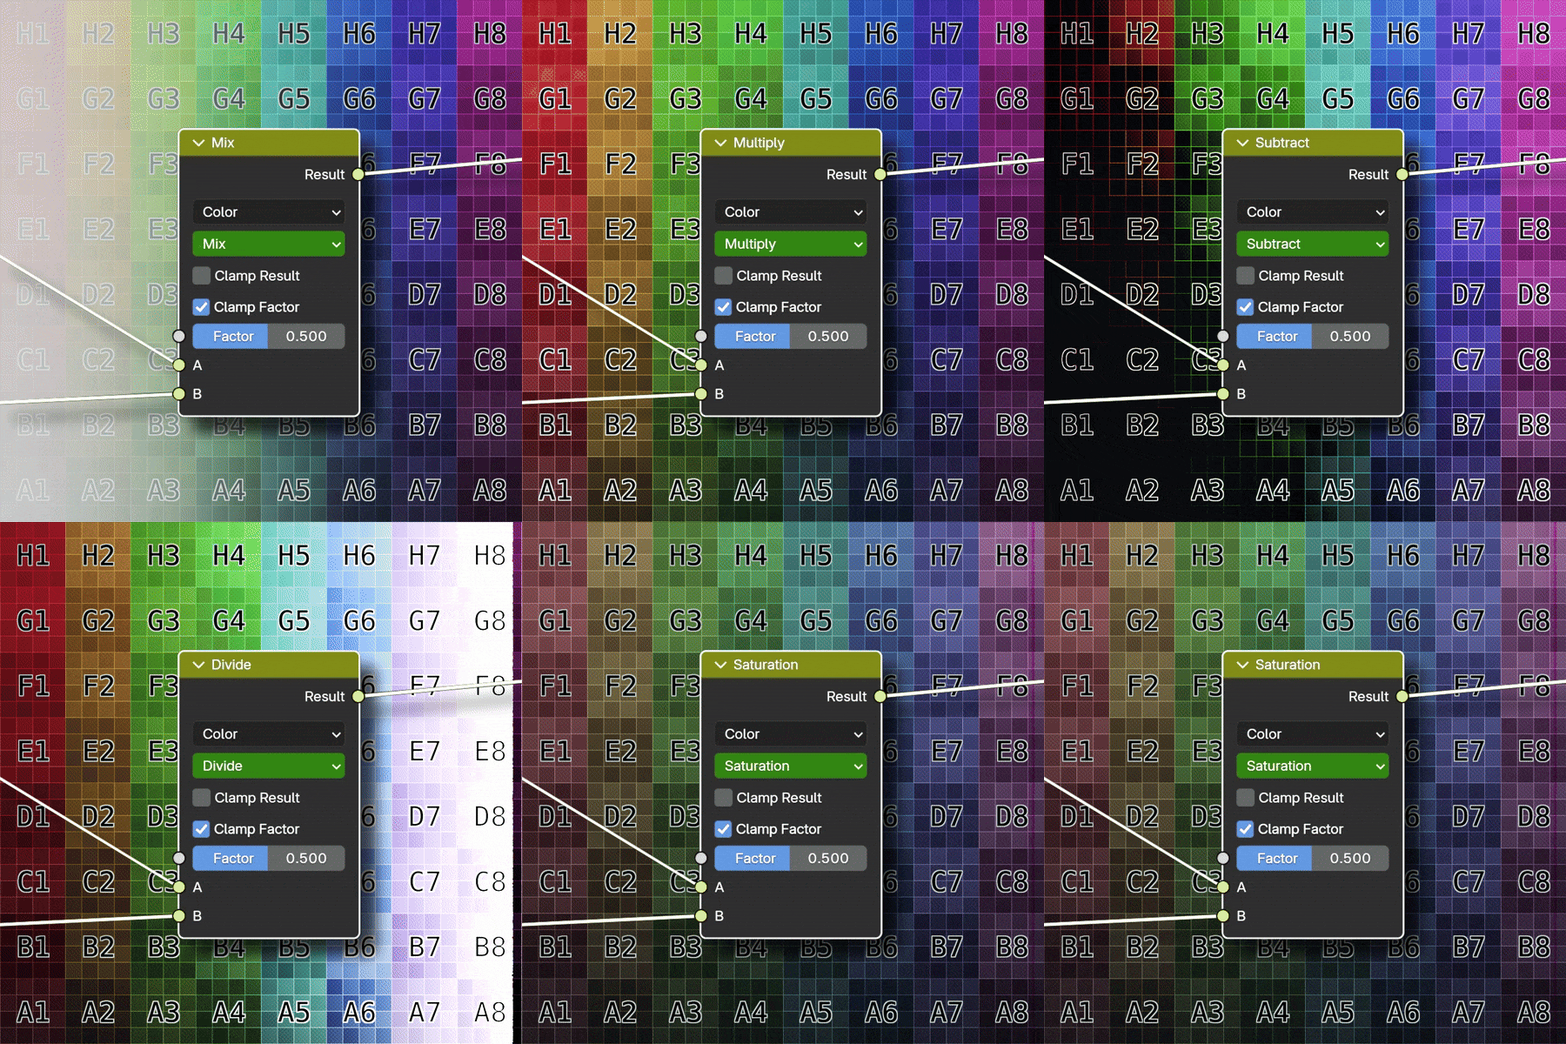
Chapter 2: The Basics of Textures
In this chapter we will focus on the textures basics, such as explaining the socket color meaning, texture coordinates, various blend modes. We will also take a closer look at how to add more details to our models using normal maps and using adaptive subdivision and true displacement and what file types are the best for specific textures.
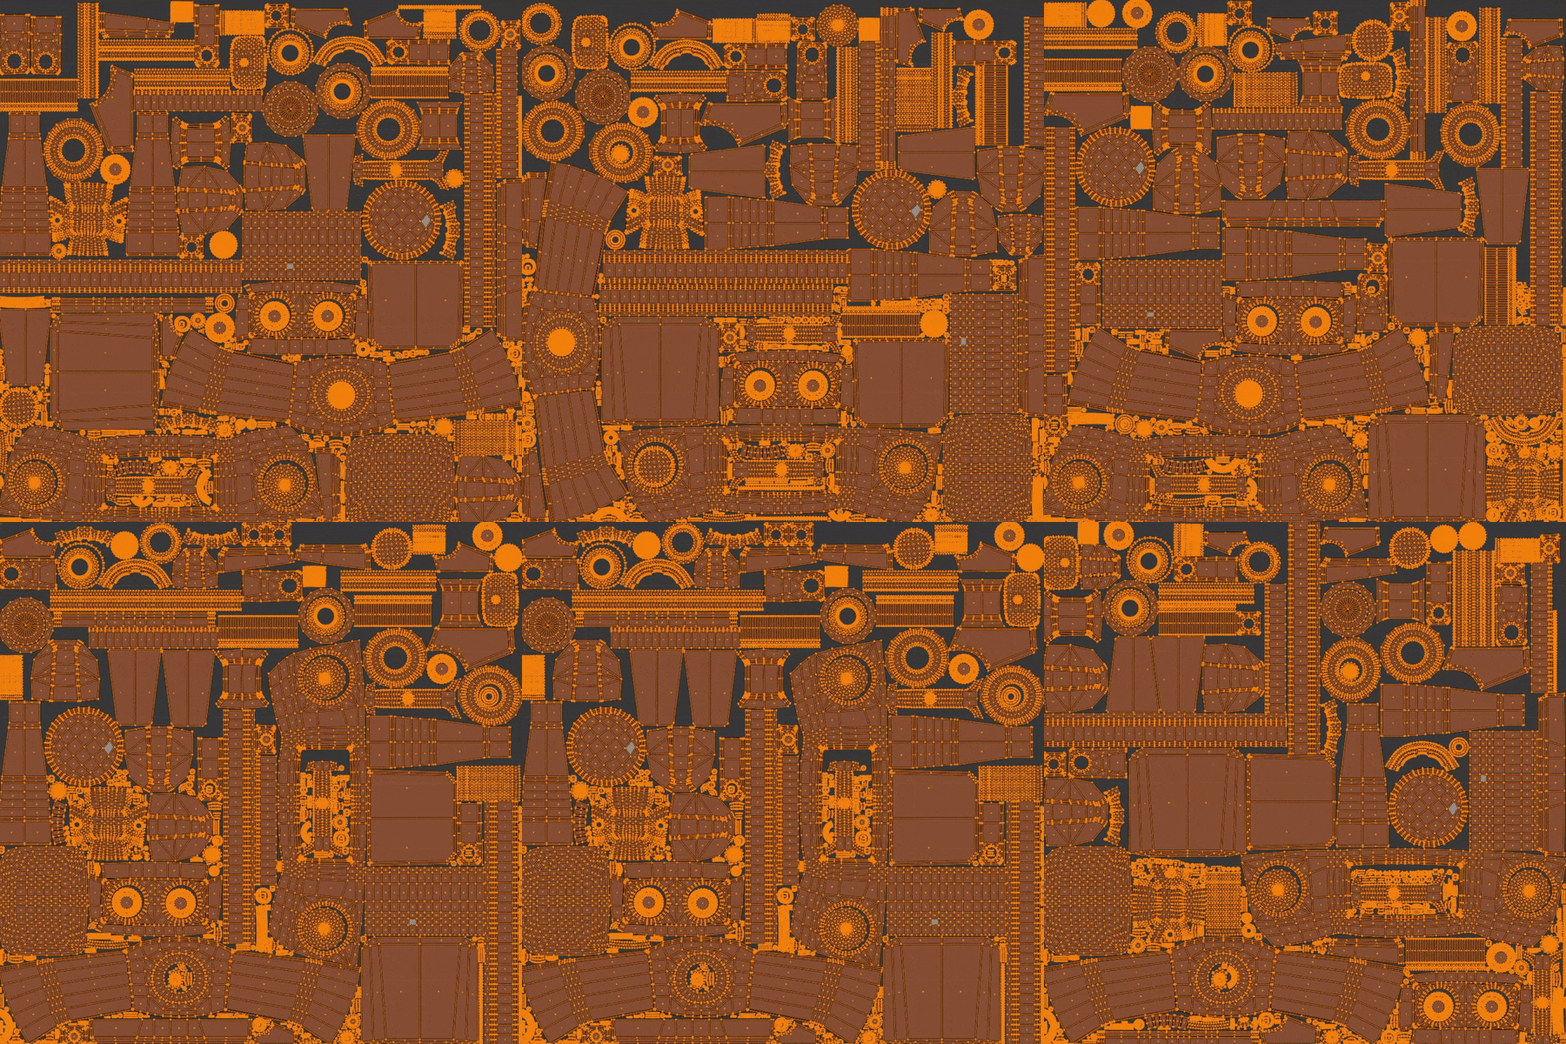
Chapter 3: Image Textures and Mapping
Third chapter is all about preparing our mesh to use textures, so we will take a look at the UV Editor and go through a process of unwrapping. We will learn how and where to place the seams and how to solve most common problems with unwrapping as well as how to use multiple UV maps and how to animate UVs. To help to speed up and optimize the unwrapping process we will talk about smart projection, follow active quad method and other helpful UV addons we can use.
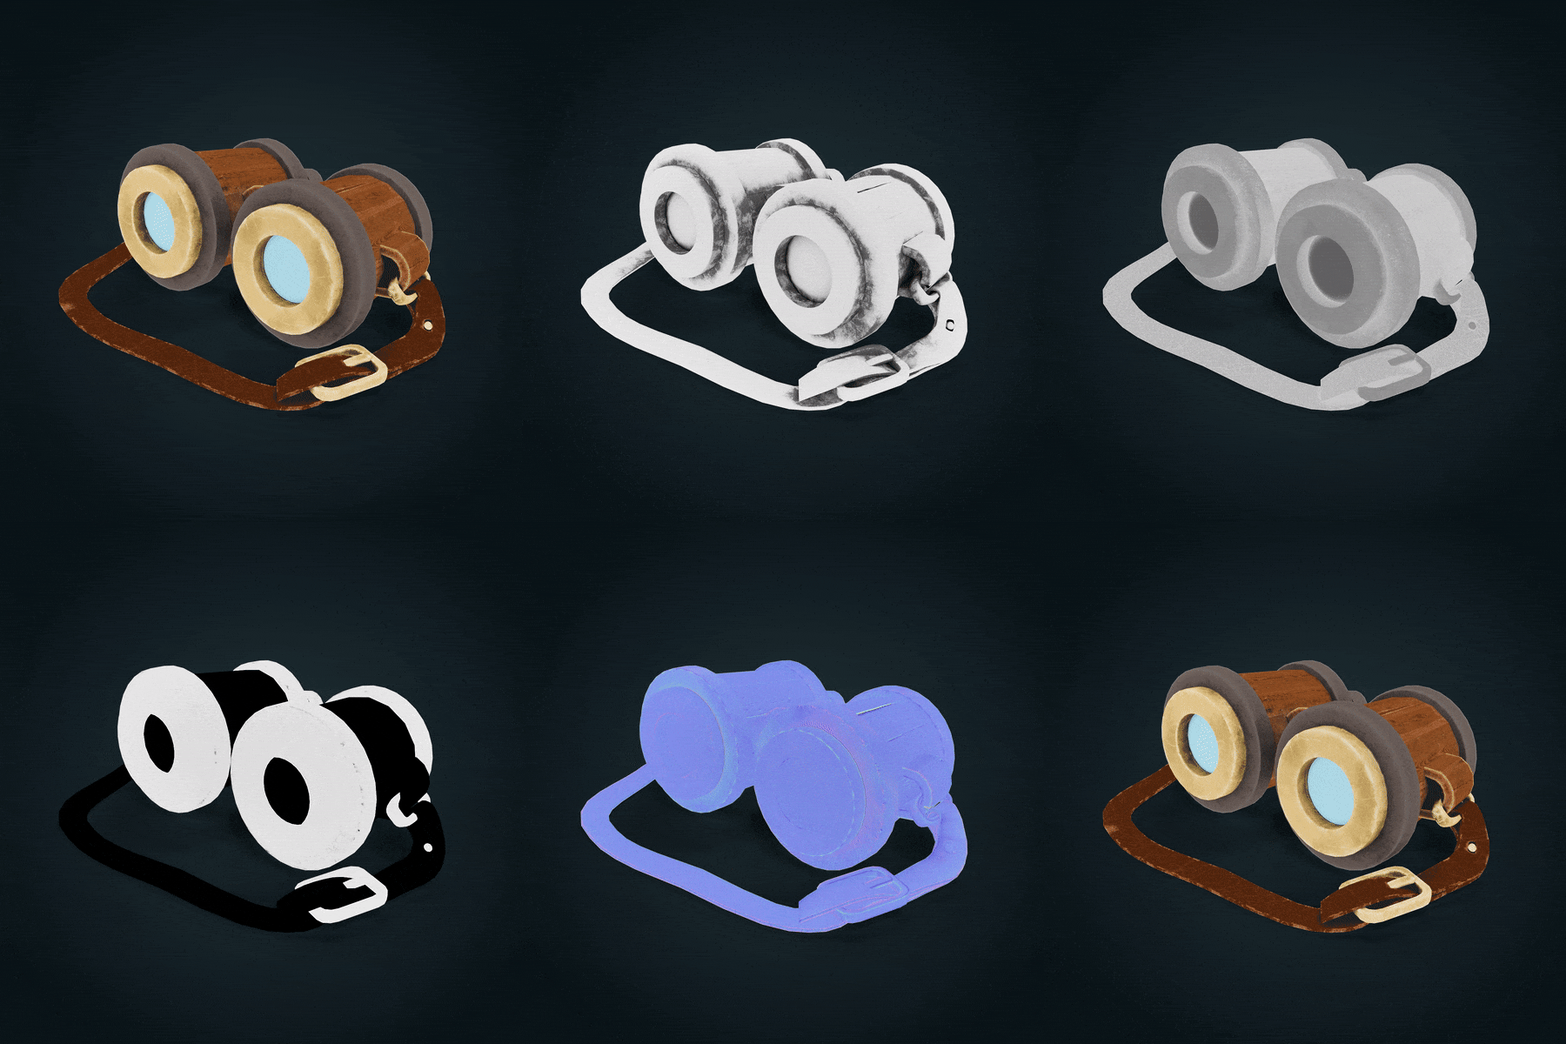
Chapter 4: Physically Based Rendering Texturing
In this chapter we will dive into the physically based rendering and explain how to use it. After learning where we can find textures to use for PBR rendering we will go through an explanation what is Fresnel and why it is so important and we’ll use premade textures to shade the Binoculars.
Chapter 5: Procedural Texturing
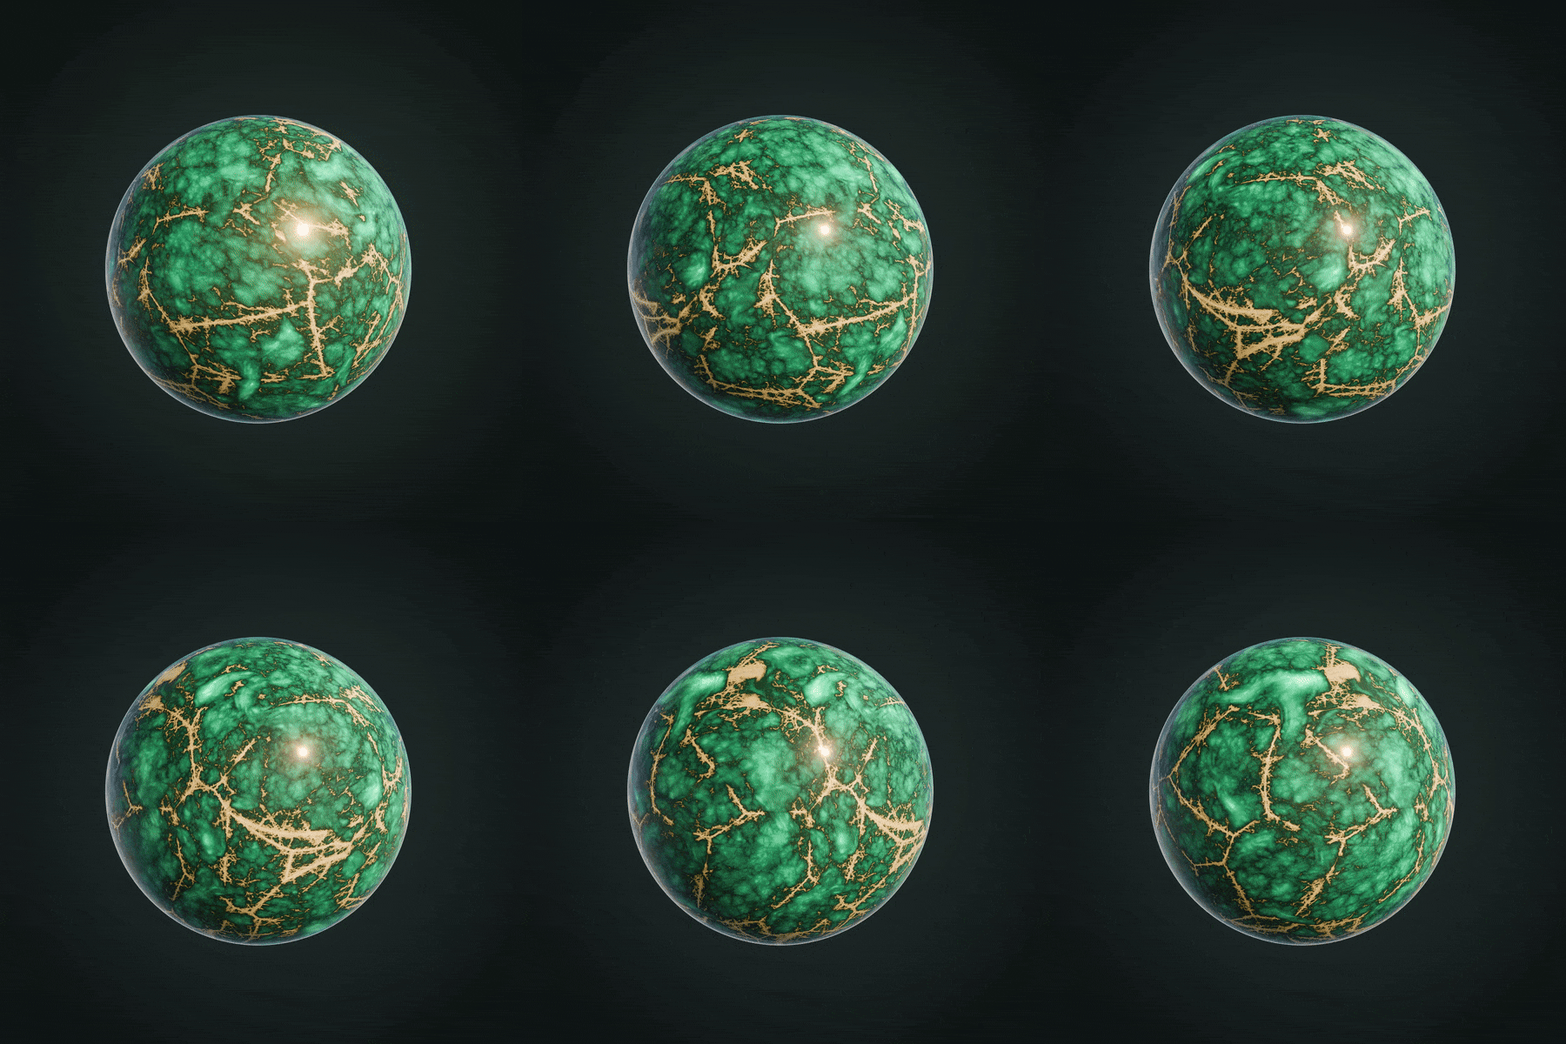
In this chapter we will focus on creating procedural materials using different nodes that allow us to create seamless textures that we will combine into few nice examples, like procedural dust and dirt, green marble with gold intrusions and stylized sand with pebbles. It is also time for a first exercise to create a procedural rusty metal to experiment with the nodes to get the desired result.
Chapter 6: Texture Painting
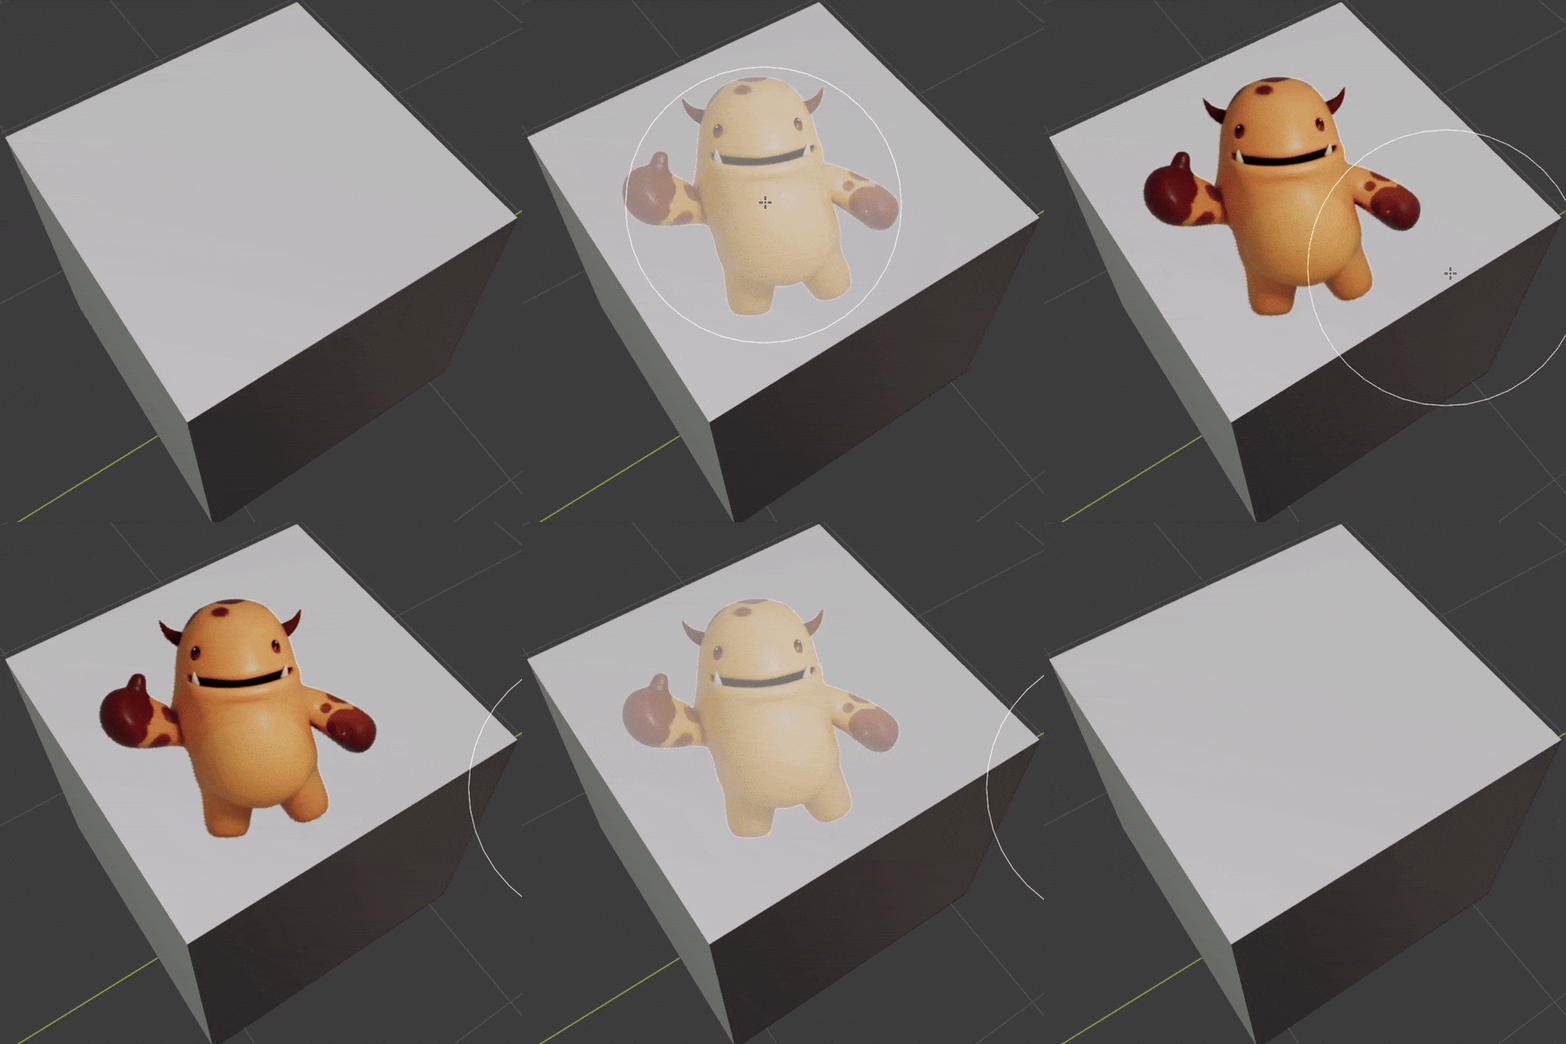
In the sixth chapter we will go through the process of preparing our models to be texture painted and learn what to pay attention to while checking modifiers, scale or naming the objects. After that we will learn how the texture paint mode works and we will create some brushes and other tools that will help us during painting. We will also learn how to use layers to paint even more details and do not overpaint already created textures to work non destructively and see what else we can use for texturing.
Chapter 7: The Complete Texturing Workflow
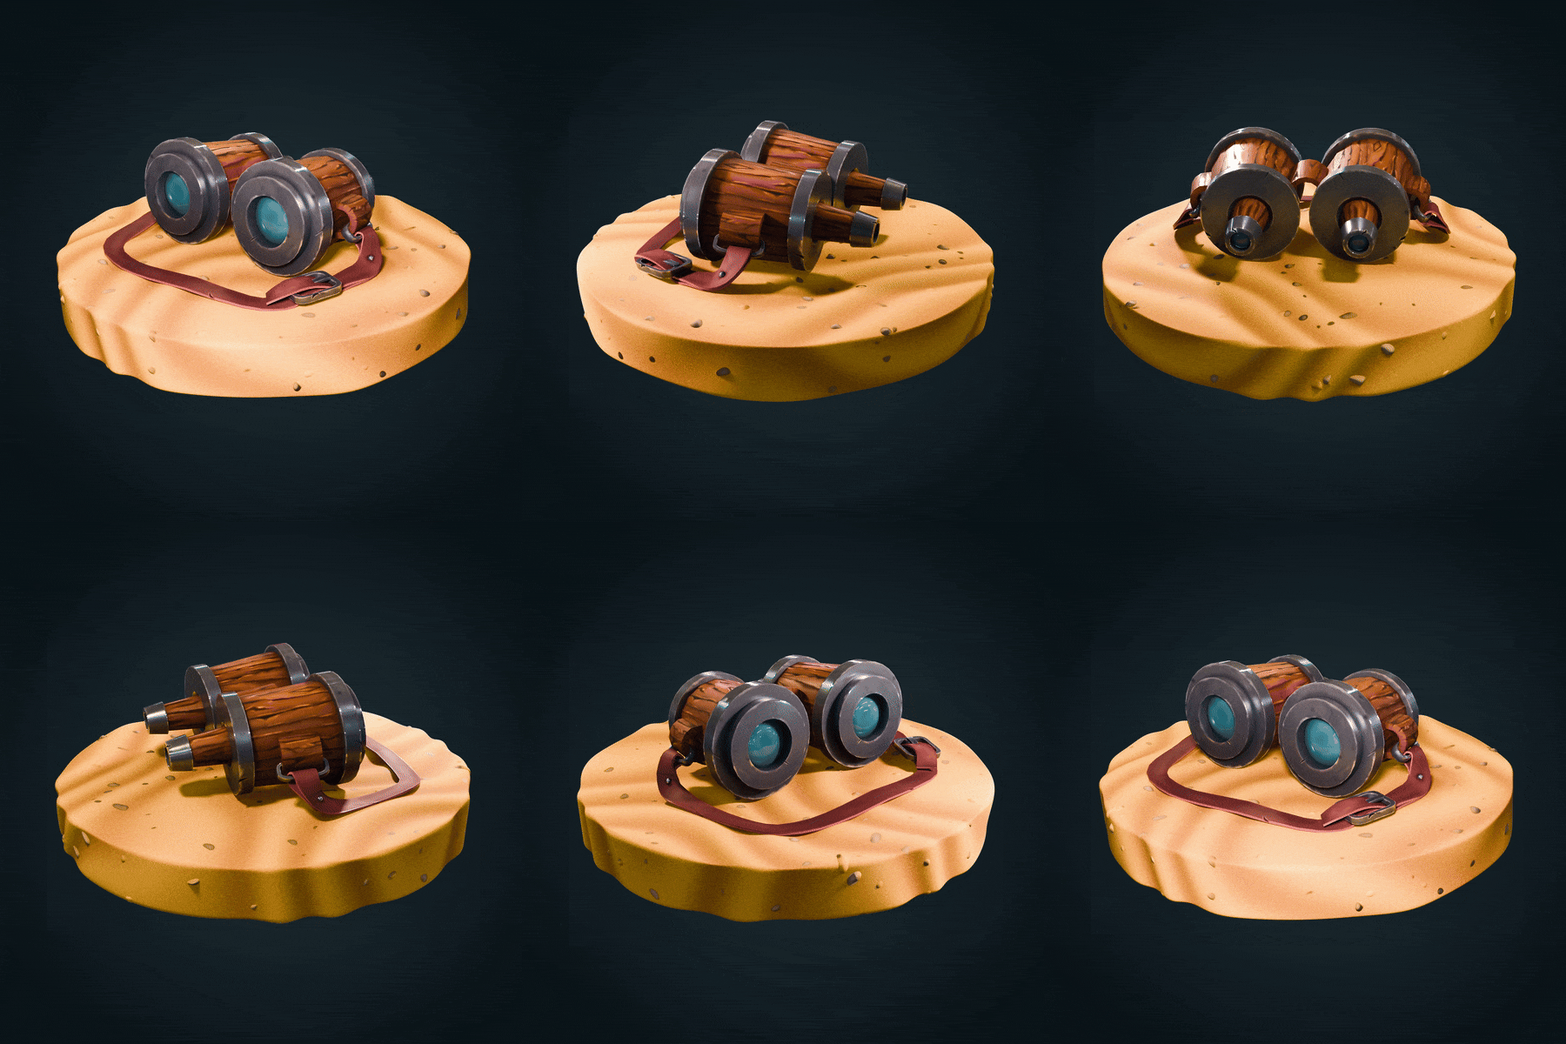
This last chapter will be all about the whole process of preparing the mesh, unwrapping, painting textures by hand using all the tools we’ve learned, using procedural textures to add even more details and then baking everything into one set of PBR textures and learning about the different methods of packing textures to use them in different render engines. After the whole course there is an exercise where you will hand paint the robot model to really nail down everything you've learned.
Want more CG Cookie Courses?
If you get inspired and would like to become a CG Cookie member after purchasing this course, send a message to support@cgcookie.com and we will be happy to help you set up an annual membership while discounting the amount you paid for this course on Blender Market. A membership will give you access to our instructors, our community and 100+ CG Cookie Blender courses. Be sure to mention your Blender Market Order ID and we will take it from there.
For more information, visit cgcookie.com or head over to our Creator Profile here on Blender Market.


