The Blendinator | Comprehensive Head Tracking Vfx In Blender
20% OFF COUPON - BLENDINATOR2024
THE BLENDINATOR will help you get started with VFX in Blender NOW! Turn yourself into the Terminator (or any other character) by tracking real world footage of your head and adding awesome CG elements to it using only FREE software!
Get started with no hassle:
- No money needed (apart from this course)
- No 360 degree camera needed
- No fancy equipment required
- No plugins required
- No fancy phone apps
- Step-by-step instructions from start to finish
- DIY - Start creating on your own today
All you need is a cell phone and a great imagination!
Watch the Course Overview:
---------------------
Hello! If you’ve clicked on this course, you’re probably a complete nerd like me! And nerds like us have wonderfully active imaginations. We also love movies. And those movies ignite our imaginations to run wild.
Ever wanted to be Batman actually wearing the bat suit? Ever wished you were armored up in Tony Stark’s hi-tech, titanium-nickel alloy power suit? Ever wanted to have a metal exoskeleton hidden underneath an innocent layer of fake human skin – only to be revealed upon epic battle wound damages?
THE BLENDINATOR can help you get started on bringing your imagination to life right now using VFX in Blender – all on a zero to low budget!
Obviously for me, I’ve always wondered what it would be like to be the terminator. But, you’re not limited to the terminator. This course will teach you the basics of using Head Tracking VFX in blender to turn yourself into whatever you can imagine!
---------------------
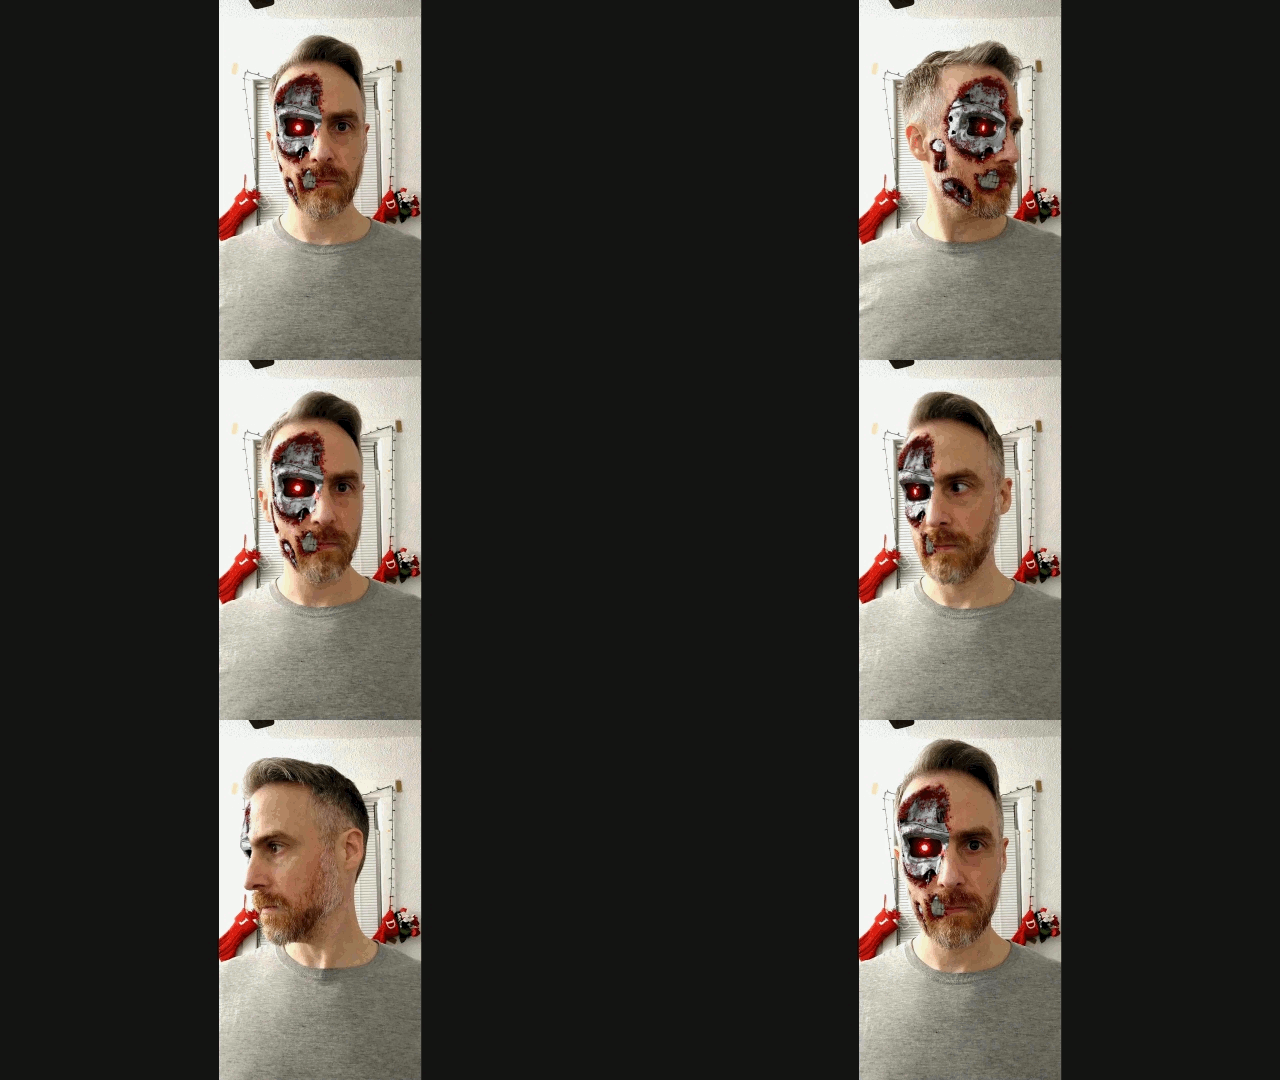
THE FINAL RESULT
---------------------
Chapter 1 - Filming & Prep
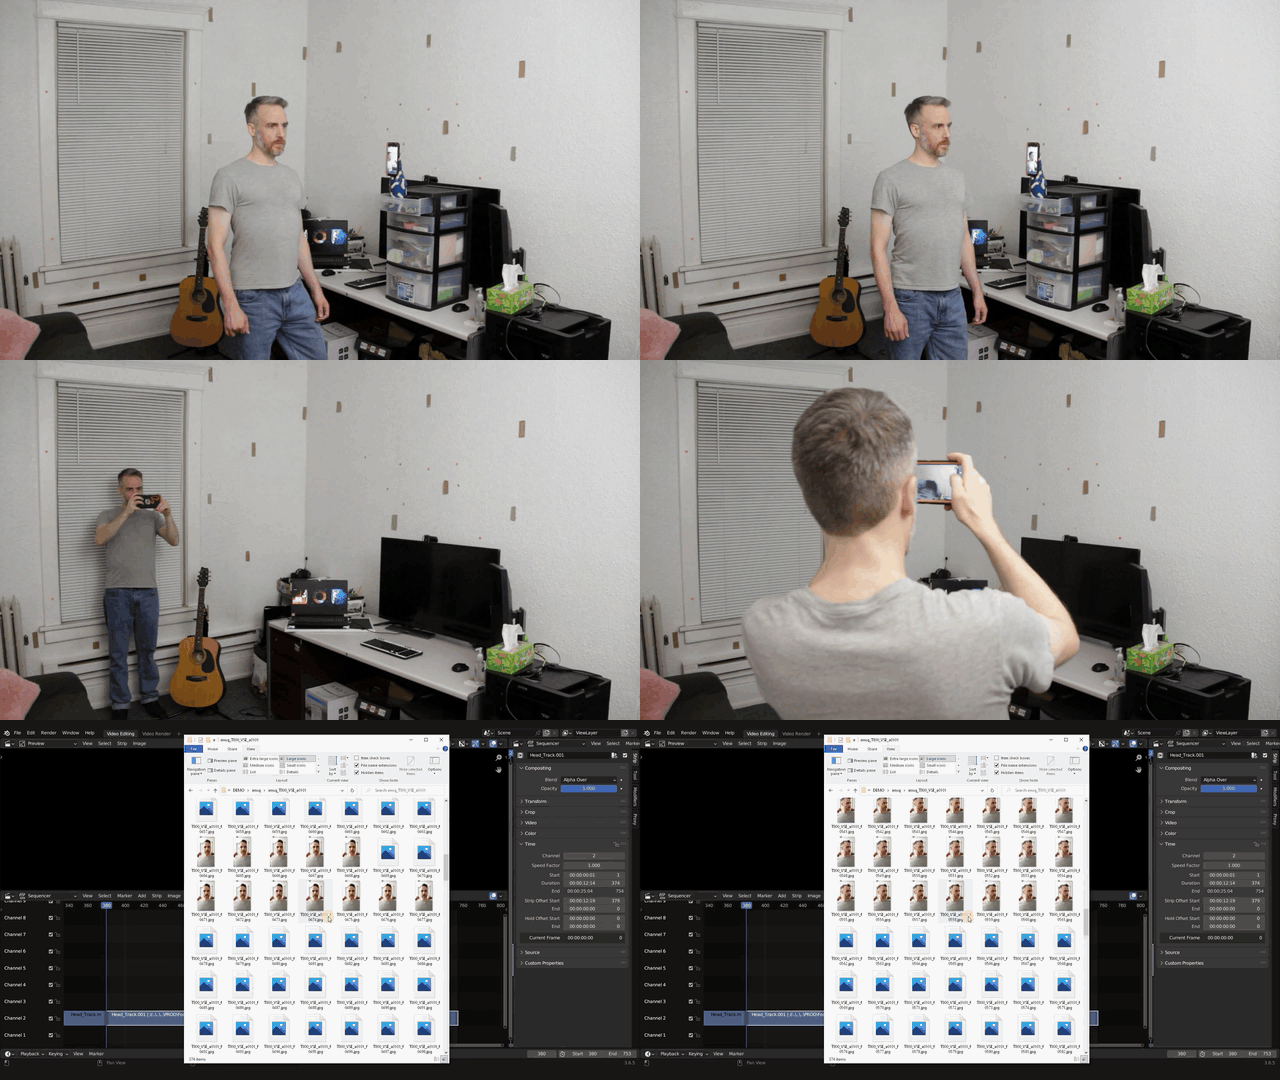
This chapter is all about filming and preparation. I will show you how to go about filming your shot with tips and tricks I learned along the way. I will also give you some advice to avoid mistakes that I originally had made. Then you will learn how to import the footage into Blender in order to render out an image sequence.
Chapter 2 - Object Tracking
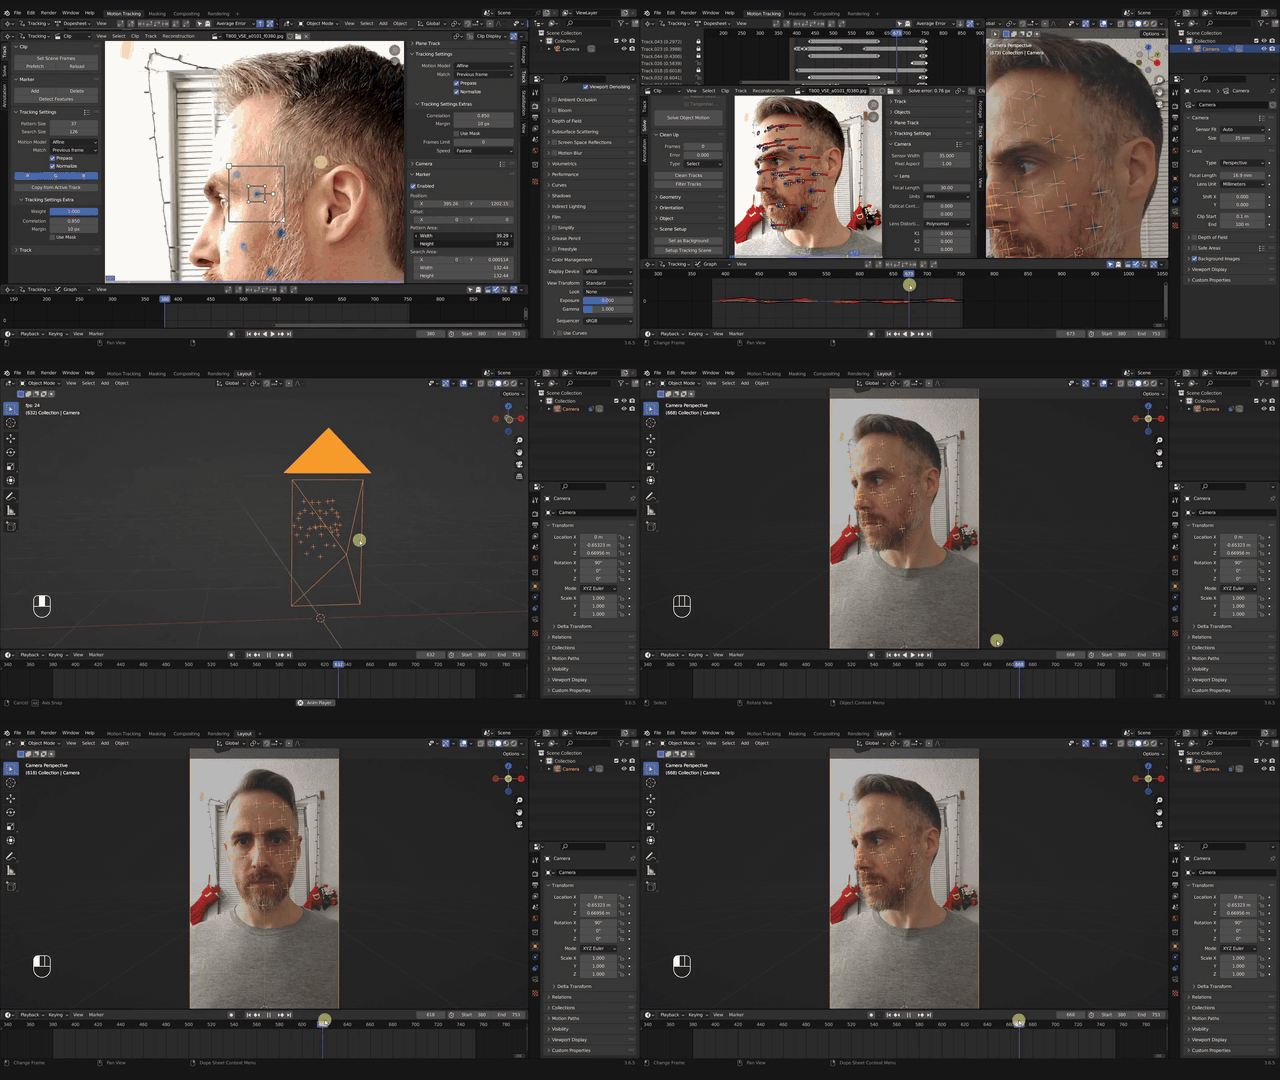
In this chapter, you will take original footage you filmed, track the markers on your face, and generate a good solve that creates a 3D rendition of the motion of the head. In the first half of the chapter, I will show you my personal tracking workflow. In the second half of the chapter, I will show you various tips, tricks, and techniques for how to get a good solve error, which are just fancy words for a good 3D tracking calculation.
At the end of this chapter you should be able to recreate the motion of head movement in 3D space using a combination of various techniques.
Chapter 3 - The Skull
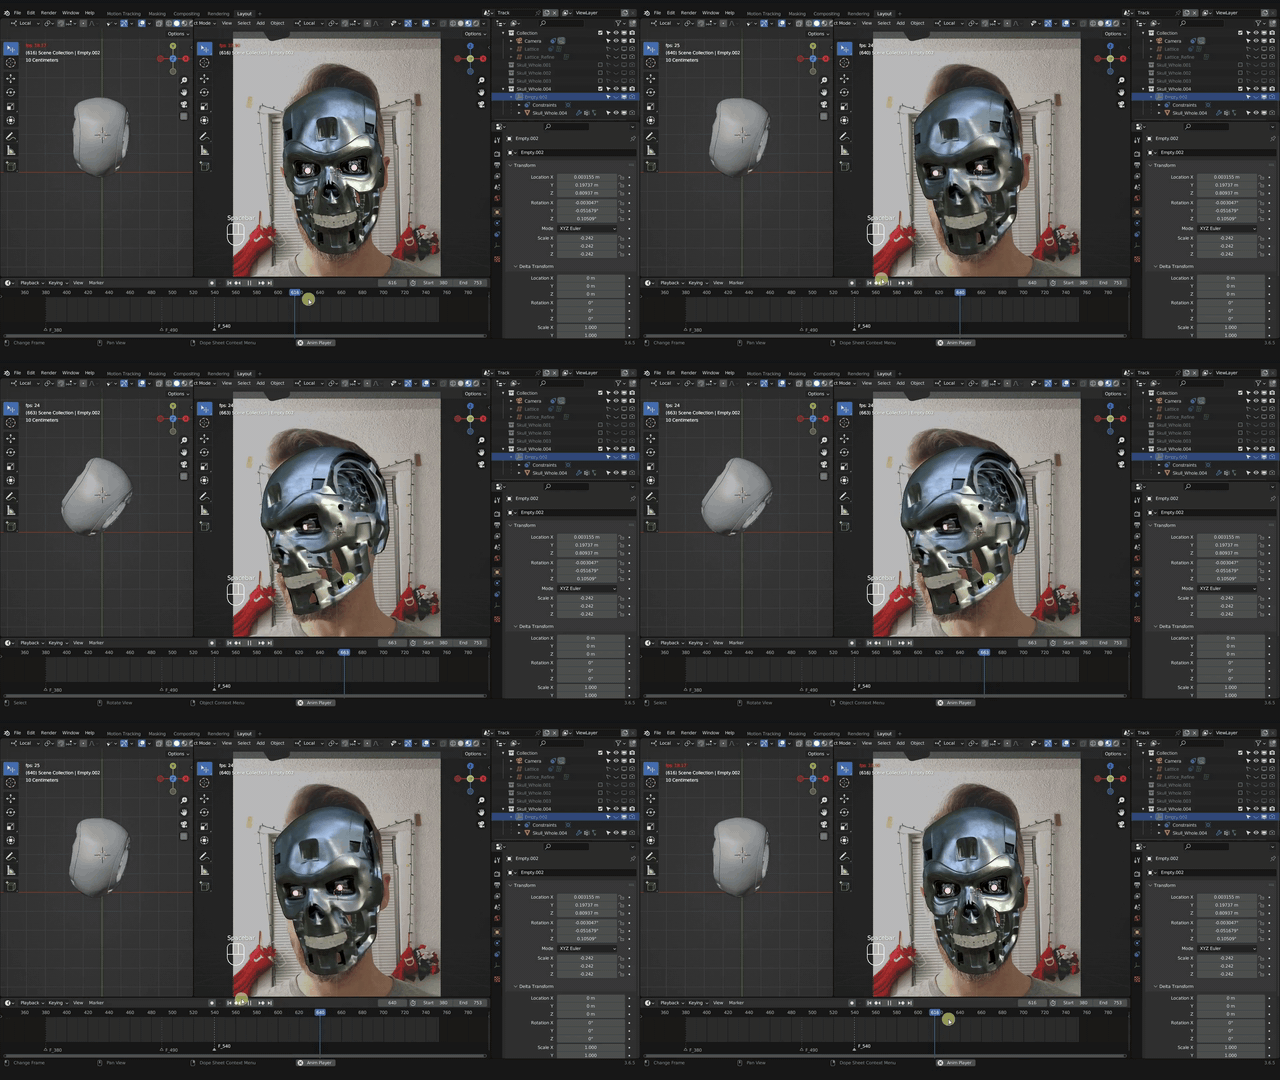
In this chapter, you will take the Terminator skull that is included in the course and shaping it to fit the subjects head.
First you’ll learn how to parent the skull to the 3D trackers so that it moves with the motion of the head. Then you'll learn how to start fit the skull geometry to best match the shape and contour of the head.
This chapter also includes debugging any tracking glitches in order to fine-tune and make your motion tracking match the footage and skull as tightly and smoothly as possible.
By the end of the chapter you should be able to attach and fit a 3D skull to match real world footage of a turning head.
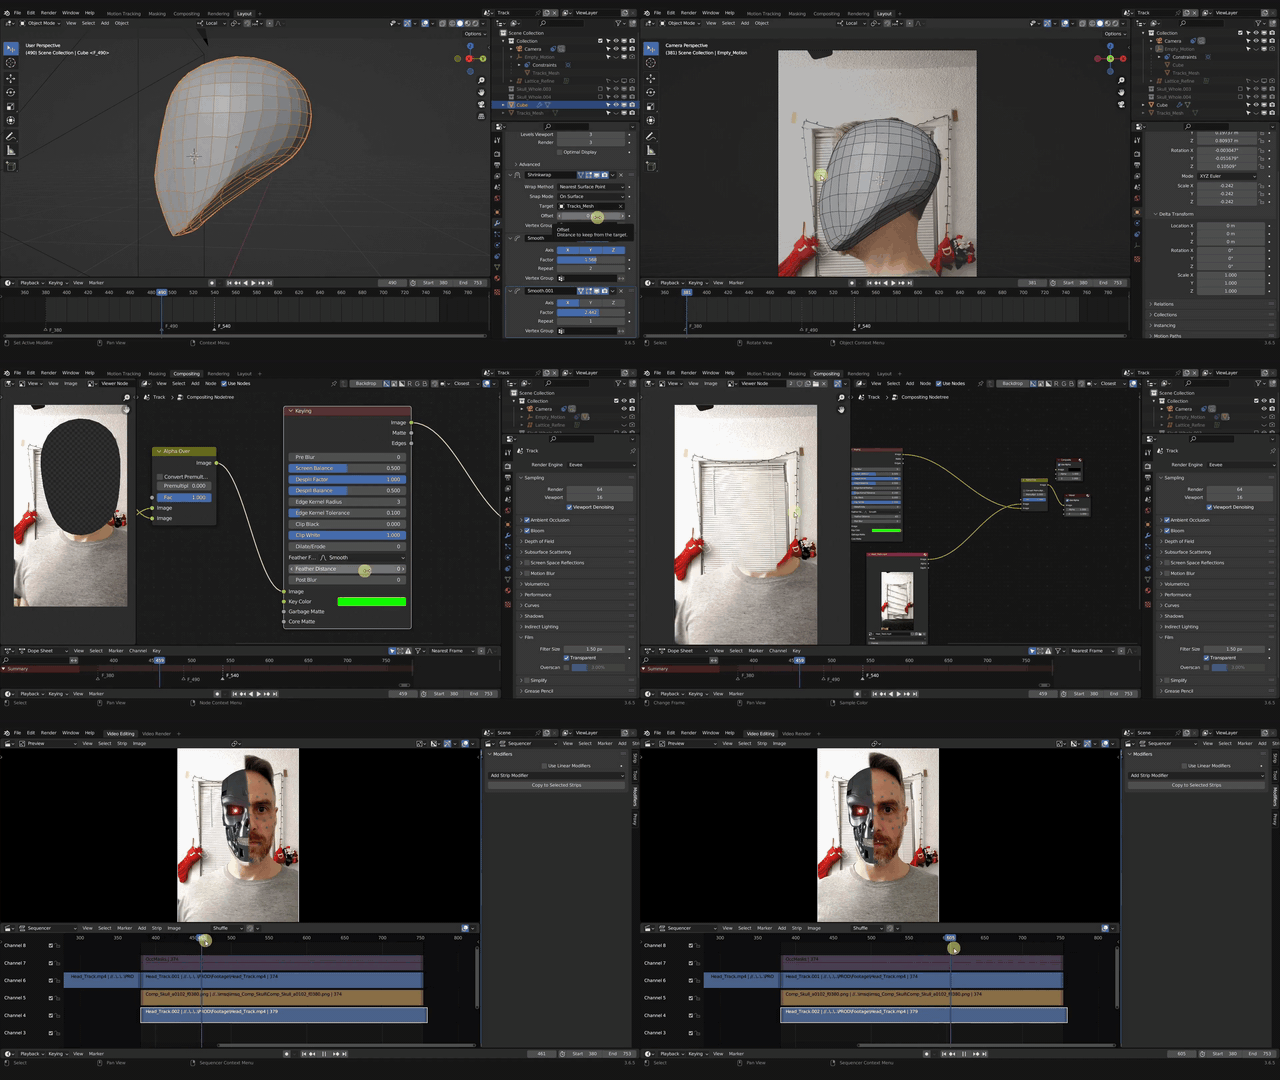
Chapter 4 - Negative Space
This chapter is all about creating negative space in your footage in order to make room for 3D objects. First we'll start by creating a 3D mask that will be used to cut out the head from our footage and replace it with the clean plate of our background. Then we’ll use the mask along with various compositing techniques to create negative space and combine CG elements with your footage.
At the end of the chapter you should have full knowledge and understanding of how 3D masks work in Blender and be able to use them in compositing to create negative space in your footage.
Chapter 5 - Skin & Wounds
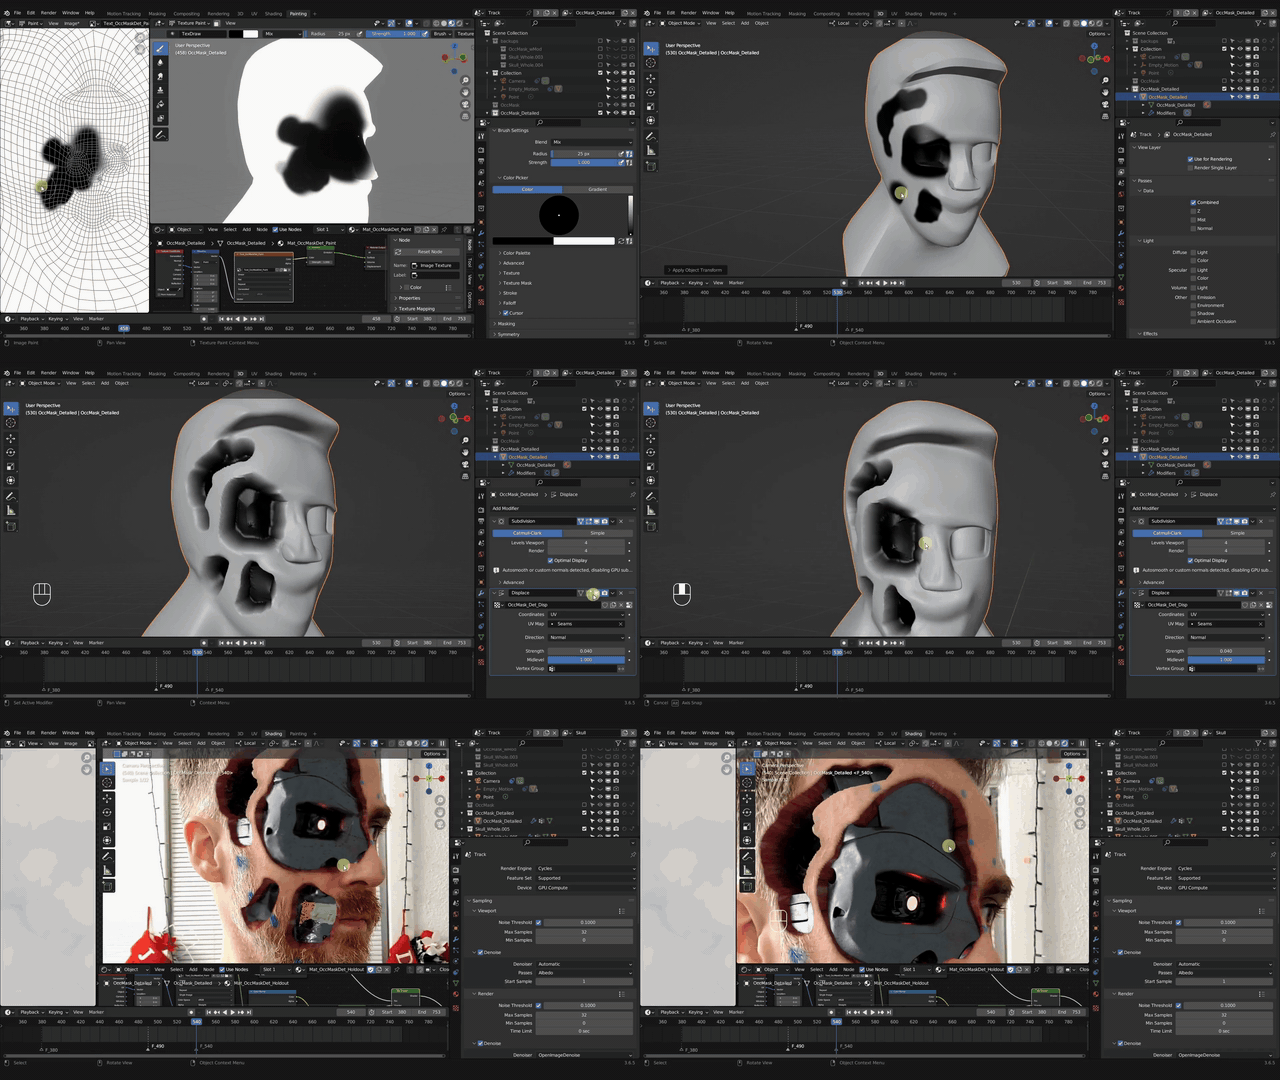
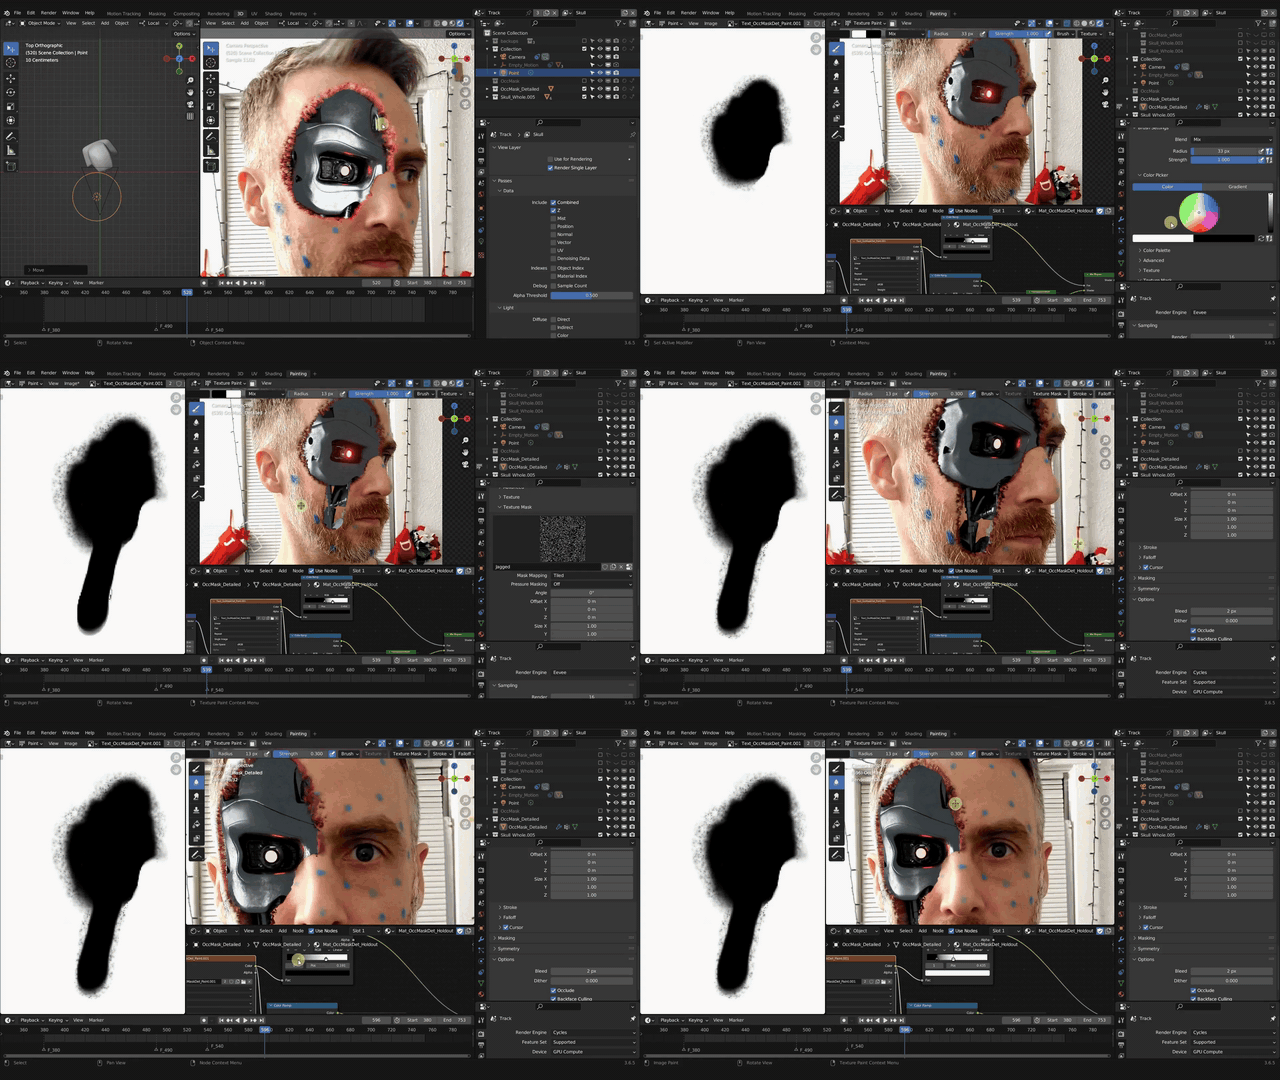
We'll take the concepts and techniques of the previous chapters and introduce texture painting in order to start creating wounds on our face. We'll paint different spots onto our black & white masks in order to tell blender where the wounds should be located.
From those, we’ll generate a displacement map, giving the wounds depth, including materials that alow you to adjust the amount of depth and thickness with simple sliders.
Once you complete the chapter, you should know how to add light "gore" to your scene by painting wounds onto a face with texture painting, masks, materials, and Blender's shader editor, in order to reveal the 3D metal skull that appears to be beneath the skin.
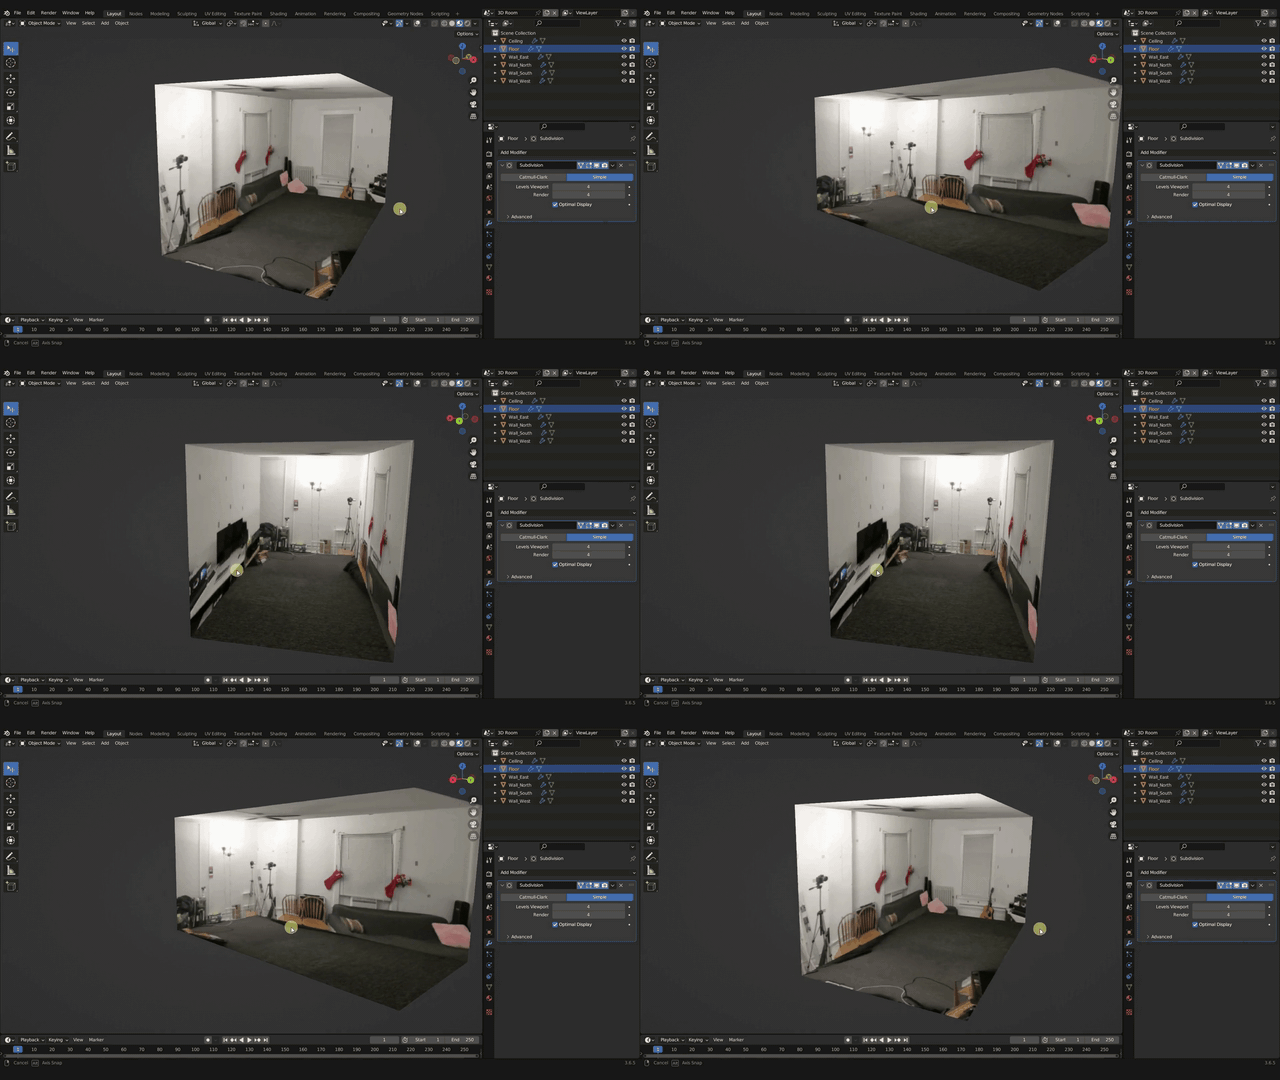
Chapter 6 - Simple Box Room
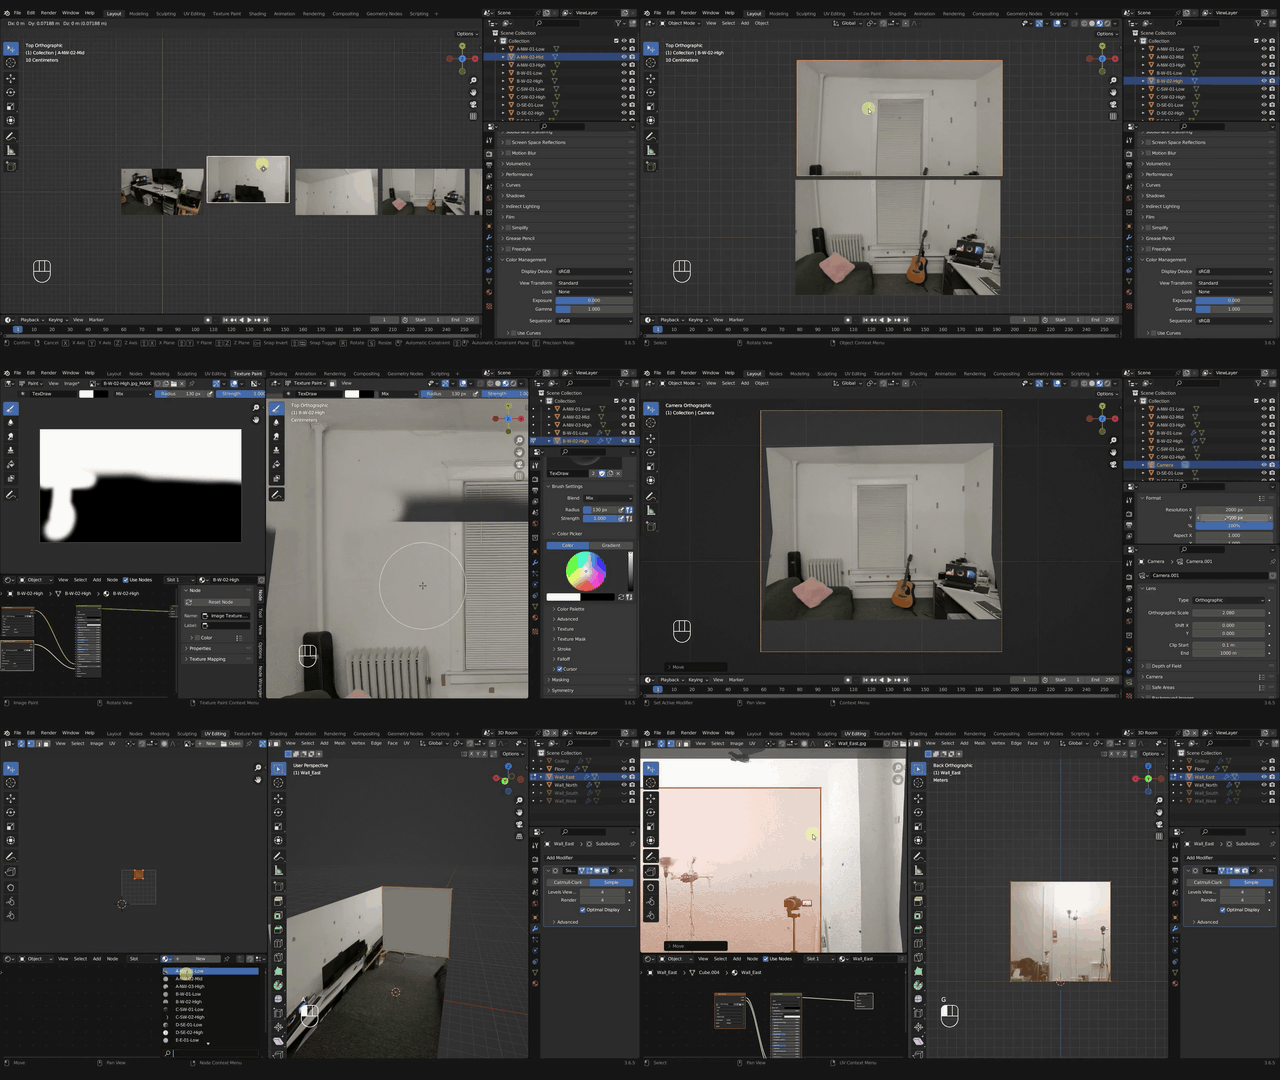
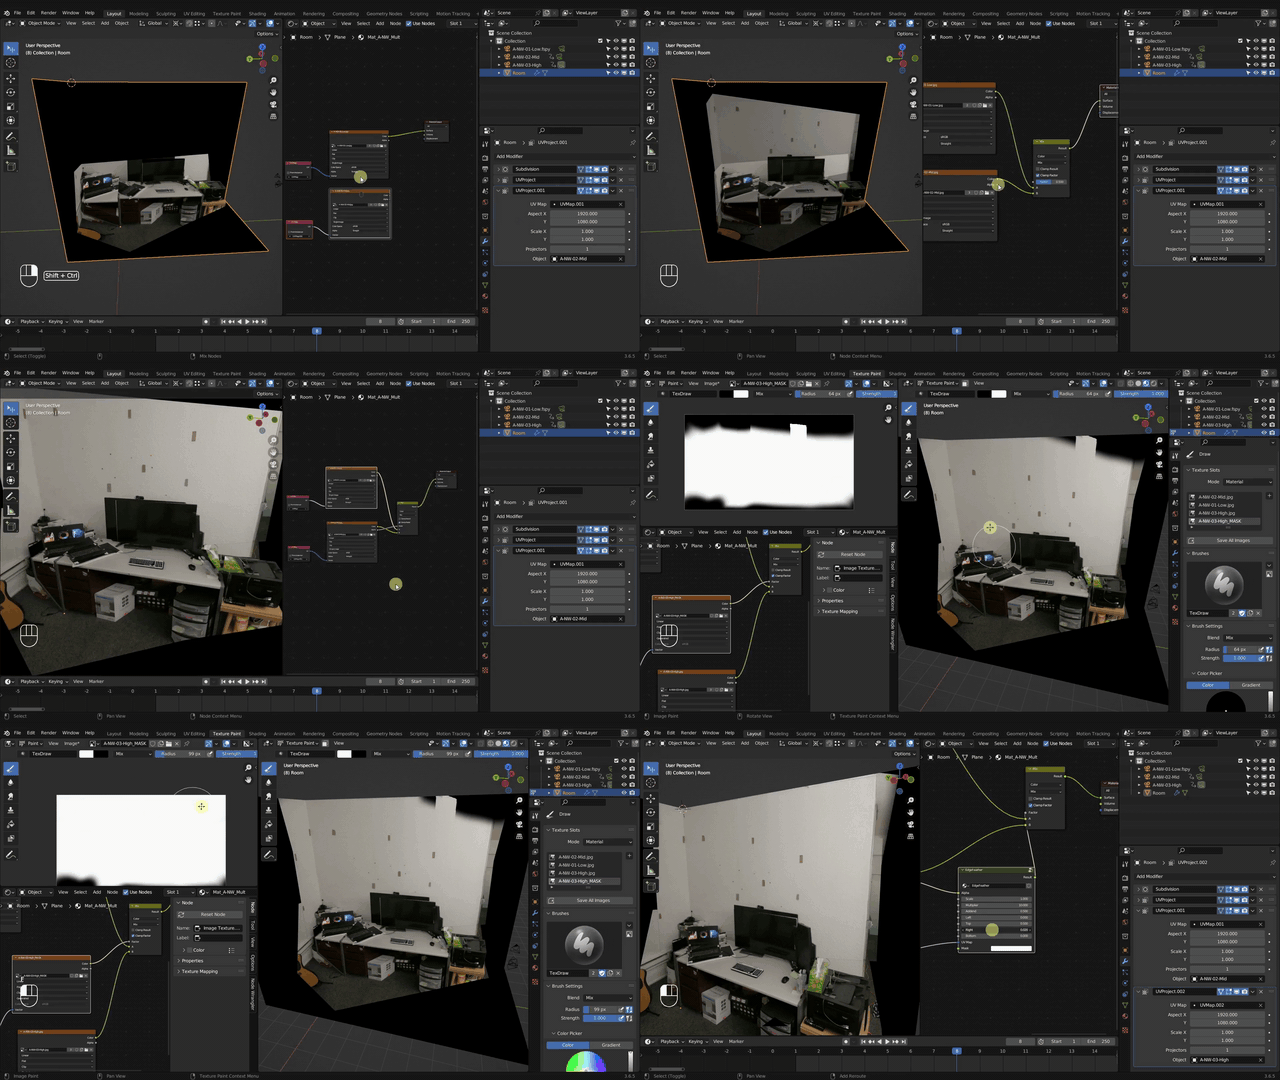
This chapter is a quick & dirty introduction to rudimentary environment creation, showing you how image-based lighting can cast accurate reflections off of the skull. The chapter was created specifically for those who do not have a 360 degree camera and need to quickly stitch photos together in Blender for a simple interior room.
When you're done with this chapter, you should be able to stitch photos together to create a simple environment box of an interior room that will reflect off of your CG objects, adding to the realism of your scene.
Chapter 7 - Face Marker Removal
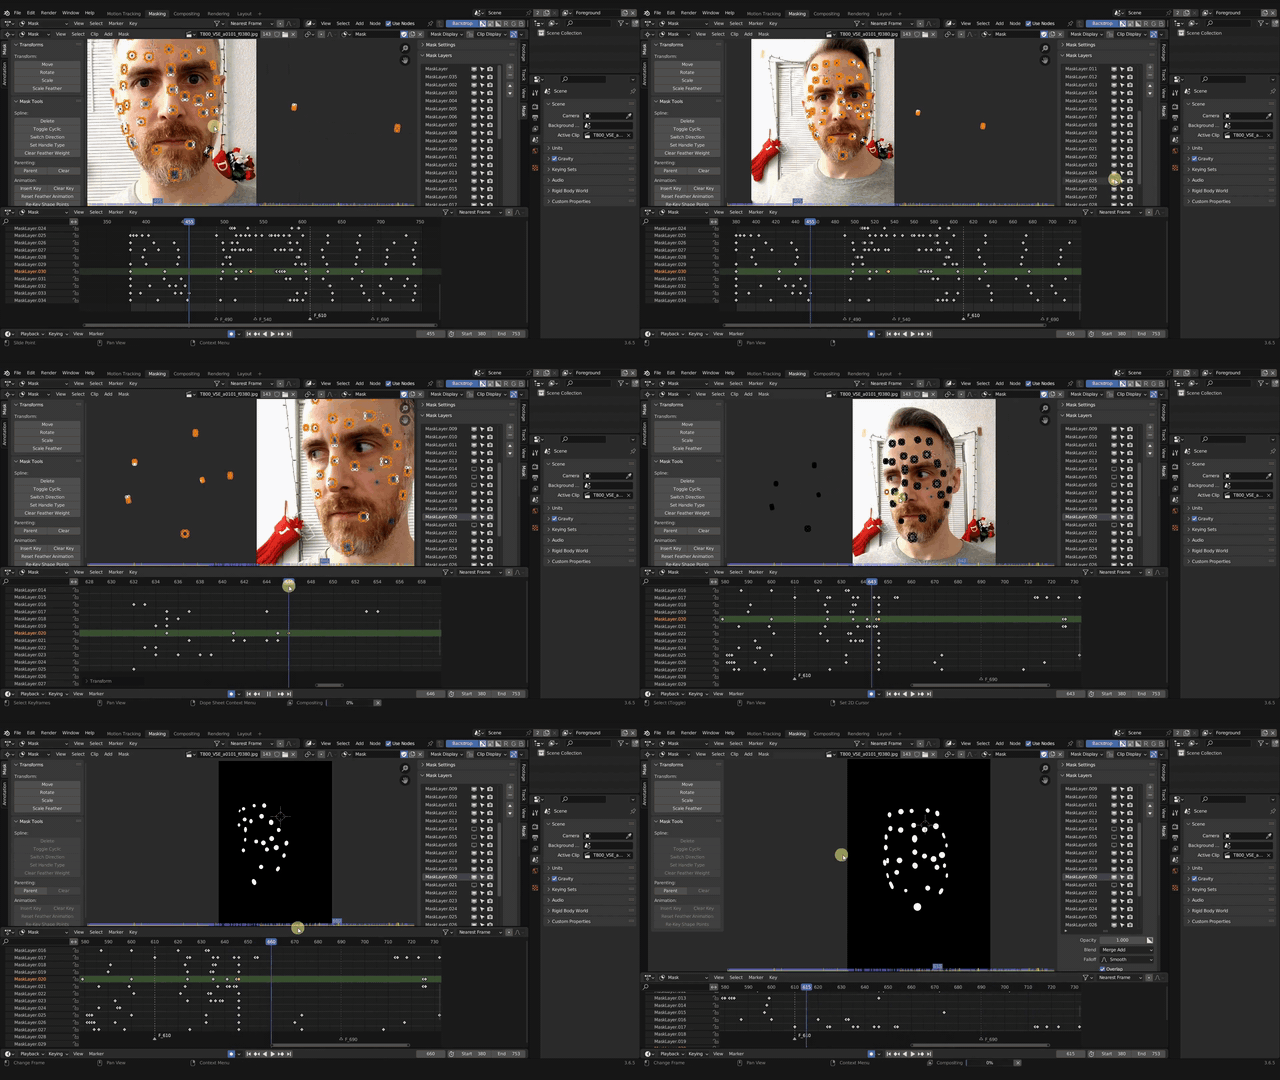
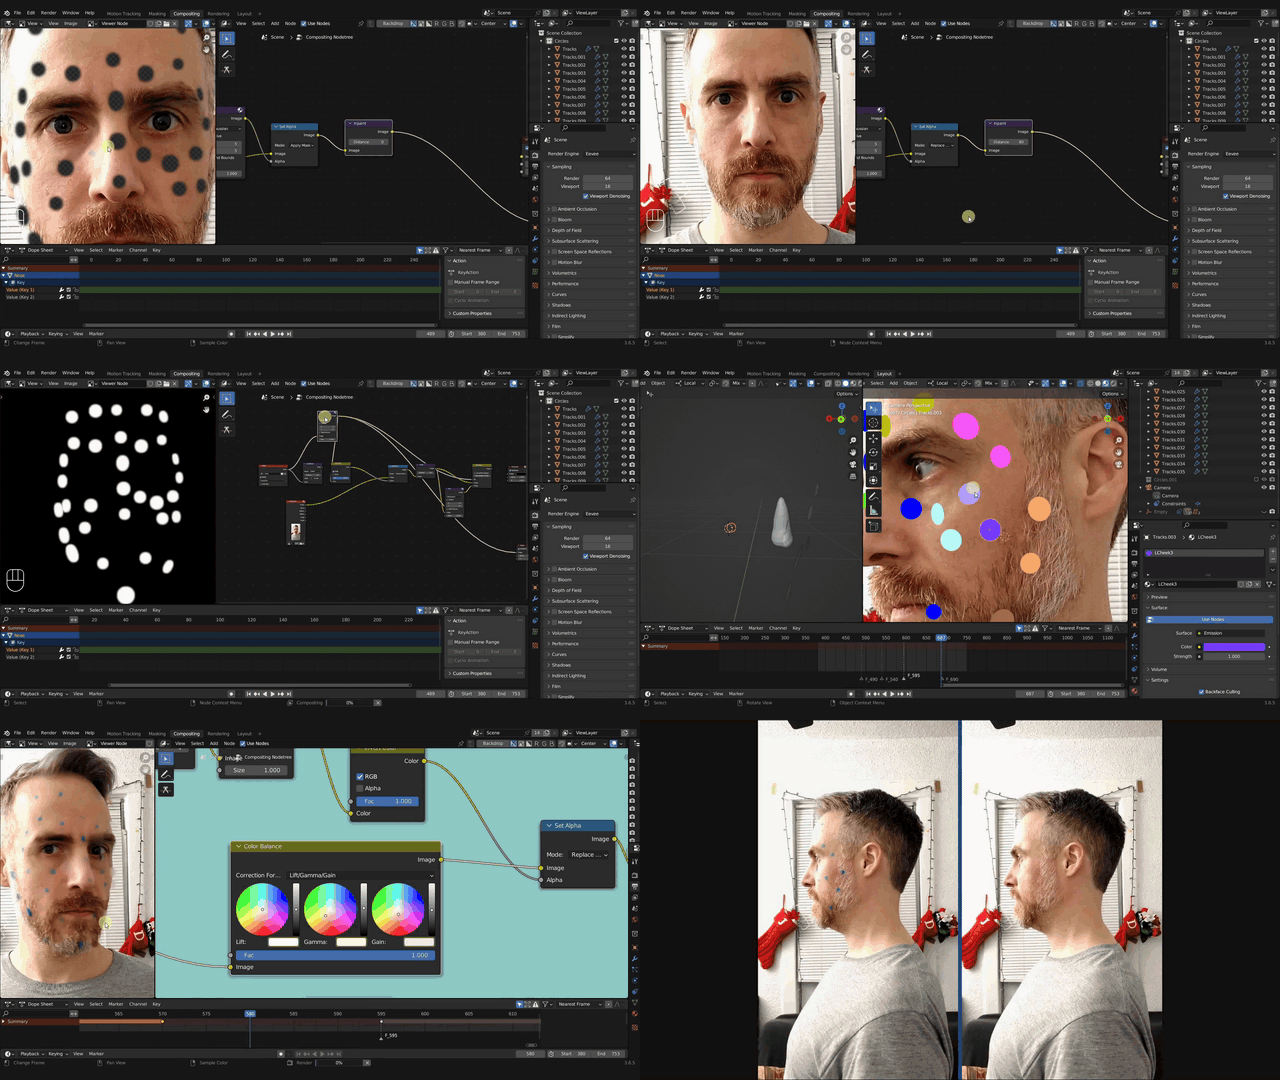
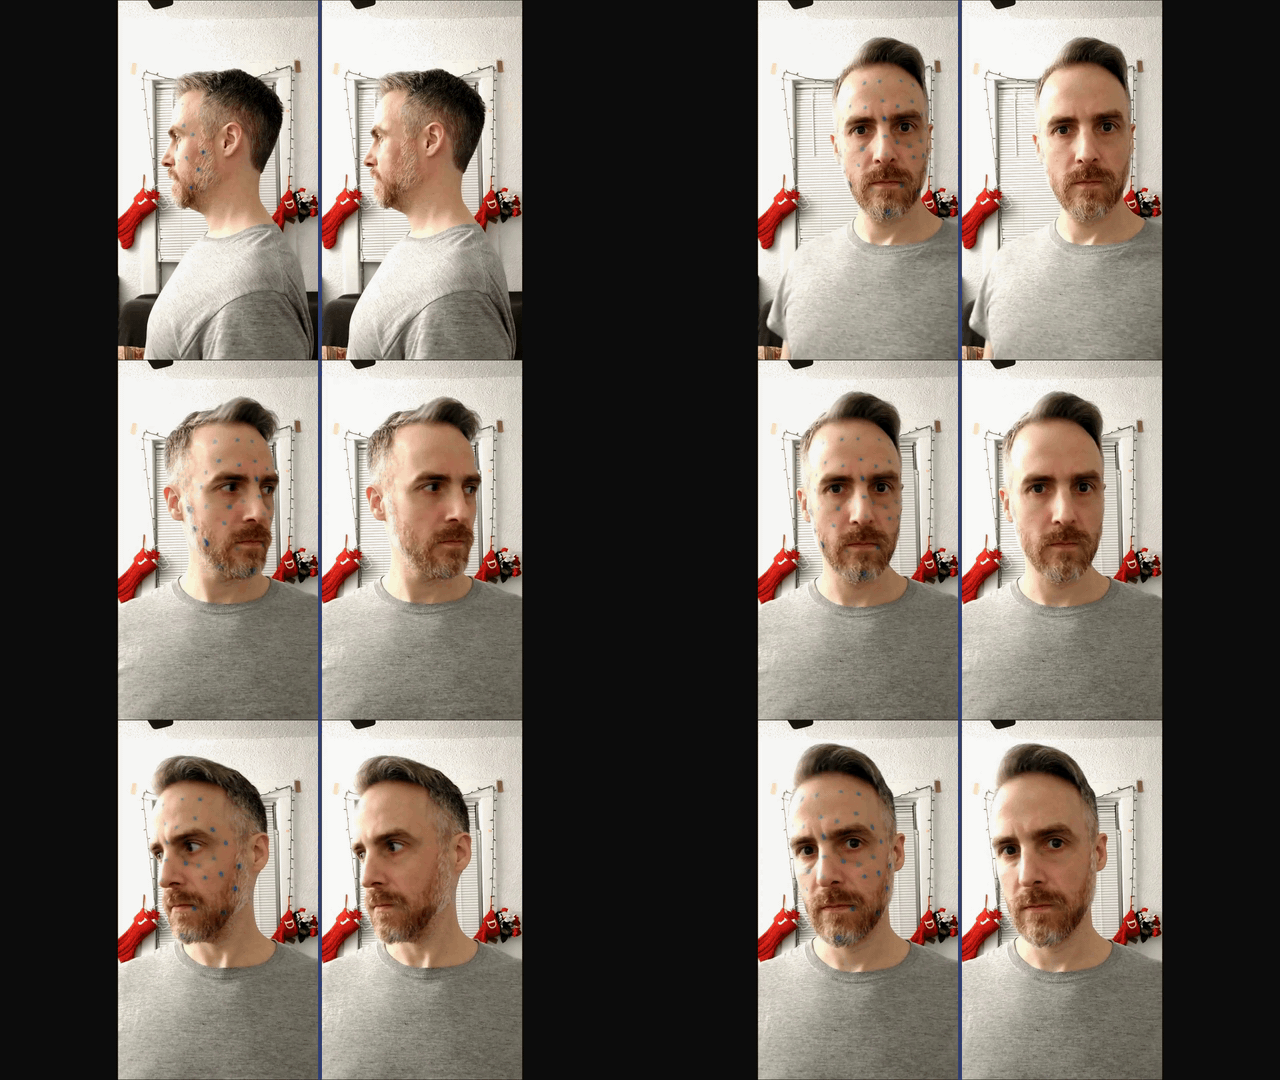
This chapter is an introduction to 2D and 3D masking techniques that you can use to remove face markers. First, I'll show you the traditional 2D masking workflow that is very common among VFX artists. Then you will learn a much faster techinique using 3D trackers generated by Geometry Nodes.
You will also learn compositing workflows for basic marker removal as well as several advanced techniques you can use in order to get rid of bad markers.
Chapter 8 - Intro to Projection Mapping
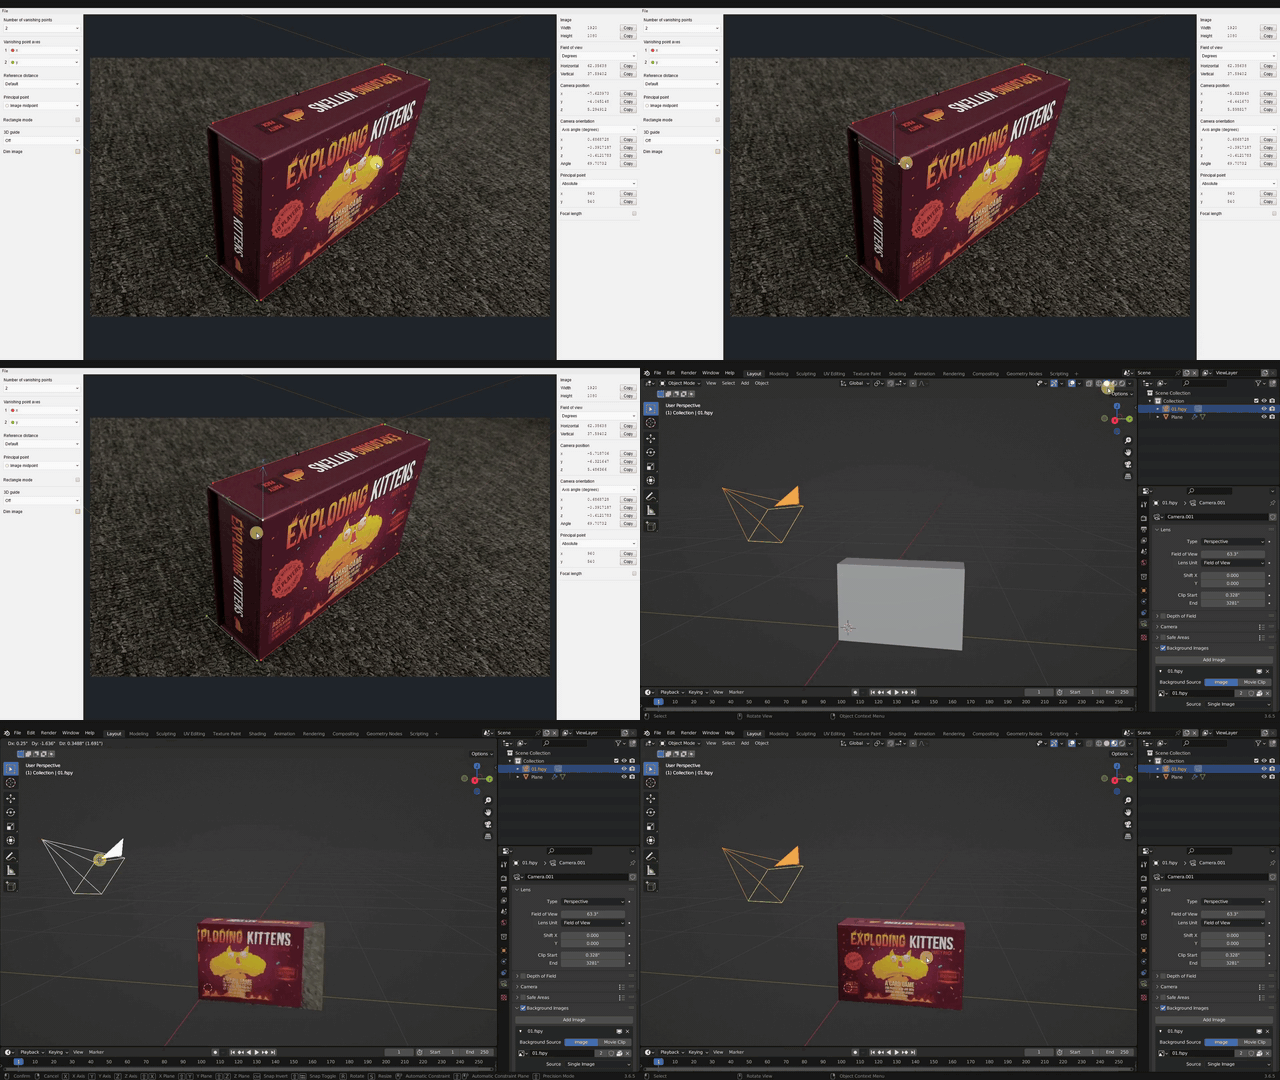
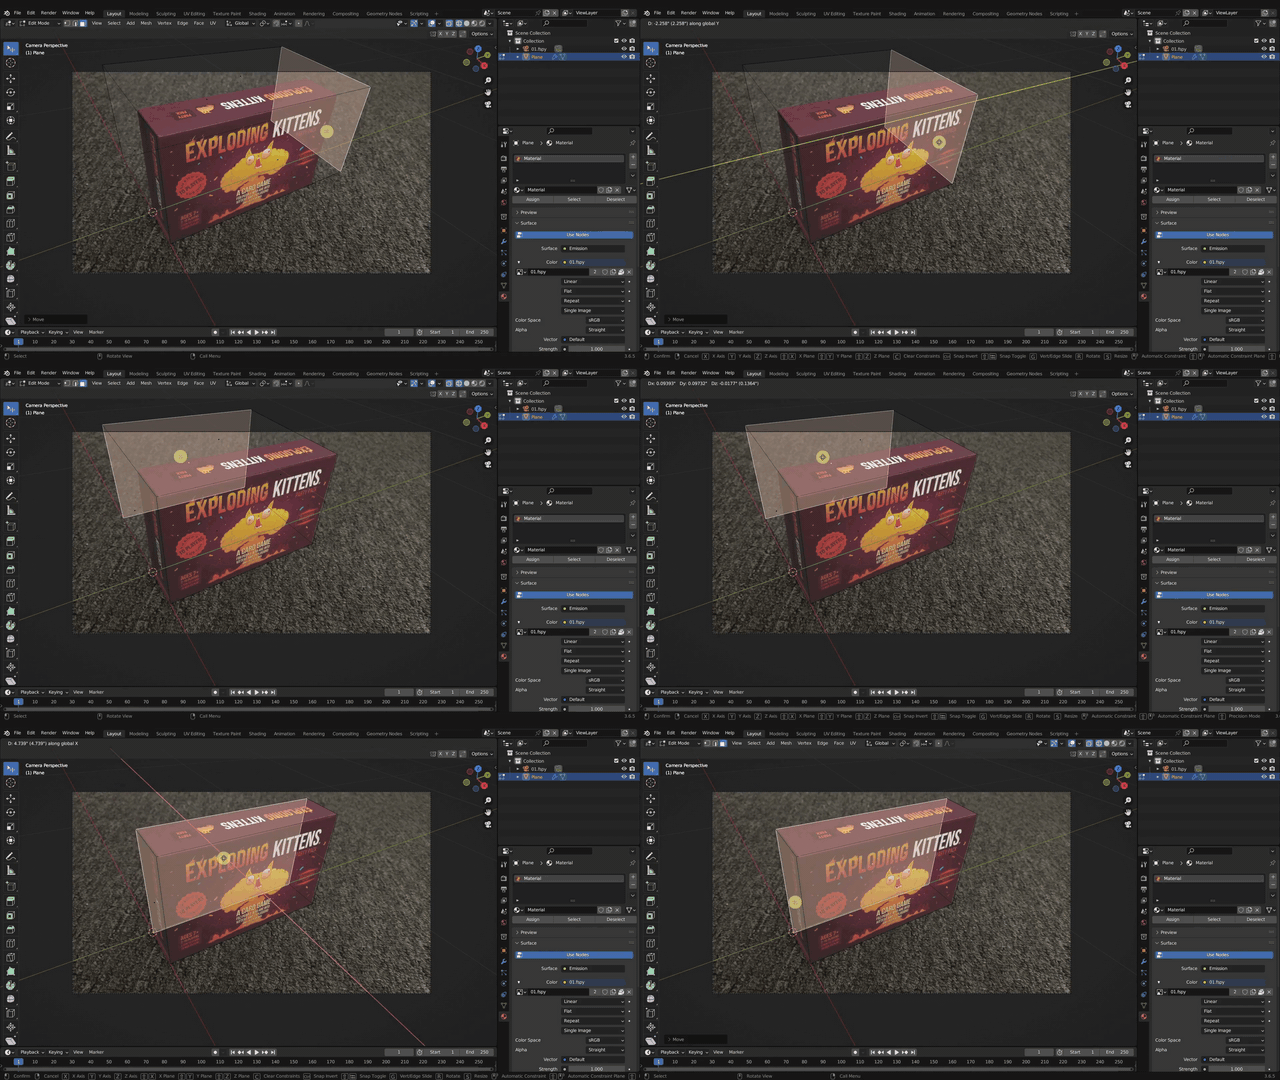
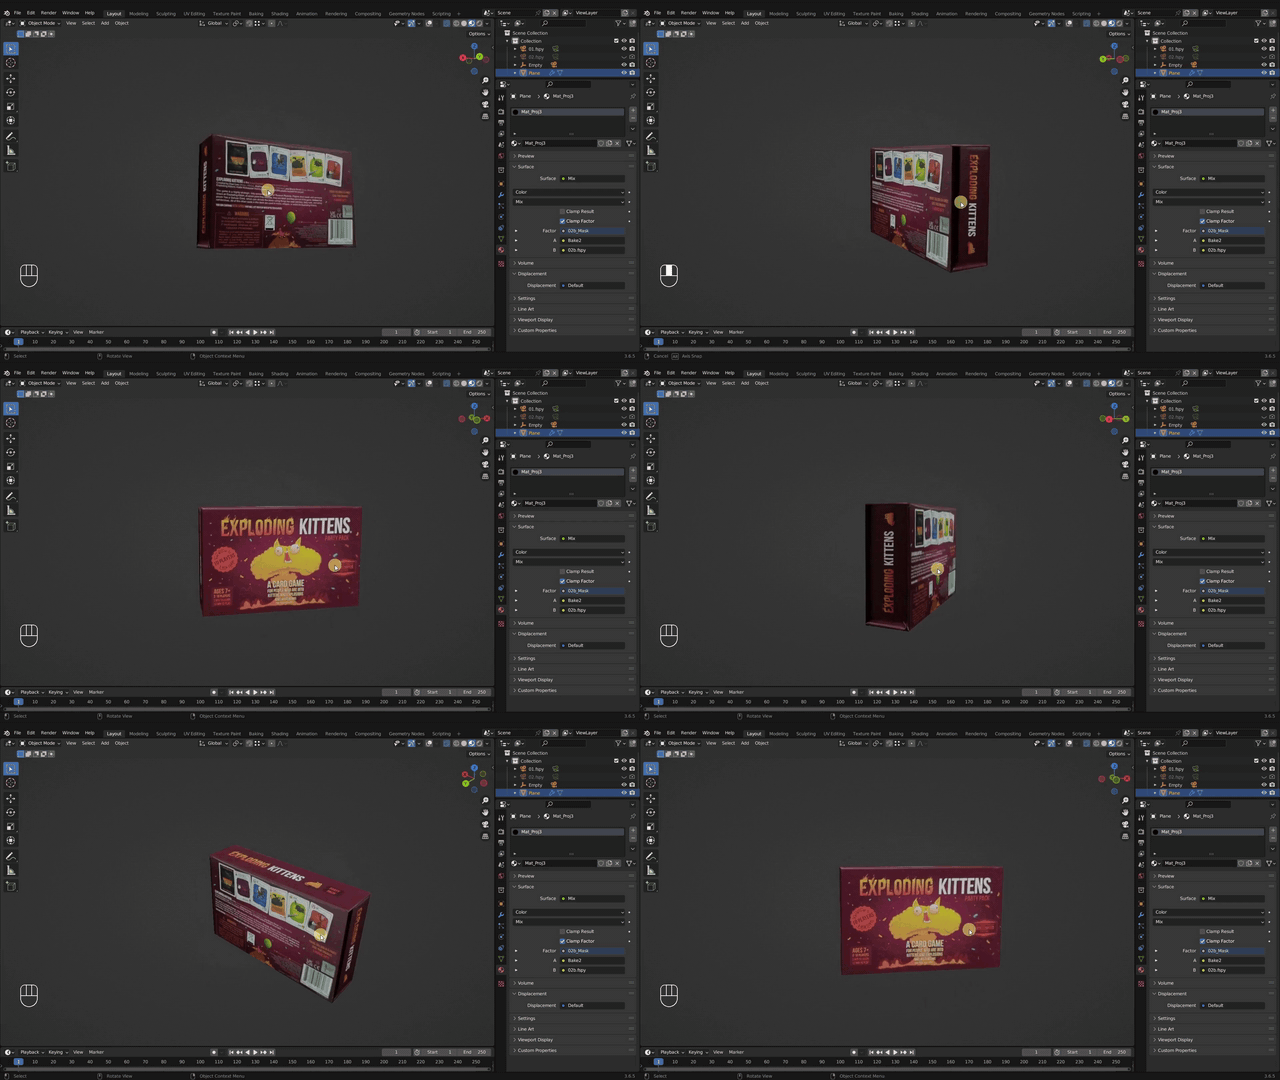
This chapter introduces projection mapping using Blender along with a free and open source program called fSpy. I take you step-by-step through the entire projection mapping process to create a simple game box. You’ll learn how the UV Project modifier works, how UV maps work, and how the two interact with eachother.
By the end of this chapter, you should be able to use fSpy to create and import single and multiple cameras into Blender that project images from different angles in order to build 3D objects from the real world.
Chapter 9 - Projecting the Living Room
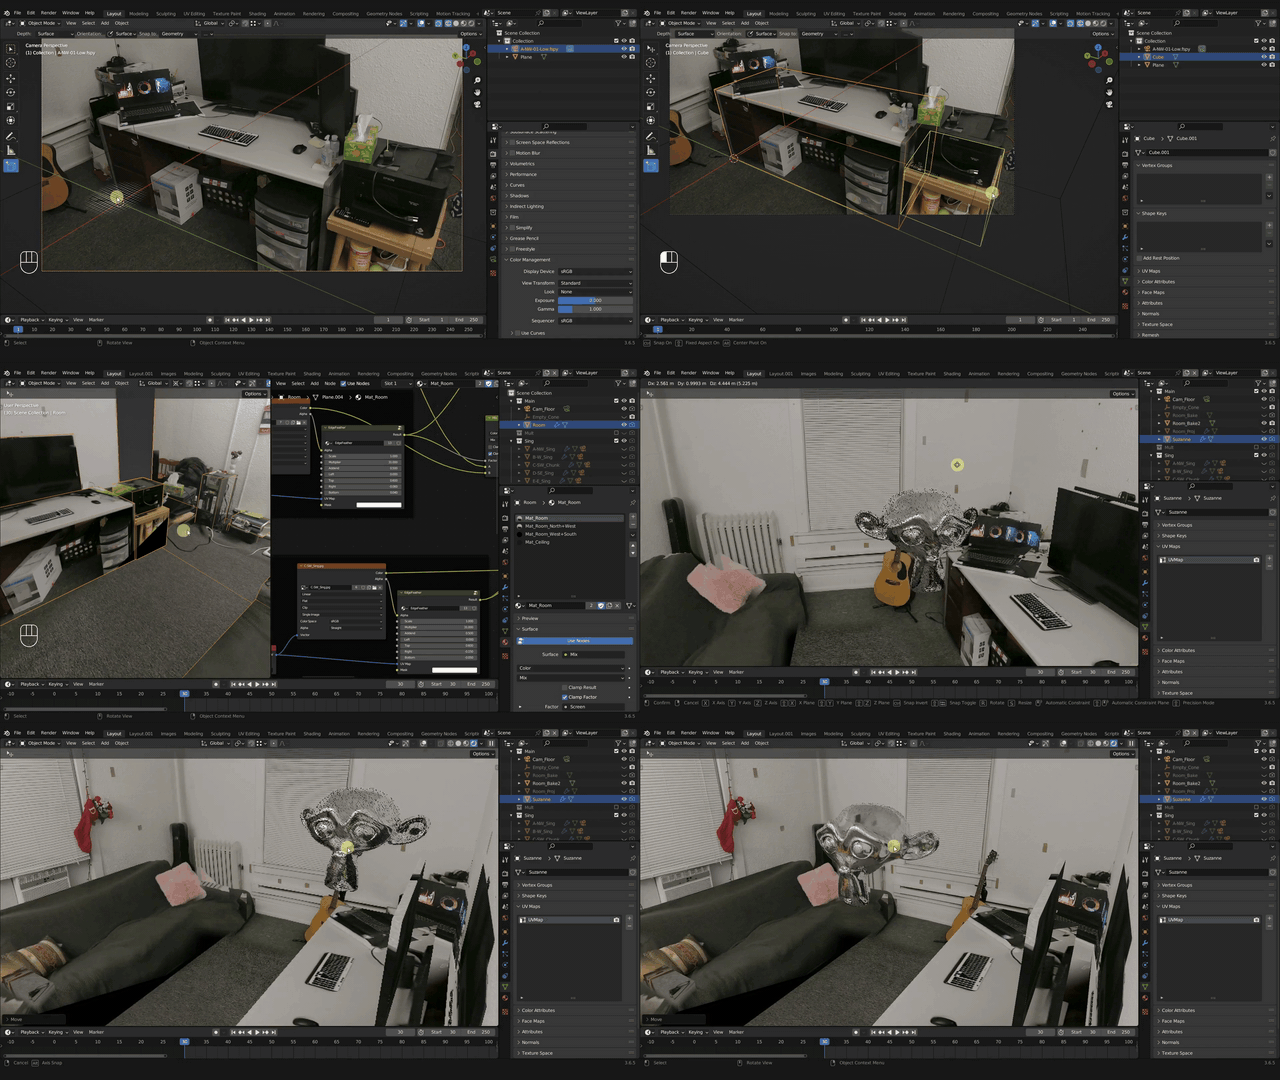
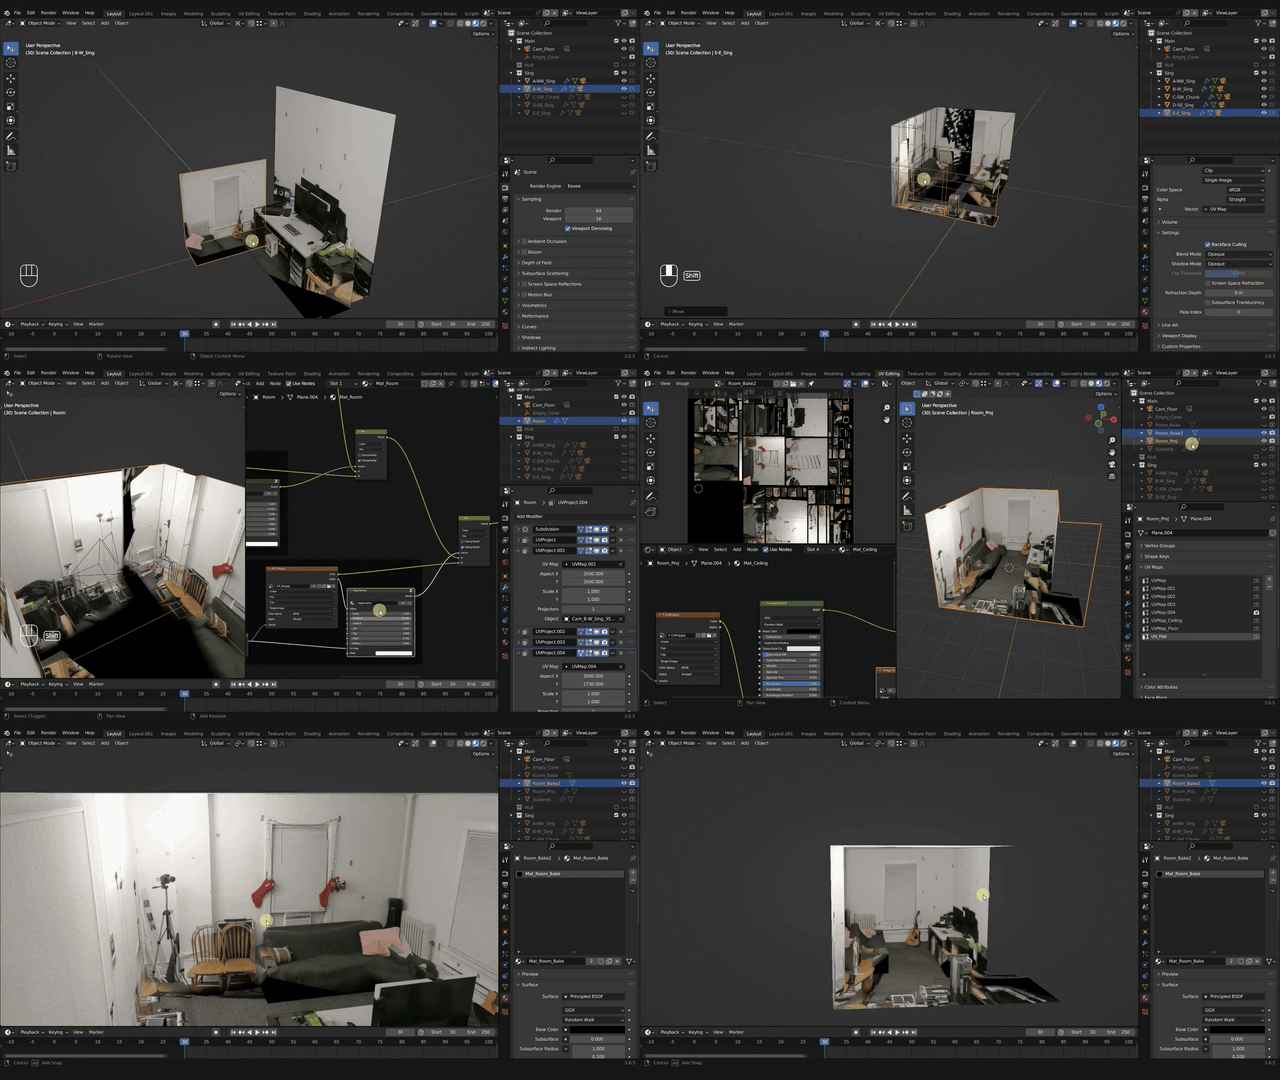
This is the final chapter where we will take the projection mapping concepts from chapter 8 and create a rough, low poly interior living room in 3D. This will ensure that the metal skull has accurate lighting and reflections. This chapter goes beyond chapter 8 and introduces all sorts of new techniques to help piece together an entire room.
At the end of this chapter you should be able to produce accurate lighting and reflections on your 3D models by using overlapping images taken of an interior room to recreate a rough, low poly, 3D version of it using fSpy and Blender.
But there are plenty of free YouTube tutorials about object tracking!
Why buy this course?
Great question! Here are just a few simple reasons. The Blendinator:
- Has more comprehensive lessons than YouTube tutorials
- Tracks footage with more advanced head motions (not just slight movements)
- Has more fine-tuning options for tracking, masking, and modeling
- Has more debugging techniques to fix tracking errors
- Demonstrates more advanced masking/compositing workflows
- Introduces more problem-solving techniques when encountering obstacles
- Includes never before seen techniques for projection mapping & world building
- Includes all the Project Files:
- 3D terminator-like metal skull
- All the .blend files for the results of each chapter
- All materials, textures, and masks used in the lessons
- All video footage and renders used in the lessons
- All image sequences used in the lessons
- My custom Edge Feather Node
Discover more products like this
green screen keying t-800 terminator object-tracking world building diy Comopositing tracking #skull Projection Mapping VFX masking Low Budget


