Blender 3 | Beginners Step By Step Guide To Isometric Rooms
Have you ever wanted to experiment with building isometric dioramas and stylised 3D interior design lit perfectly with just the right aesthetics?
Join ‘Blender 3 Beginners Step-by-Step Guide to Isometric Rooms’ to go on a creative journey of making a stylised music room environment full of small details reminiscent of the Sims City and Sims franchise art style.
Whether you are a beginner or an experienced 3D modeller looking to improve your skills, this course is perfect for you!
Give 3D interior design a go!
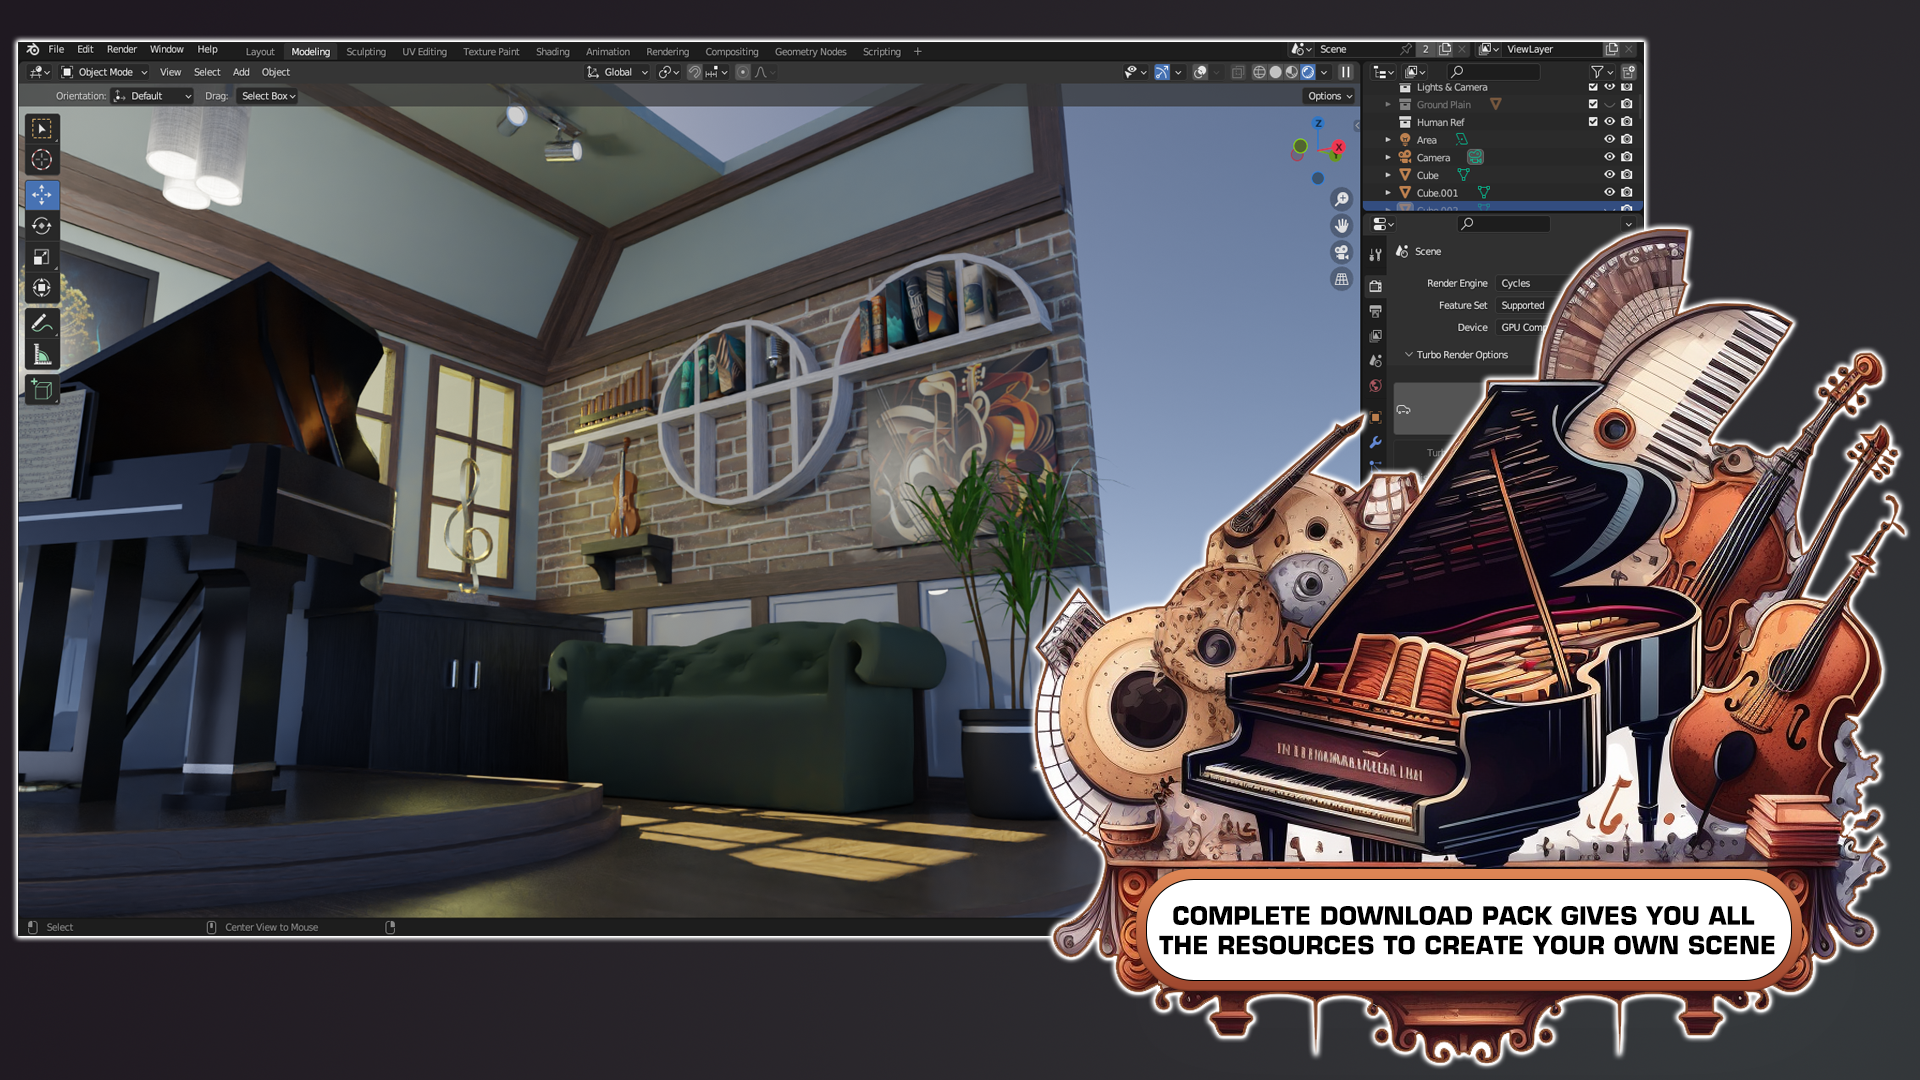
Build and design an intricate room
using just a few assets and a lot of creativity. Imagine sitting by this grand
piano with just the right natural light and ambience.
Your project will be to model, texture, and build assets and
props for a stylised isometric room interior following our course lessons.
Our ‘Blender 3 Beginners Step-by-Step Guide to Isometric Rooms’ top 8:
- Completing a full referencing guide to creating stylized 3D art for games in Blender;
- Making concrete steps in your path towards mastering 3D modelling even as a beginner through an interior design journey;
- Learning a professional UV workflow incorporating atlas and seamless maps;
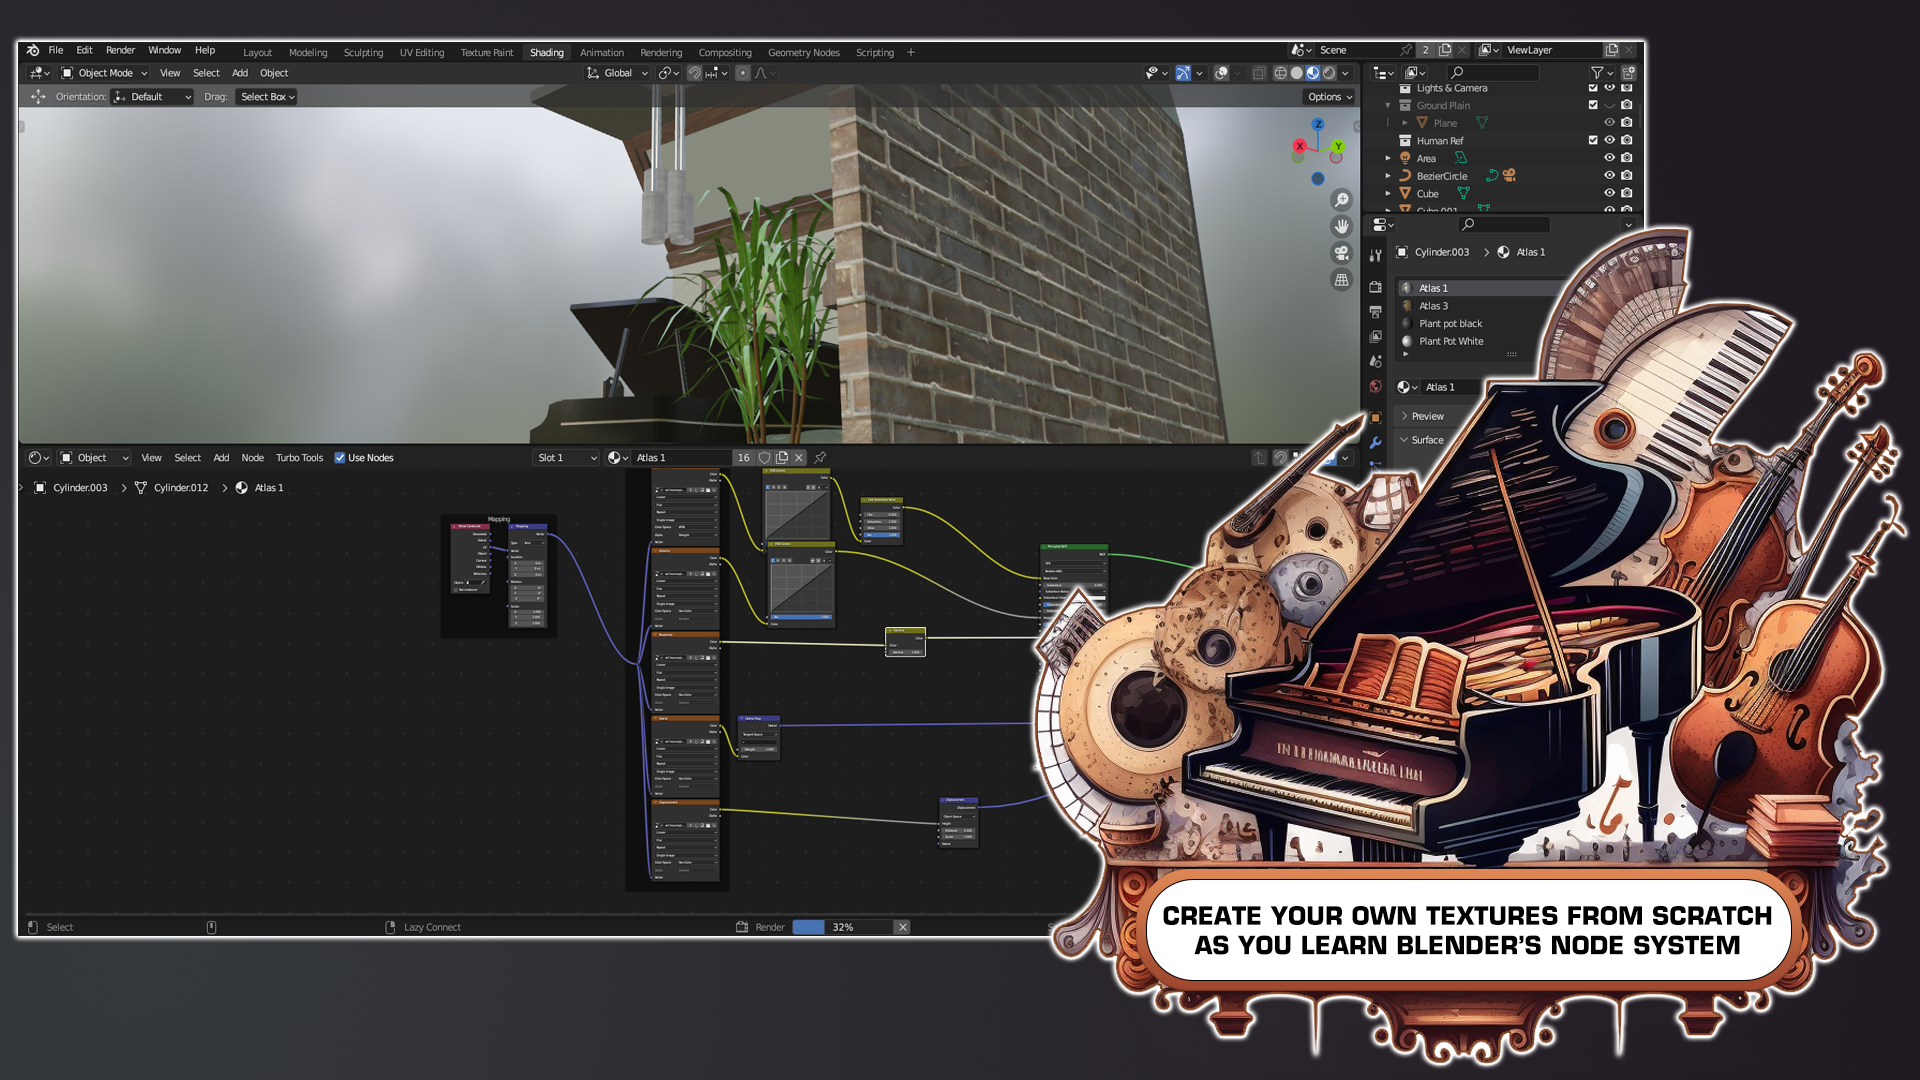
- Creating textures from scratch as you learn Blender’s node systems;
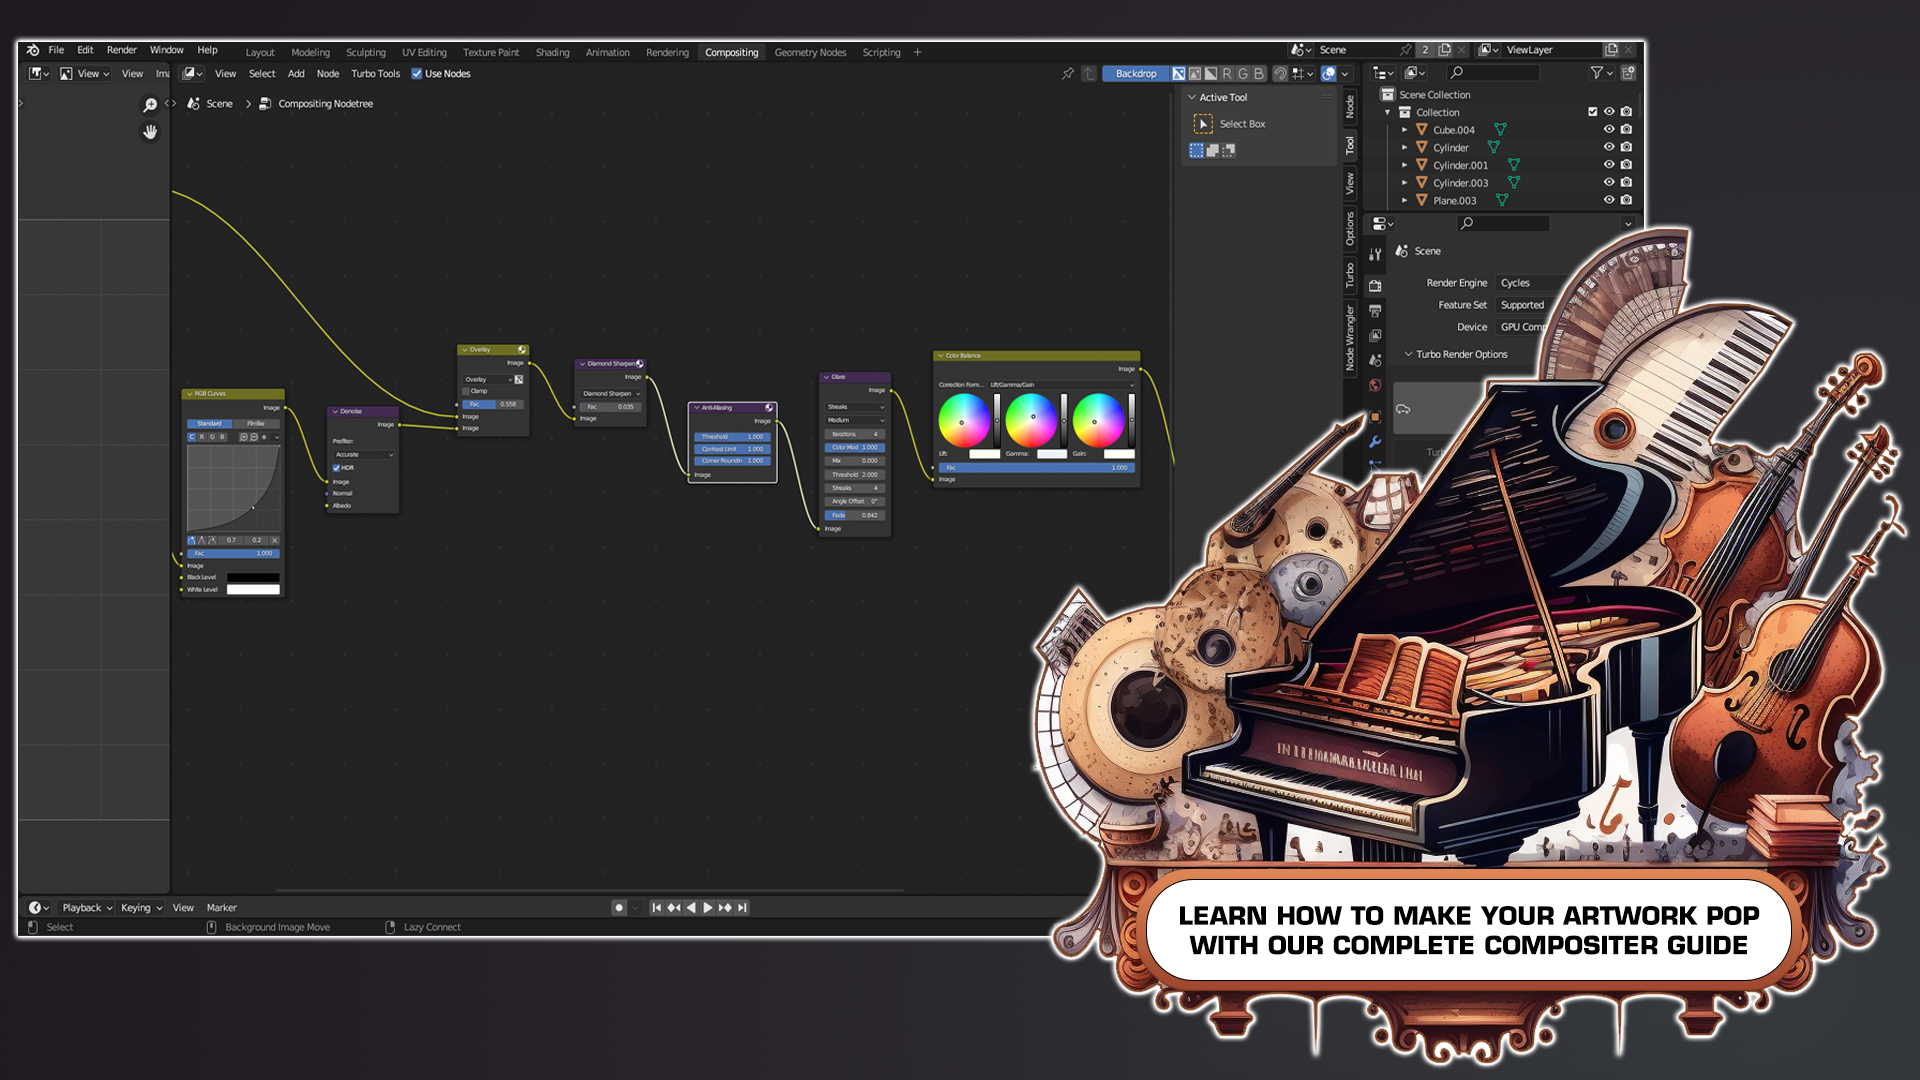
- Learning how to make your artwork pop with our complete compositor guide;
- Speeding up your 3D modelling workflow;
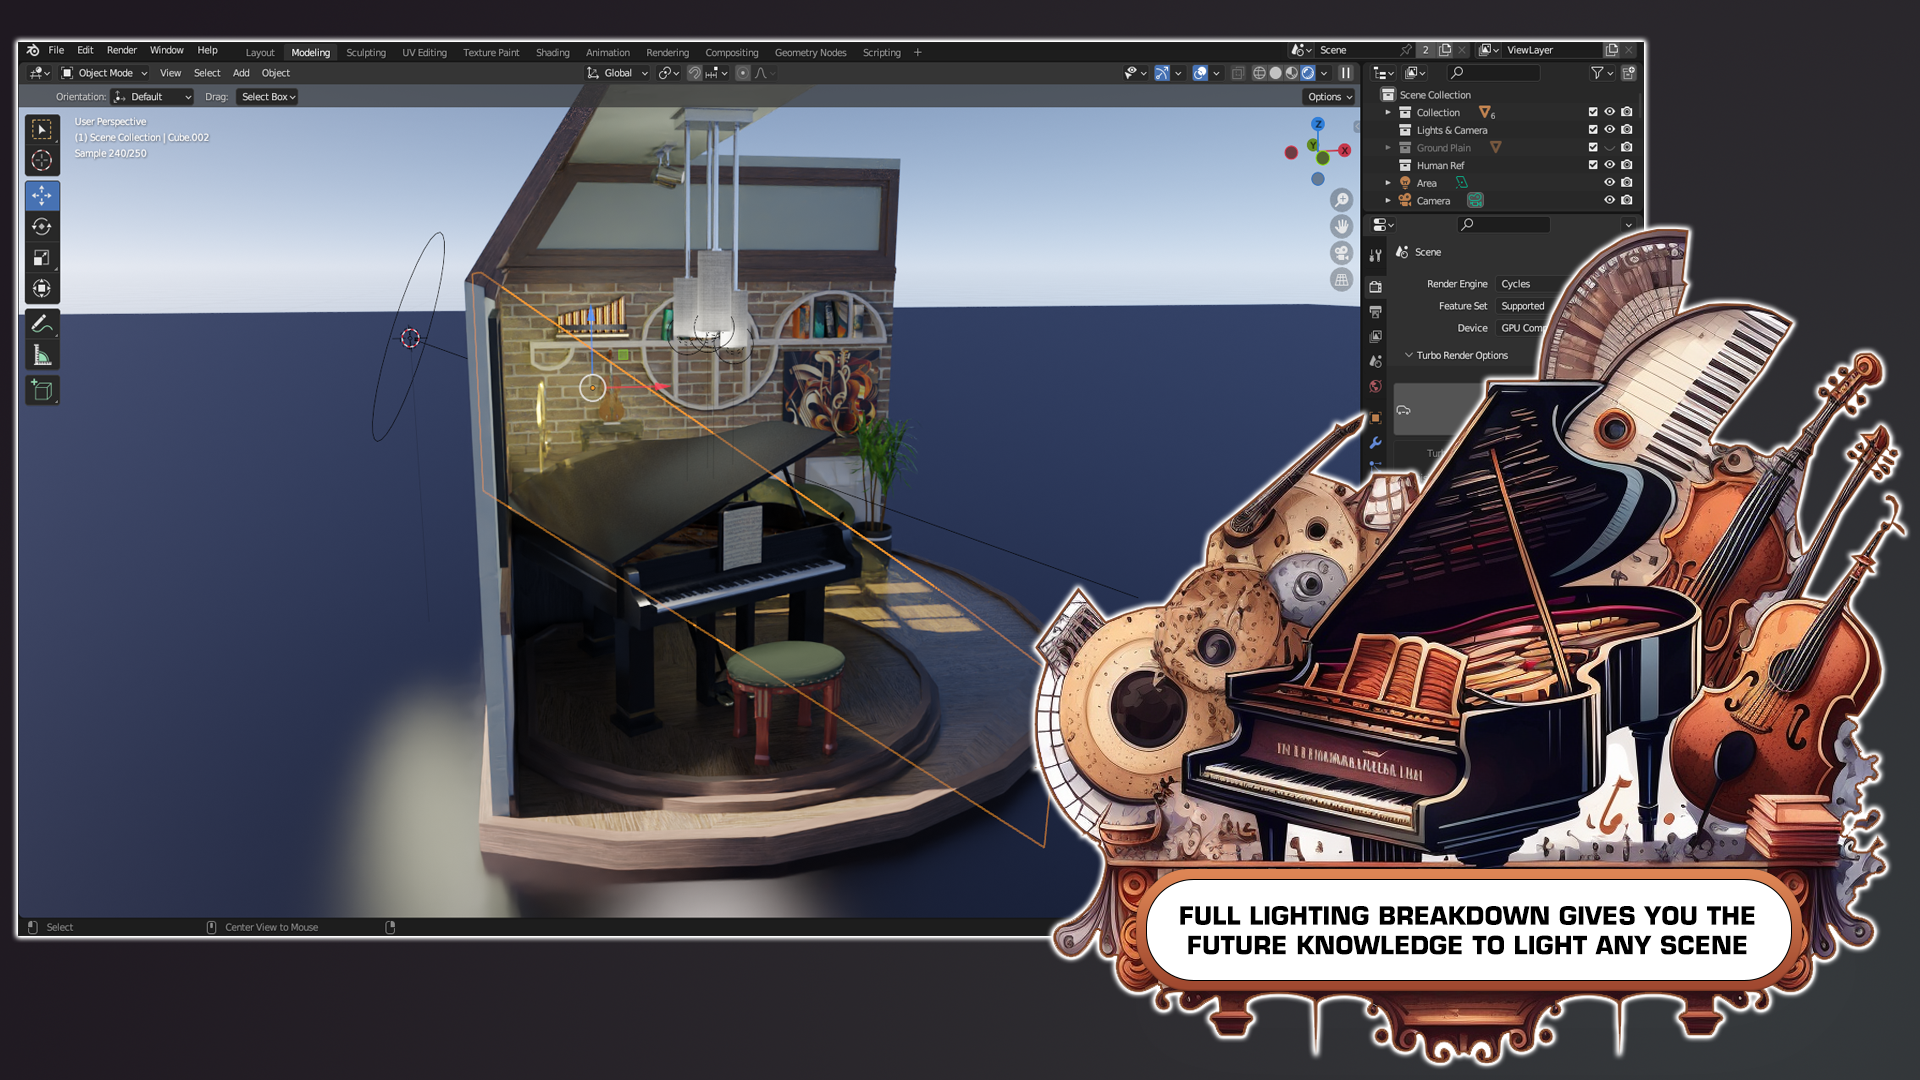
- Becoming a magician of all types of lighting in Blender;
- Adding depth to scenes using volumetrics.
This course will teach you everything you need to know about using texture maps to create stunning, realistic 3D models that look like they've been pulled straight from the real world in just over 11 hours of 3D art.
‘Blender 3 Beginners Step-by-Step Guide to Isometric Rooms´ is the 2nd to a series of Blender courses about isometric interior design. One of the main aspects of professional-quality isometric room design is working on a real-world scale and using references from real life. In this course, you will learn how to do both to make sure your designs are accurate and consistent. You will also be introduced to Pureref – a free referencing tool that will save you an unmentionable number of hours in researching appropriate references. Even better, you can use Pureref while working in Blender and ‘Blender 3 Beginners Step-by-Step Guide to Isometric Rooms’ will show you exactly how to optimise this new workflow.
Apart from the technical side of creating isometric rooms, you will also learn about colour and composition through a deep dive into the creative and artistic side of the process.
Modelling
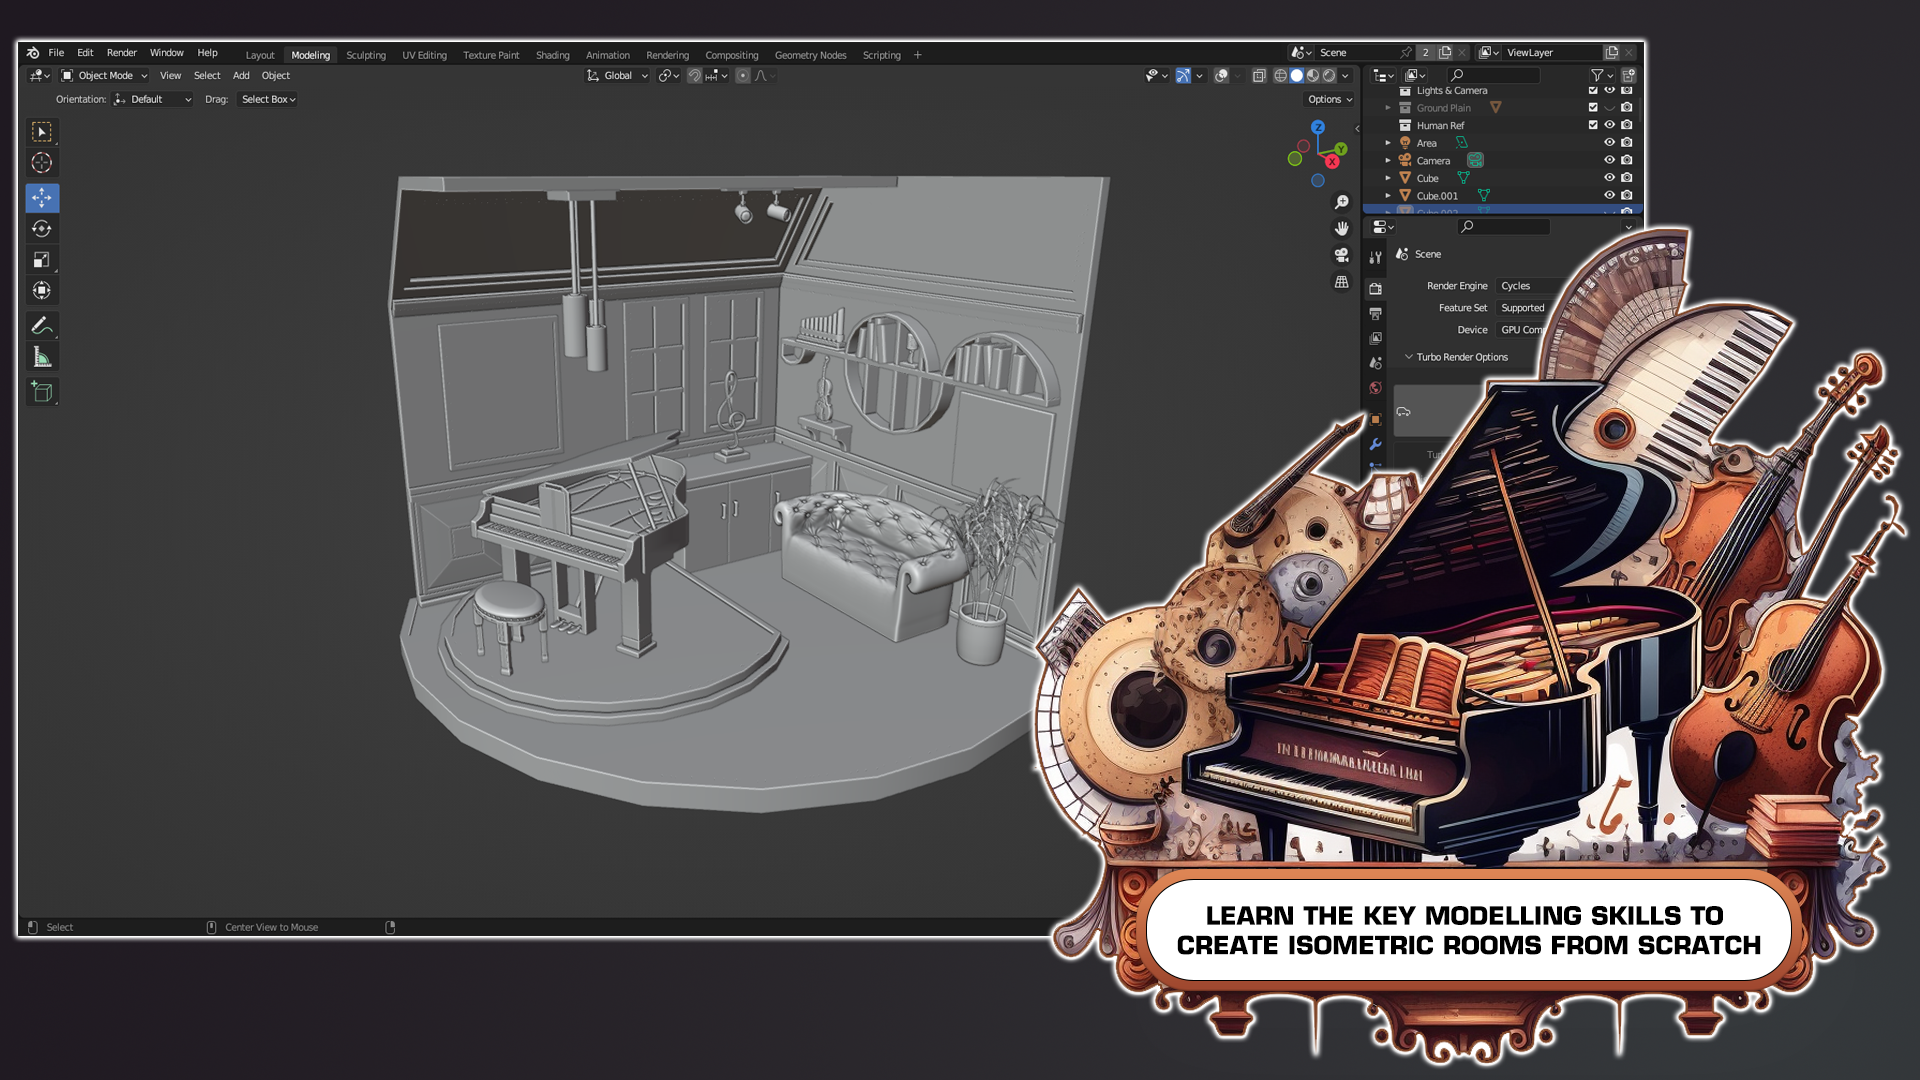
Our ‘Blender 3 Beginners Step-by-Step Guide to Isometric Rooms´ will take you on a journey of building a stylised isometric room in 61 lessons. By completing the course, you will be able to build isometric rooms for any artstyle, giving your viewers a unique perspective into the interior of a room and your style as a 3D modeller.
Following the success of my latest courses, we will be modelling, texturing, and finalising every individual asset before moving on to the next. Students have said that this has helped them in staying excited throughout the creation process, being able to see how their scene comes closer to the course preview step-by-step.
You will learn about advanced ways to use curves and Boolean operations, alongside more basic functions such as extrusion and loop cutting.
Your project will be to model, texture, and build assets and props for a stylised isometric room interior following our course lessons. Of course, you could set yourself a challenge and diversify aspects or details of the props or add new ones. You could change the textures, add different variations or more assets, such as different types of furniture, or make the space larger so that you can include more assets typical of a dining room or dance hall instead, for example.
Texturing
If you're a Blender user looking to take your projects to the next level, you won't want to miss our ‘Blender 3 Beginners Step-by-Step Guide to Isometric Rooms’. This pack includes everything you need to create stunning, professional-level renders, from a human OBJ to nearly 30 texture maps and a high-dynamic-range image lighting file.
Our experienced instructors will guide you through every step of the process, showing you how to use nodes to create textures, bump maps, and normal maps that add depth and realism to your models. You'll also learn how to use Blender's built-in shaders to create stunning lighting and volume effects, and how to use the compositor to create post-processing effects that make your renders look even better.
As part of the creation process for ‘Blender 3 Beginners Step-by-Step Guide to Isometric Rooms’, you will be learning about different types of wood for hardwood flooring and wall panelling, and leather for a sofa that gives off the appearance of bi-cast or full grain leather.
You will learn how to use Blender's node-based material and shader system to create a wide variety of realistic textures and surfaces. You'll learn how to create materials that look like wood, metal, plastic, and other materials, and how to use shading nodes to create complex lighting effects that can bring your scenes to life.
Lighting & Compositing
When we look at renders of 3D models on social media, we can see a huge difference between the models of different artists. Most of this can be normally attributed to not only the skills of the artist but part of it can be attributed to how they achieve realism in their models.
By joining ‘Blender 3 Beginners Step-by-Step Guide to Isometric Rooms’, you will learn about specific types of in-built Blender lighting functionalities that will enhance the stylised atmosphere of your isometric room. You will be guided through the different processes of creating different lighting effects using point lights, spotlights, and area lights. As a bonus, learning how to use moonlight and volumetrics to create a natural glow will also be part of the learning process.
Rendering
‘Blender 3 Beginners Step-by-Step Guide to Isometric Rooms’ offers a comprehensive overview of rendering in both Eevee and Cycles. You will learn about the different options available to each rendering engine, including settings for materials, lighting, and post-processing. This will include learning about how to use Blender’s built-in compositor to enhance your renders and make them more visually striking.
We will be going through the many pitfalls and some technical details of what Blender render options to use for the specific machine you are using. Together, we will be creating a portfolio render for any multimedia site you wish to upload your completed model to.
Course Resources & Freebies
The course includes a comprehensive set of seamless and atlas texture maps, which are essential for creating lifelike textures and surfaces in your models. With these texture maps, you'll be able to create a wide range of materials, from wood and metal to marble and brick, all with stunning levels of detail and realism.
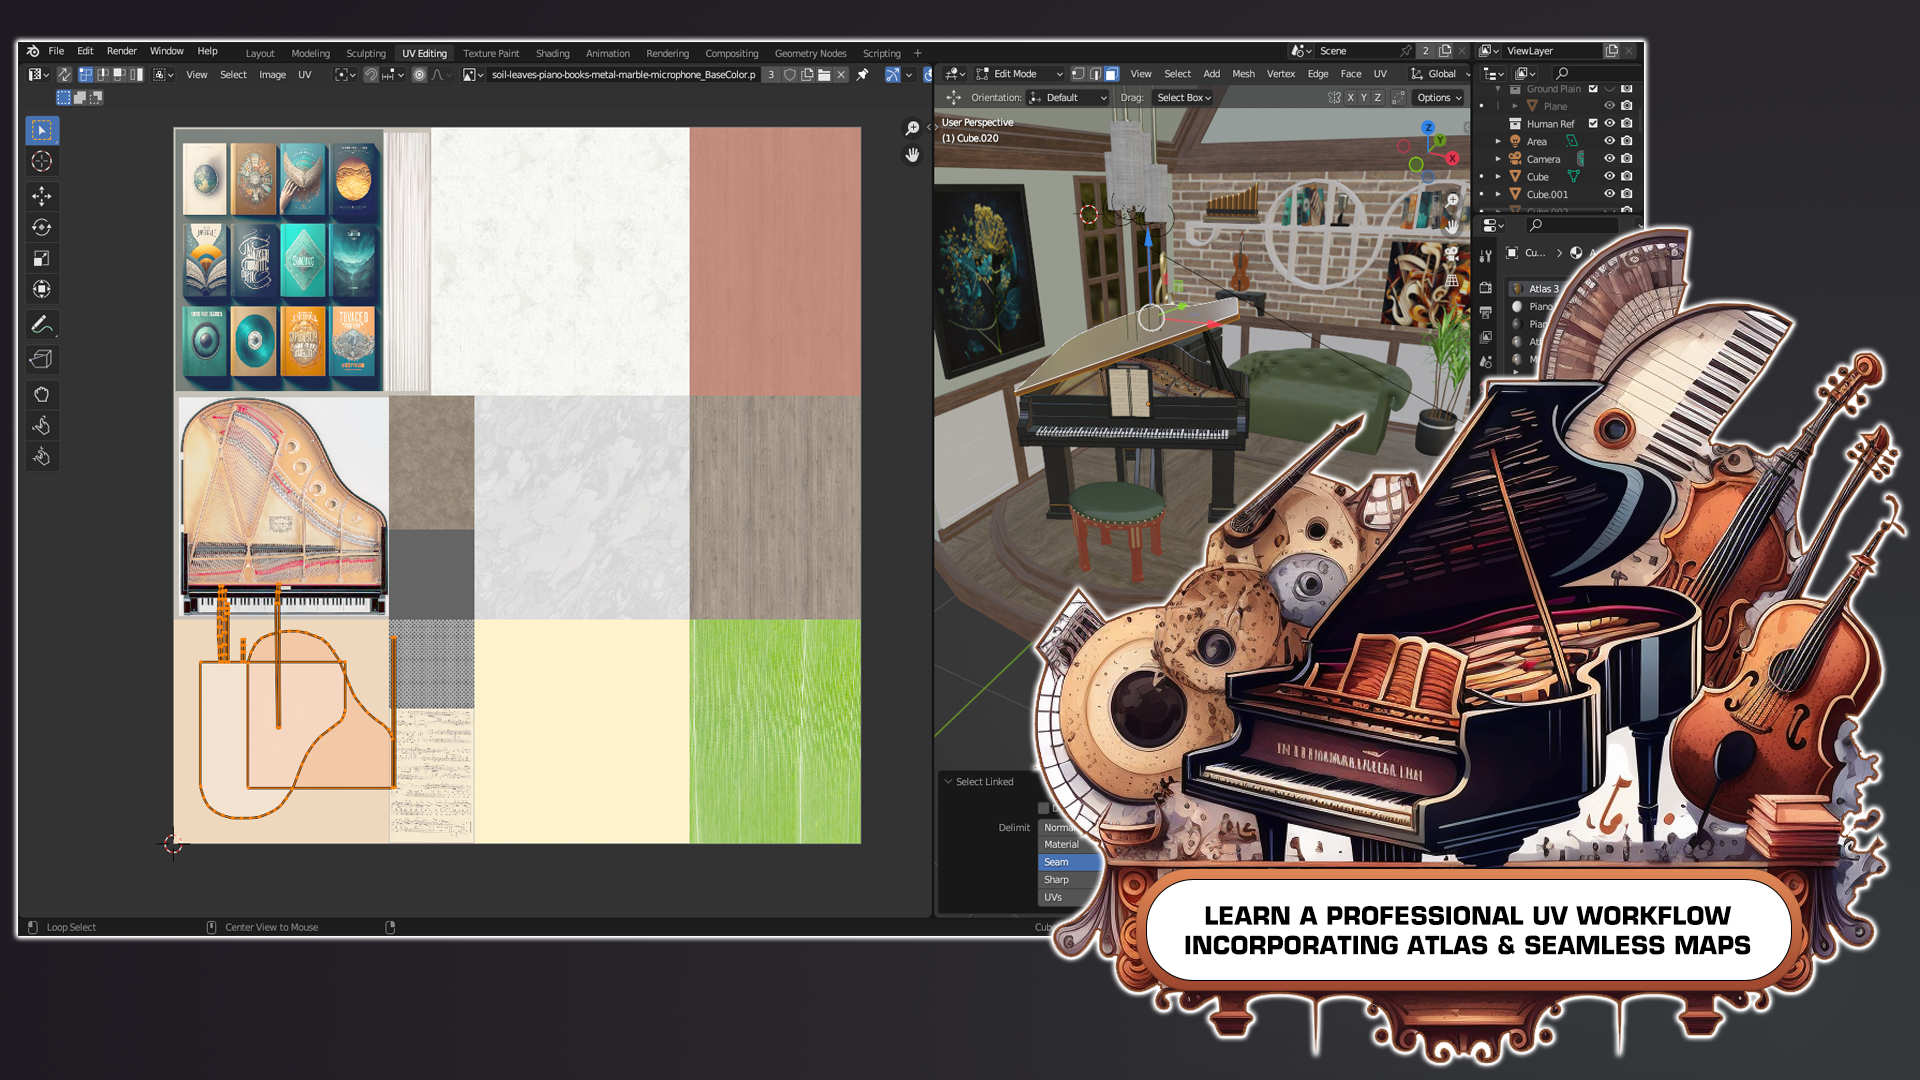
In addition to the human OBJ, the resource pack includes nearly 30 texture maps, including both seamless and atlas-based textures. These textures are essential for creating realistic surfaces, such as wood, metal, and stone, and can help you bring your projects to life. The high-dynamic-range image lighting file is also a valuable resource, providing you with the tools you need to create stunning lighting and shading effects that will make your work stand out. And with seven reference images, including a Pureref file with loads of references, you'll have everything you need to create accurate, lifelike models and scenes.
Join this course and come be part of a 3D modelling journey of over 11 hours of learning that will see you go away with a game-ready AAA-stylised isometric music room interior environment.
Check out the free introduction and I am sure you won’t be able to put this course down!
To get you pumped, imagine how well this stylised isometric environment fits in with your other 3D Tudor projects.
Be creative! Think about enhancing your other projects such as the stylised hotel resort we created in ‘Blender 3: Stylized Scene The Ultimate Guide’ by giving it an interior too. Since ‘Blender 3: Stylized Scene The Ultimate Guide’ and ‘Blender 3 Beginners Step-by-Step Guide to Isometric Rooms’ follow the same Sim City, Sims franchise art style, you could do all three courses, including ‘Blender 3 Beginners Step-by-Step Guide to Isometric Rooms’ to maximise that experience!
Also, think about creating more stylised environments, with ‘Blender Design & Render a Stylized Water Scene’ and ‘Blender 3D Model & Render a Stylized Halloween Scene’. Use the full power of Blender to your advantage to become a true stylised art 3D artist and game designer.
Has ‘Blender 3 Beginners Step-by-Step Guide to Isometric Rooms’ given you a taste of prop design, you’ve fallen in love with designing interiors for games and want to do more?! Don’t forget to check out ‘Blender to Unreal Engine Become a Dungeon Prop Artist’ to experience the largest prop design course we have published.
Until next time, happy modelling everyone!
Neil – 3D Tudor
Discover more products like this
virtual reality isometric Interior Design augmented reality drafting Computer Graphics 3d modeling Beginner Tutorial summer24 3d printing Object Modeling bfcm23 animation architecture room design Visualization Texture Mapping bfcm24 cad 3D Art Lighting product-visualization Step-by-Step Guide winter24 spring24 rendering Digital Design product Design game-design blender


