Auto-Highlight In Outliner
Here are the setup instructions for the Auto-Highlight in Outliner addon:
Download the Auto-Highlight in Outliner addon as a zip file.
In Blender, go to Edit > Preferences > Add-ons.
Click the Install button at the top right corner of the window.
Navigate to the zip file and select it, then click Install Add-on.
Enable the Auto-Highlight in Outliner addon by checking the box next to its name in the Add-ons list.
To activate the Auto-Highlight in Outliner feature, go to the Outliner and click on the Filters dropdown.
Toggle on the 'Auto-Highlight' option to enable the feature.
Once you enable Auto Highlight, a new toggle named 'Collapse Other Collection' will appear. If you turn it on, the addon will start collapsing all collections except for the selected object's collection.
Note that you will need to collapse the Outliner once manually by pressing 'Shift+A' in the Outliner.
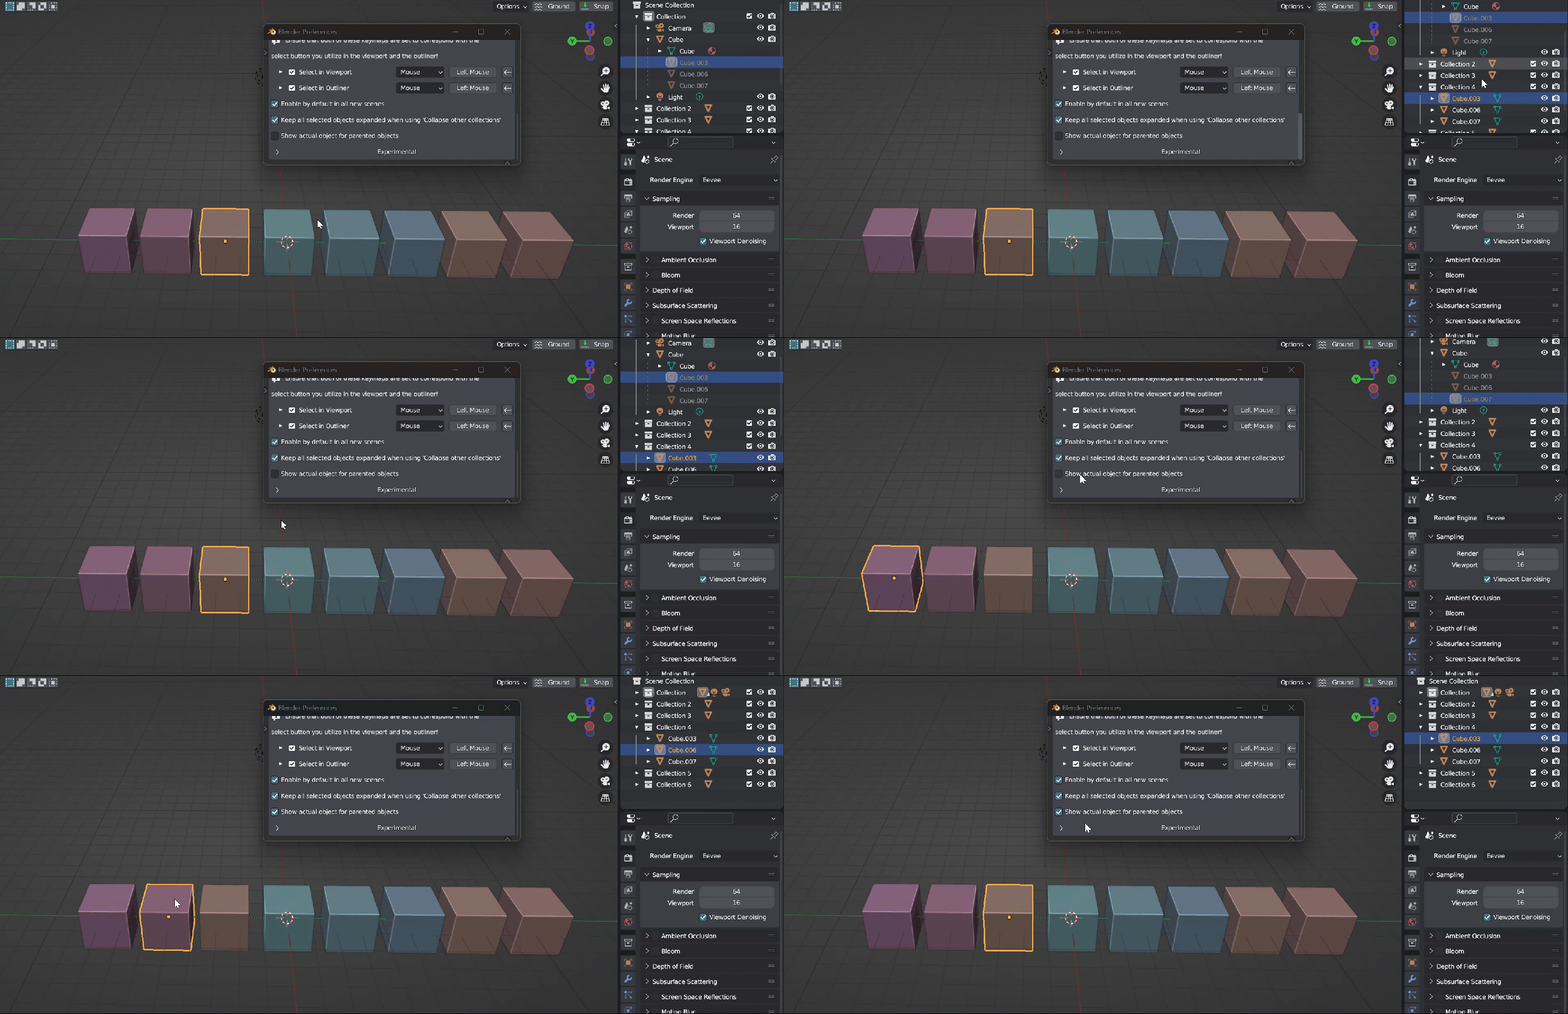
Preferences:
Enable by default: This option allows you to set the starting state for new scenes. When enabled, auto highlight will be turned on by default for every new Blender scene you open.
Keep Selected Objects Expanded: Enabling this option will expand all selected objects in the outliner. Disabling it will only expand the active object.
Show actual object:When disabled, the addon will expand to show the grayed out version of children objects (the ones shown under the parent object) instead of the actual object, which may be located in another collection. Enabling this option will display the actual object from the other collection instead.
