The Infinite Surface Builder Procedural Shader For Cycles
The Infinite Surface Builder, in short, is the quickest, easiest, most customisable, low memory eating and detailed way to make walls, floors, bricks and tiles, simply by adding the procedural material to a subdivided mesh. Added to that, the controls give you the fun of experimentation to create as many surfaces as you can think of!
And now it comes with Baking controls, so you can use it in Eevee or export your creations for use in other software!
ISB v4.0 Video Guides
The Infinite Surface Builder is like the Swiss Army knife of Blender shaders; a procedural material that not only builds great looking brick and tiled walls, but with the huge amount of customisation available, can also build as many surfaces as you can think of. If it's purely a wall builder you're looking for, please take a look at one of my other shaders, The Infinite Brick Wall Builder as it's specifically designed for that exact purpose and has more specific controls. But if you're looking for a hugely capable brick and tiled wall builder with the option for infinite experimentation to create your own procedural materials as well, then this is for you! It's built for Cycles, not Eevee as the latter can't deal with such a complex node setup. It was initially built for procedural brick walls as I found using 4K RGB textures were using far too much memory and didn't scale well without repetition. This meant my scenes needed sacrifices, not as many textures as I'd like or lower subdivisions across the board; not with the Infinite Surface Builder. In most cases, the ISB will use 2/3 less memory because it's using the nodes that ship with Blender and uses mathematics instead of set colour data from RGB images. This means you've got more memory spare for more complexity within your scene without sacrifice. As you'll see from the images, using the ISB controls, a huge number of surfaces can be created. Of course there are limitations and I couldn't possibly know how many materials can be created because of the amount of customisation options. You can also drop in your own custom textures and use the ISB options on top for even more customisation. Any texture you build with the ISB will be completely seamless and will scale without repetition infinitely.
If you're new to Blender, that's perfect as you won't be searching for RGB textures, you won't need to mess around with UV's or the mapping issues and there won't be issues with setting up the displacement. And don't be intimated by the controls, you can still get the best out of The ISB because it's mostly experimentation with the controls. Sliding sliders about, changing a few values, that's all the input required so you can see changes very fast just by moving a slider.
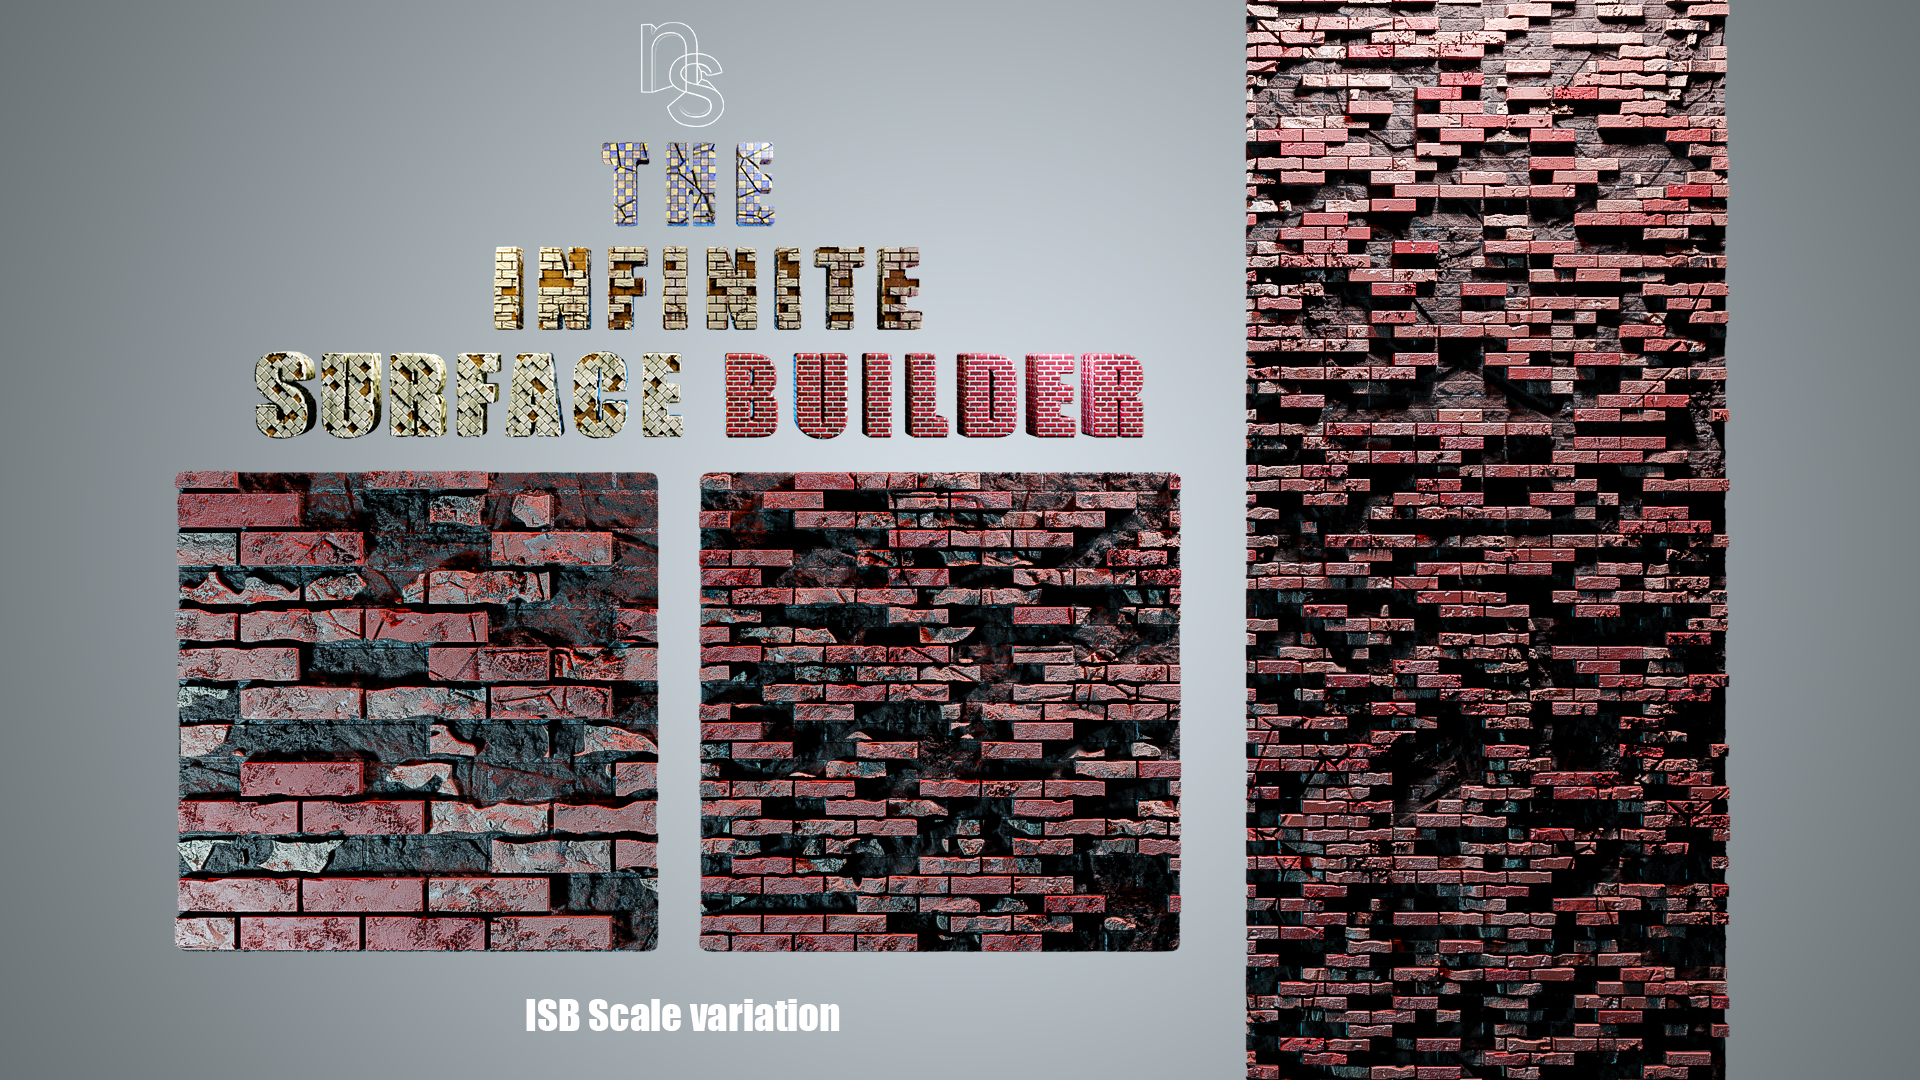
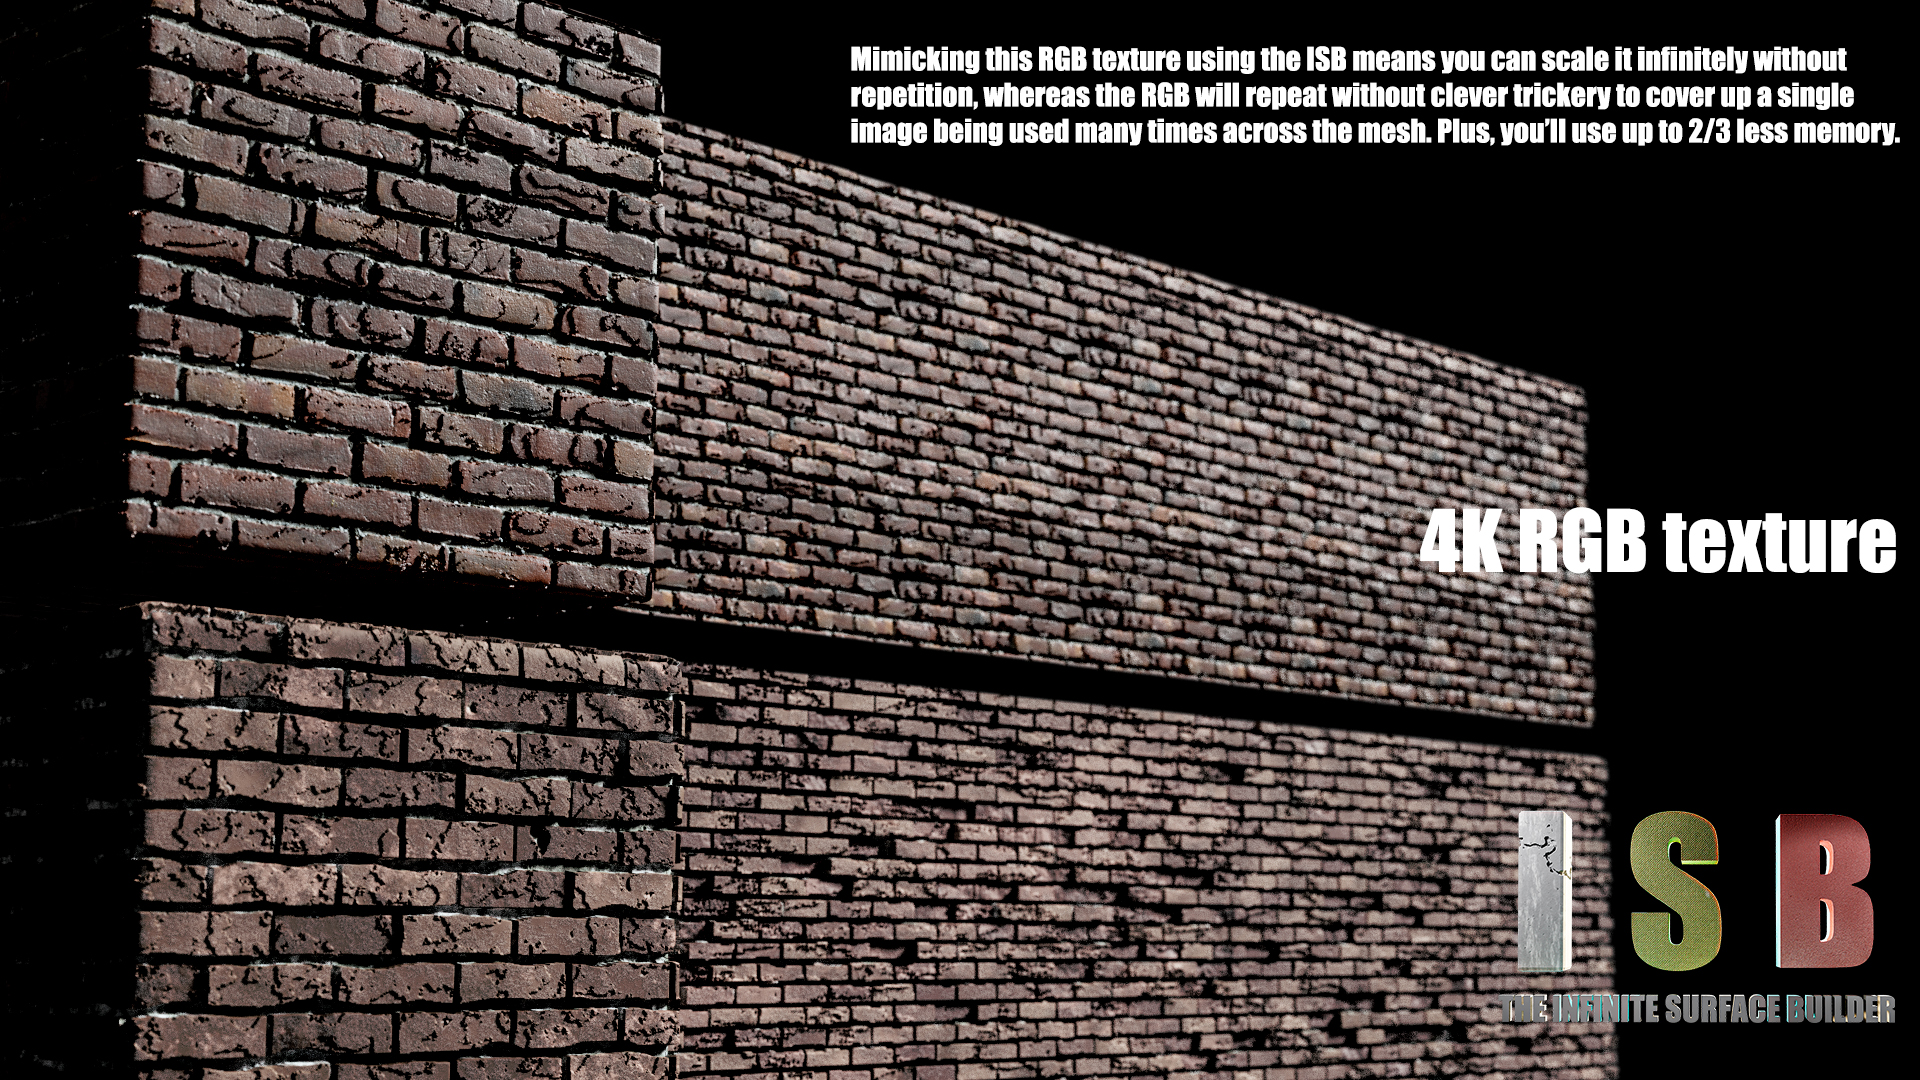
The above image of a corroded brick wall and its scale variations was created by the ISB and the below image is using the ISB controls to mimic a 4K RGB texture.
CREATE OTHER SURFACES
It's not just brick, rock and tiled surfaces you can create, with all of the settings, sliders and customisation options available many more surfaces can be created.
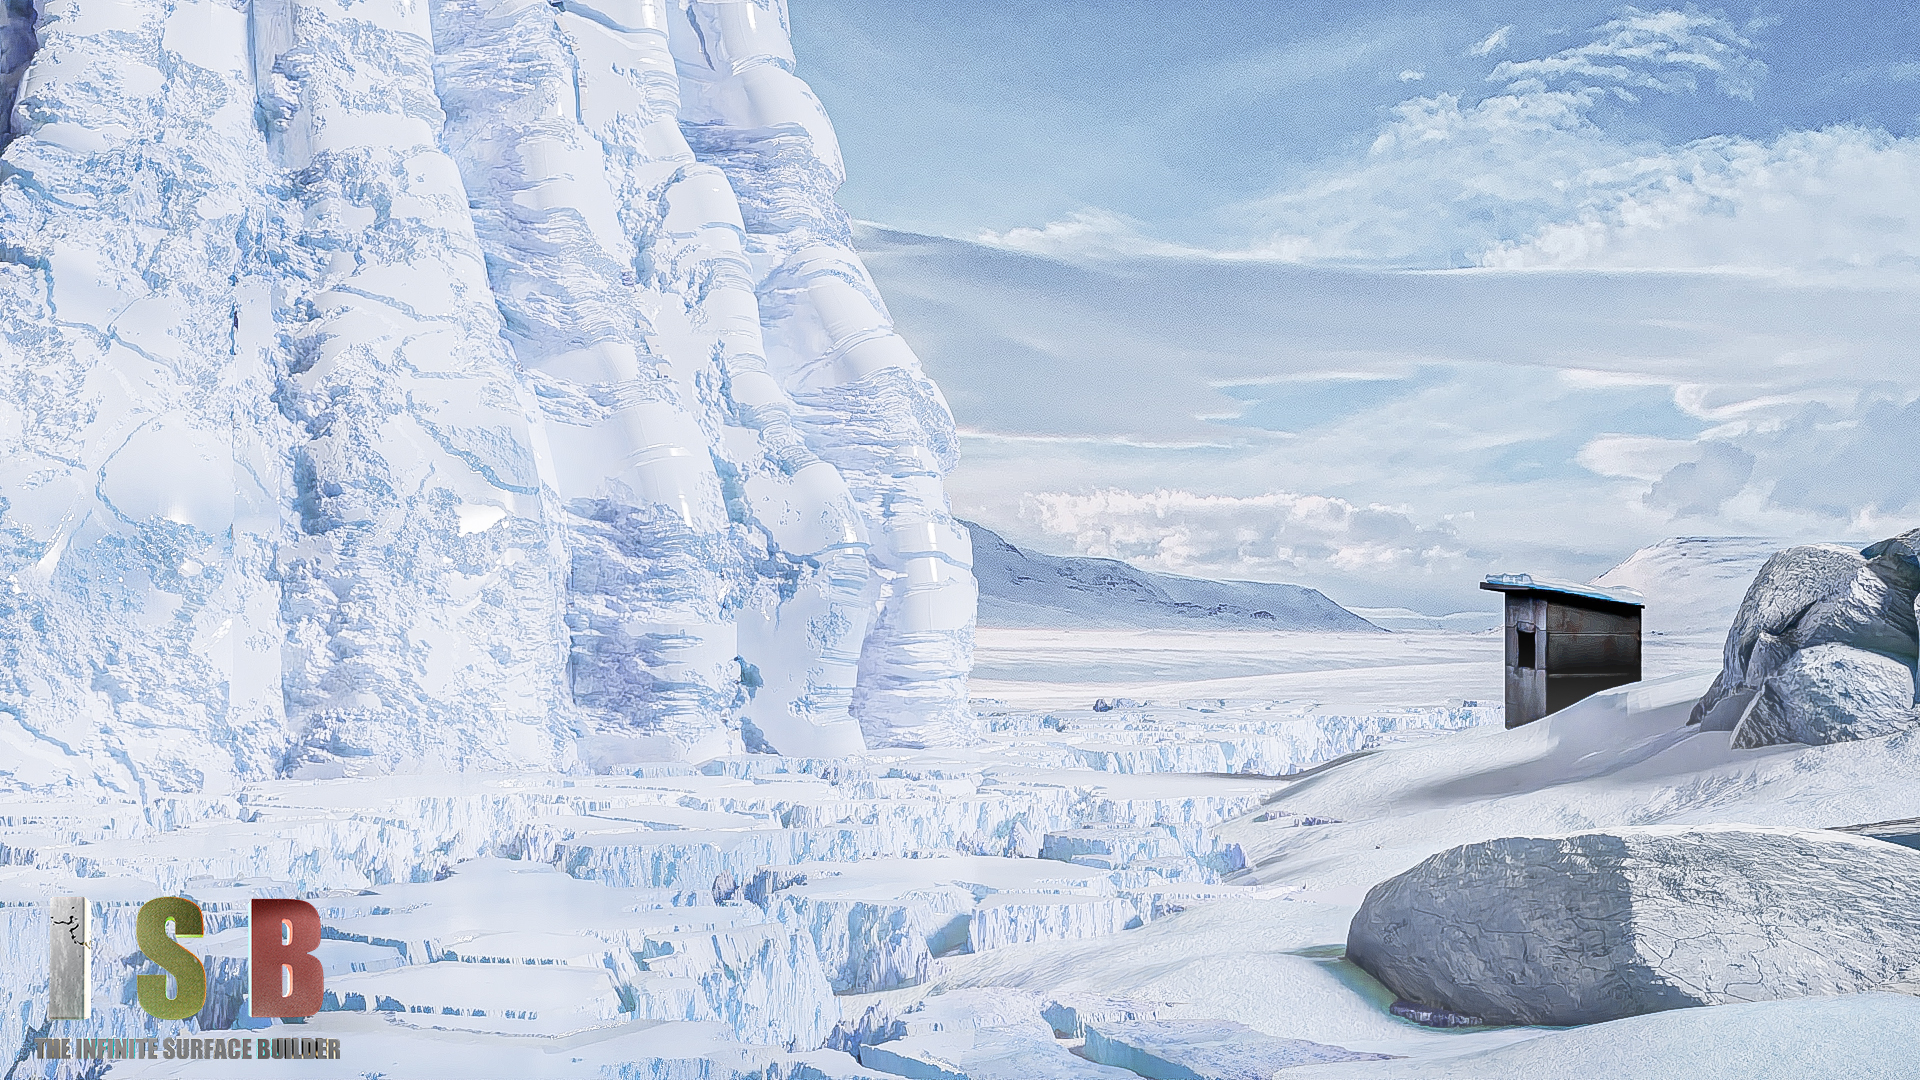
 Everything in the above two scenes is textured using the ISB with different setups. With various settings and configurations, you can create a whole scene without needing anything but The ISB.
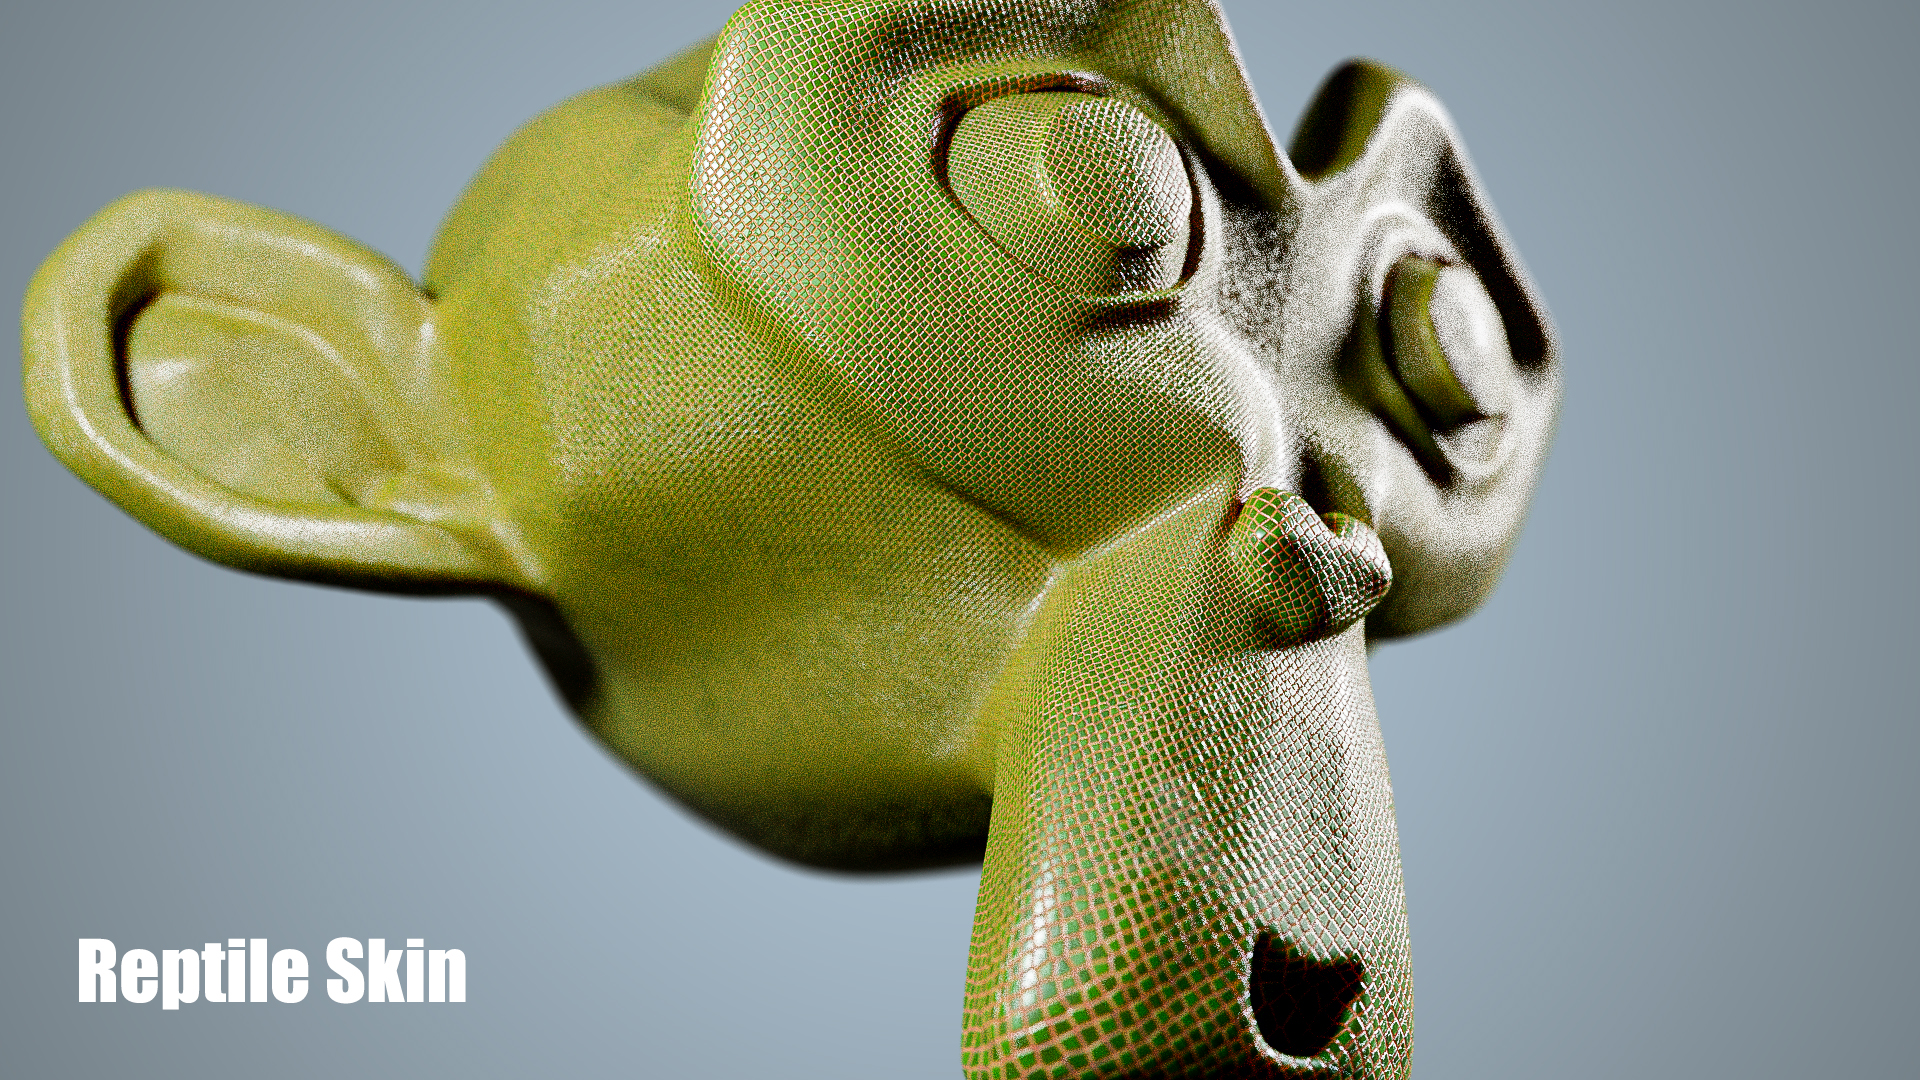
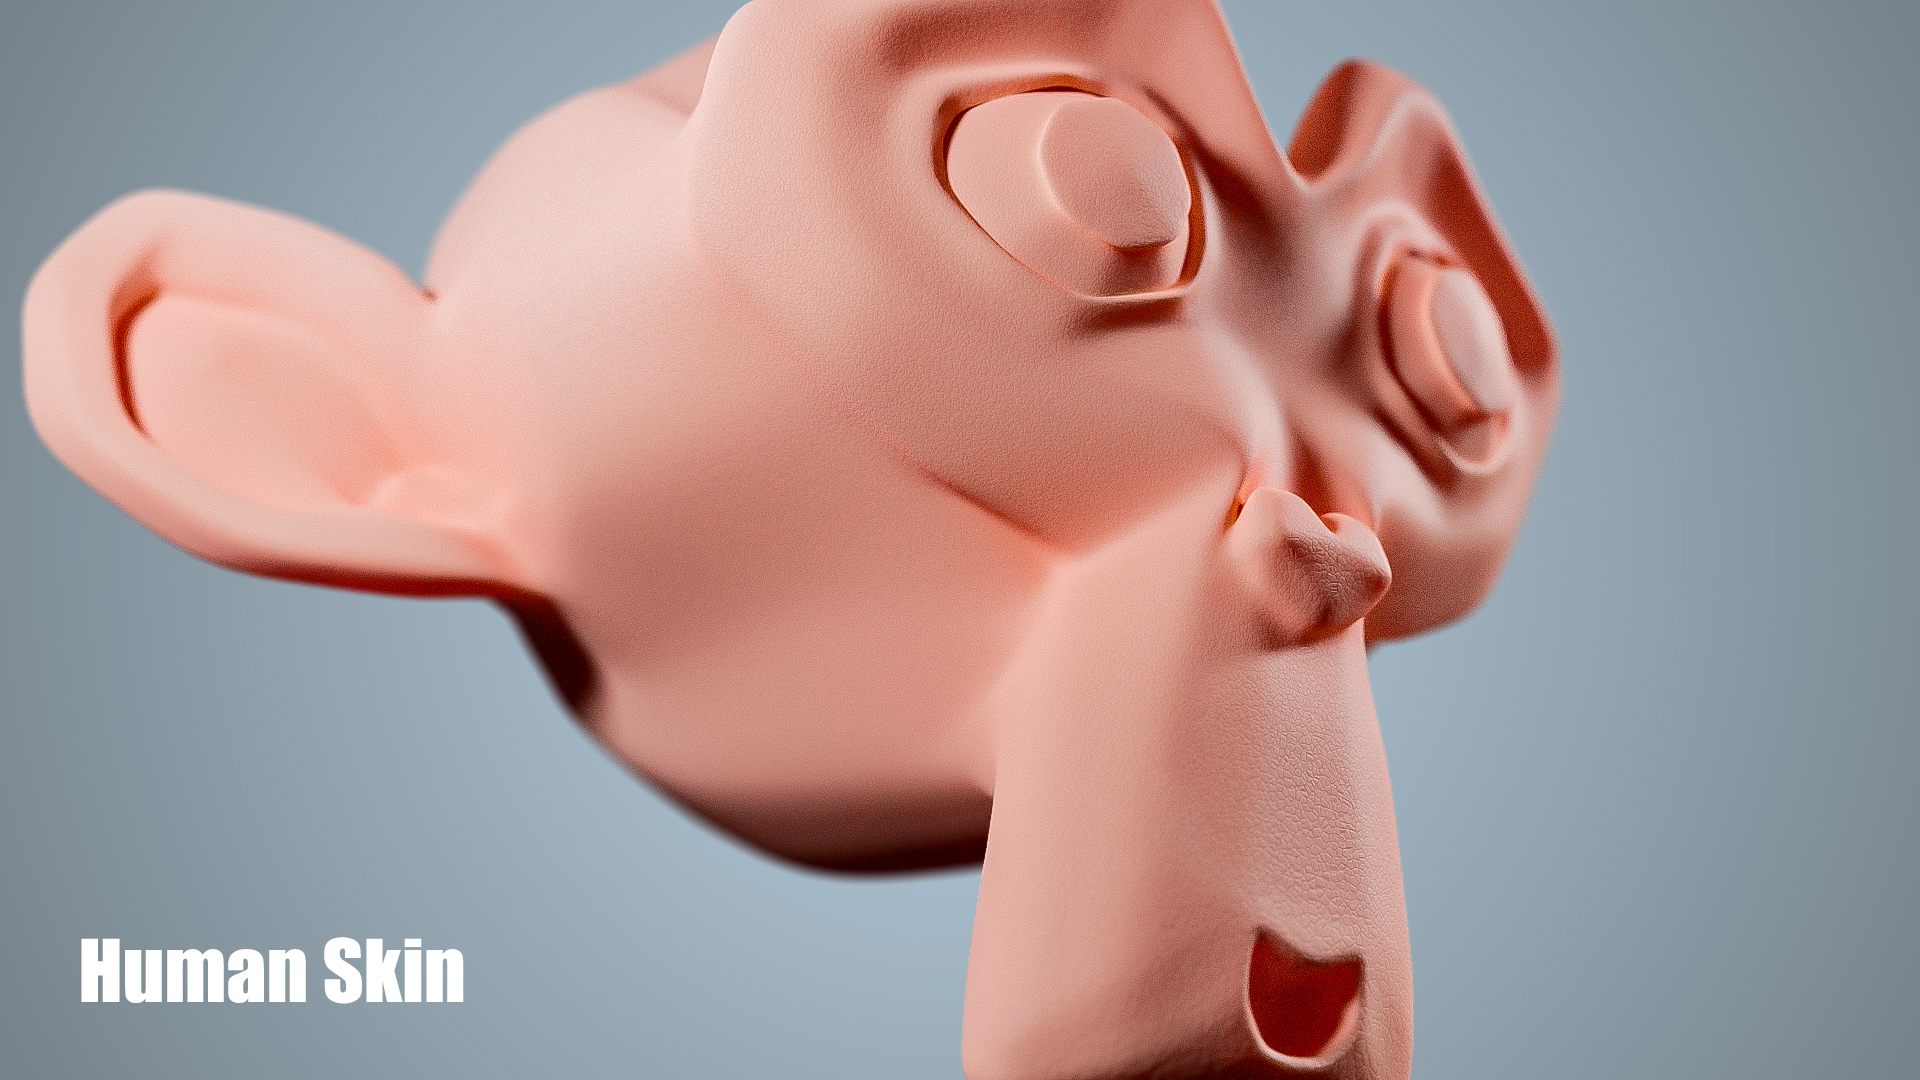
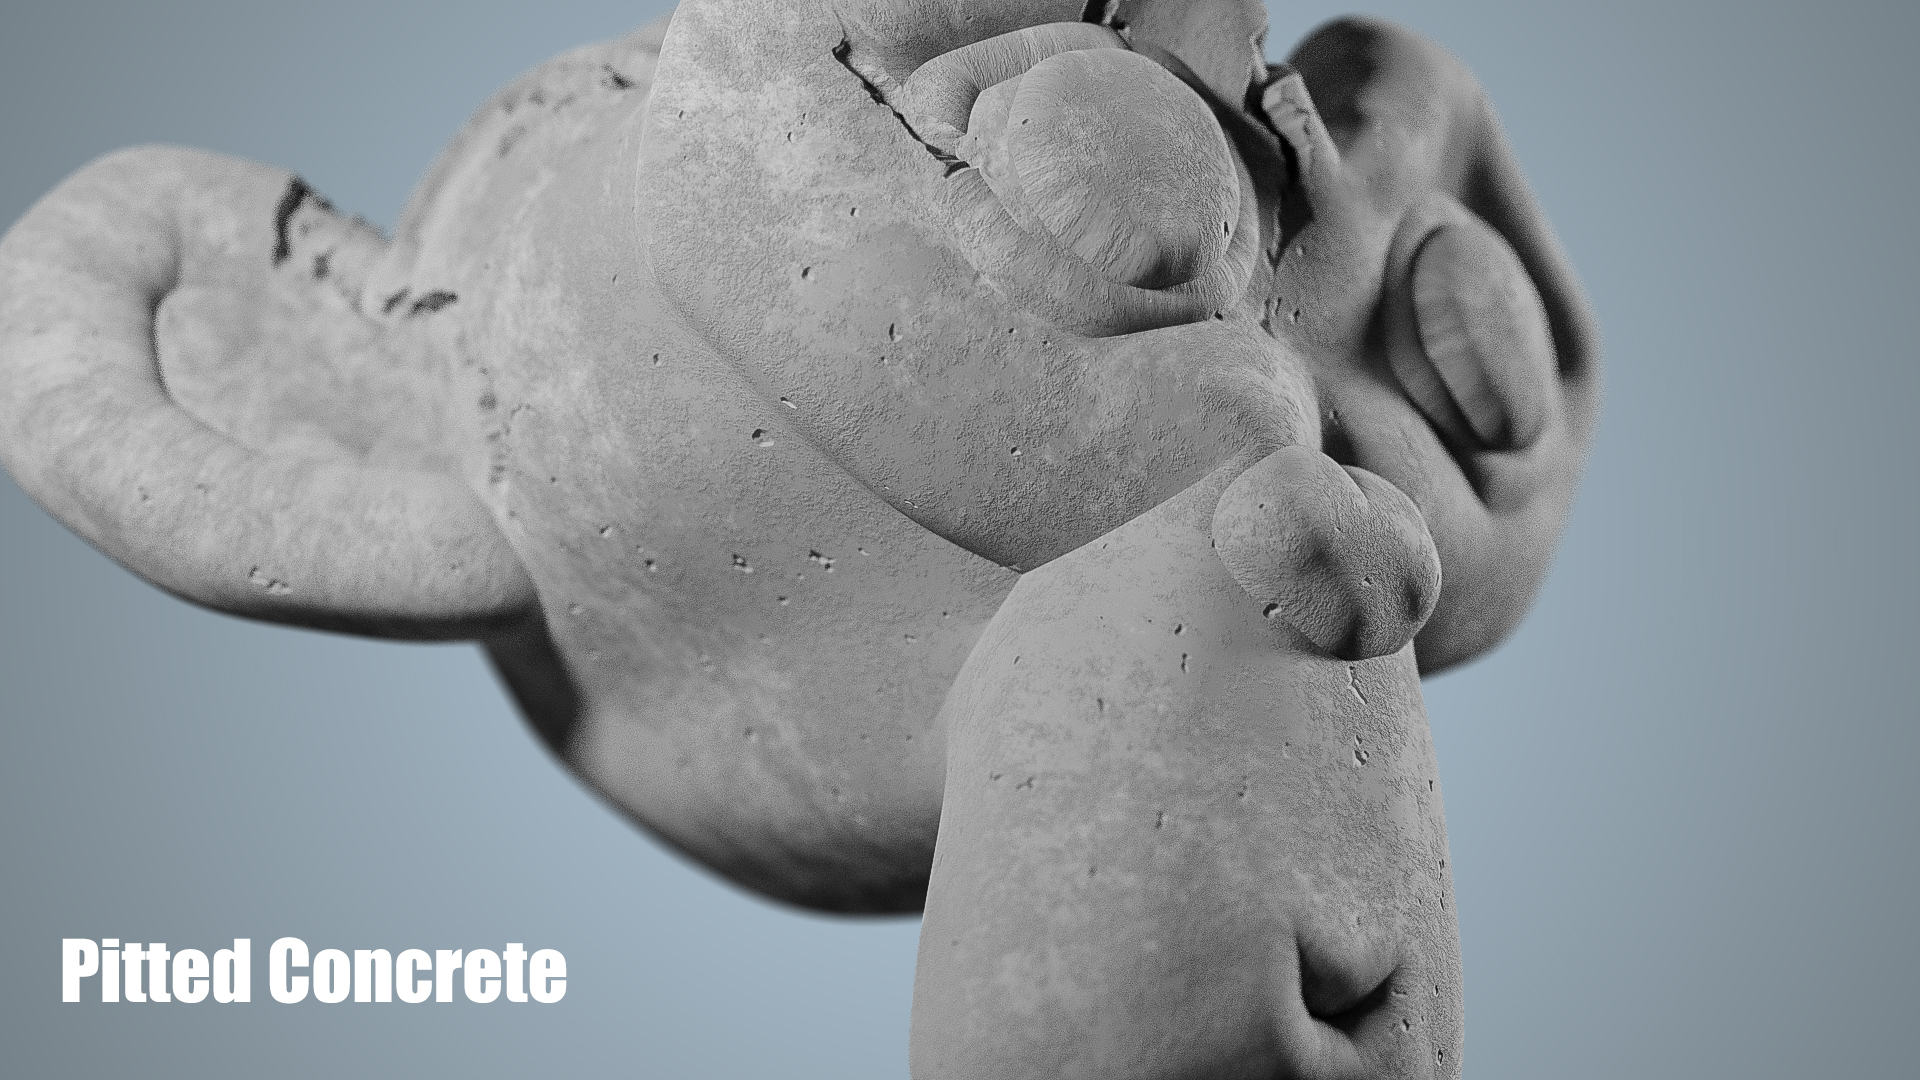
Here's a few more I could think of, more materials are in the gallery above and I have no doubt that many, many more can be created with the ISB!
THE CONTROLS
The Infinite Surface Builder controls are located in the Blender's shader editor. Drop the shader onto your mesh and head over to the shader editor to make your changes, they're very simple to use. Everything is clearly labelled and the 11 part tutorial series covers everything, along with a pdf manual with many visual examples; the link for the tutorials is below, though they're also a great way to see what the ISB does in detail! There's no reason why you can't just put the material on, put in some random numbers and shift a few sliders and you'll have a custom surface!
24.09.20
UPDATE TO VERSION 3.0
Hi all,
I've finally finished updating the ISB to version 3 and as I mentioned in my previous email, it does mostly all of the same things version 2.2 did, but now it does even more and it does it better and more efficiently.
Rather than me detail every single point, it's a lot easier and recommended to have a look through the 4-page manual, it'll take all of 2 minutes and there are some important notes in there about certain new functions. I'll outline the main points below.
- The UI has had a complete overhaul. I was never 100% satisfied with how cluttered the UI was, but at the time I built it, there were tricks I wasn't aware of and it was necessary. Now, as I've removed all but two colour ramps and put them into their parent node groups and also grouped everything I possibly could, the UI is far easier to navigate.
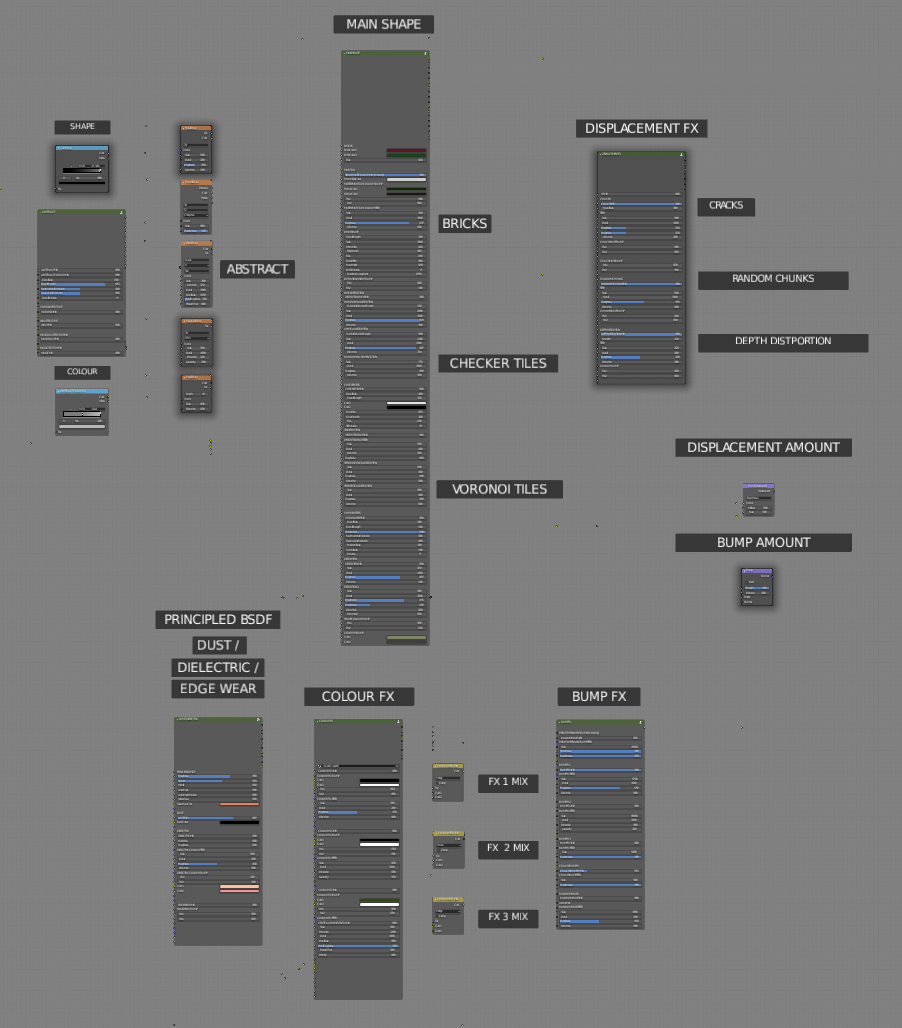
- All of the effects and colour ramps are now in their own group. It makes for some pretty large groups, but it's far easier than having to mouse between all the controls. You can just TAB through all of them if you wish.
- I've removed the Custom Texture area. With the new displacement options and effects, it didn't seem necessary to have these inputs anymore. In my quest to reduce the amount of nodes, wires and connectors, this felt pretty superfluous and the most obvious for me to remove. If however the common consensus is that it was integral to peoples workflow, please let me know and I'll put it back in the next update.
- There are two added effects, Dust and Edge Wear. The Dust is based on AO data so it'll darken any creases in the geometry and the Edge Wear will reduce the saturation and brighten areas at the edges of the geometry. The edge wear can be a temperamental effect when you're scaling things before you apply the texture so it's best to make changes to the material and then scale or change it.
- I've added an Abstract node group which all of the instantly useful texture nodes are fed into. This node is purely for experimentation and I just find it a lot of fun to use to create some awesome visuals as whatever settings you choose will mirror across all axis'. The purpose isn't always immediately obvious, but that's the fun in it, you're never quite sure what shape will come out depending on your settings with the multitude of controls at your disposal, so just give it some numbers, mix as many of the nodes as you wish using their sliders and see what comes out the other end!
- All of the switches have been removed and in place, all of the controls you'll need are in the node group you're working with. All of the Main shapes have their strength, scale and rotation options contained in their labelled area of the group. Now there's no more need to make changes in one place, mouse over to the displacement amount or global scale to make changes, it can all be accessed simply by clicking or using TAB to scroll through.
Obviously, it's very different from the previous iteration, but I hope you'll agree it's easier and more fun to use. The brick and tiled walls in particular are a huge step up from version 2.2 as, with the change of displacement the ISB now uses and a few more tricks I've picked up along the way, there is now far greater control of the shape. Plus, I'm really enjoying the abstract controls. I was very surprised when I applied it to Suzanne, I'm yet to see what it does with other complex shapes.
As usual, I've gone through it all with a fine tooth comb to iron out any kinks I found along the way, but because of the complexity of the set up, and the fact that pretty much everything affects everything else, certain permutations of various controls may produce a result I haven't seen yet. In which case, please let me know and I'll get straight on it.
The older version of The ISB will remain until the end of this month and then it'll be removed, so if you have reason to keep it, make sure you grab it before October. I've put the latest version and it's manual into the downloads, so grab it when you can.
Please let me know what you think, it's incredibly useful to me to understand how people get on with it for future updates.
I hope you have fun with it!
Nick
UPDATE to v3.2
03.03.21
Hi all,
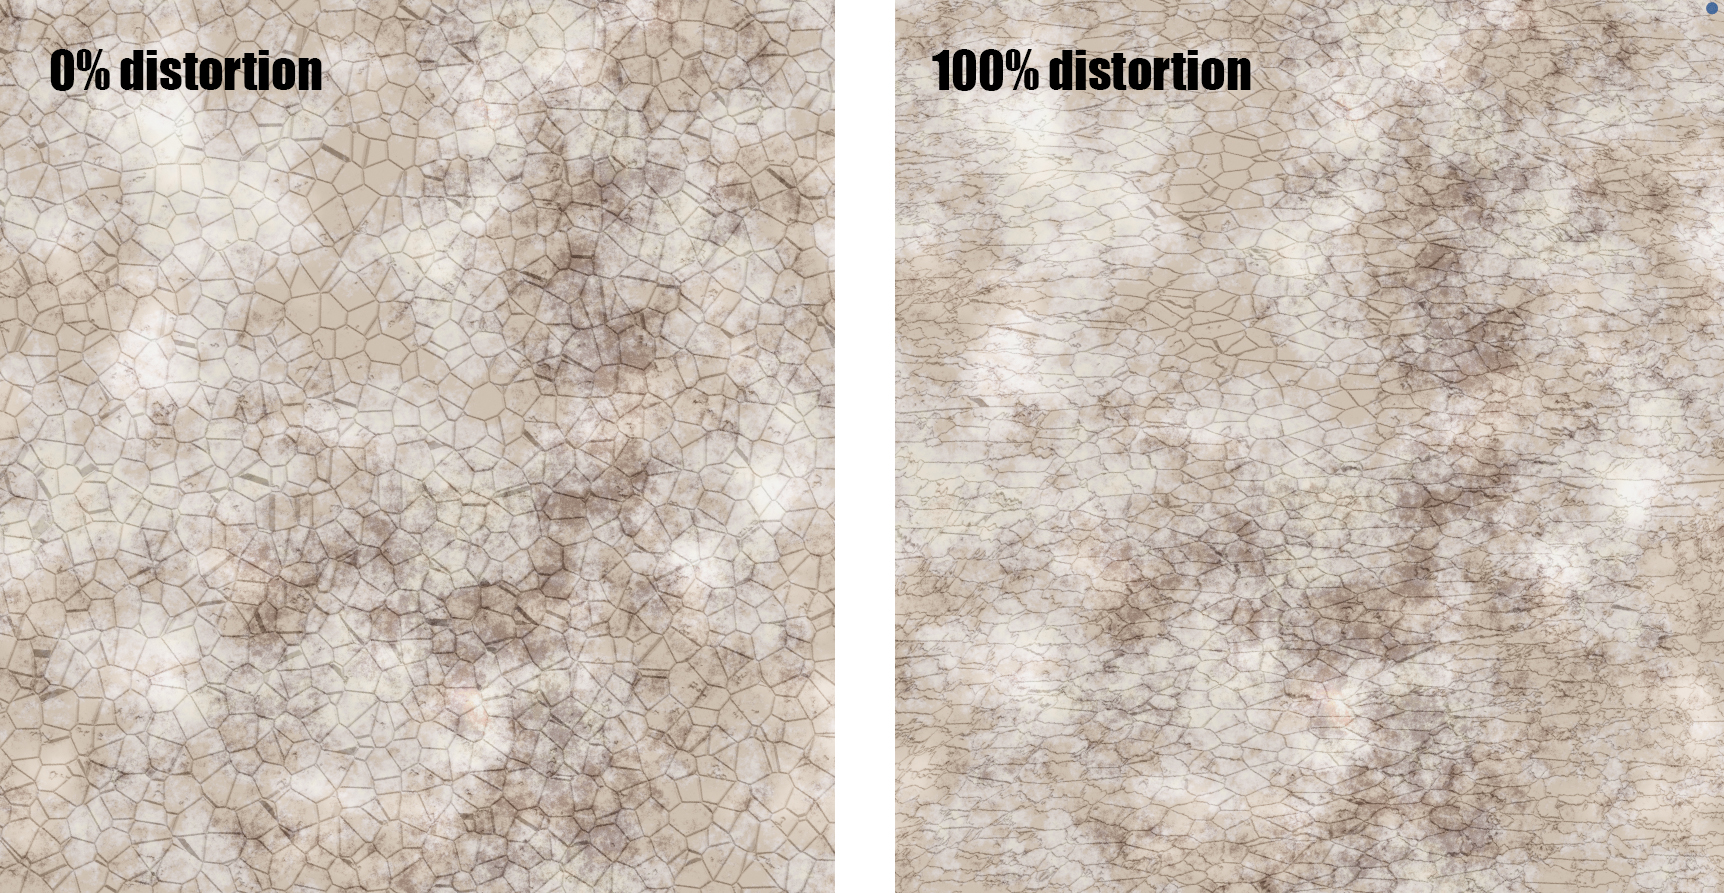
I've made a few changes and added a couple of things as I came across a few errors and difficulties recently. Firstly, I've added some edge distortion to Bump FX 3. Slide it in and the edges of the fracture effect will distort to add even more variation.
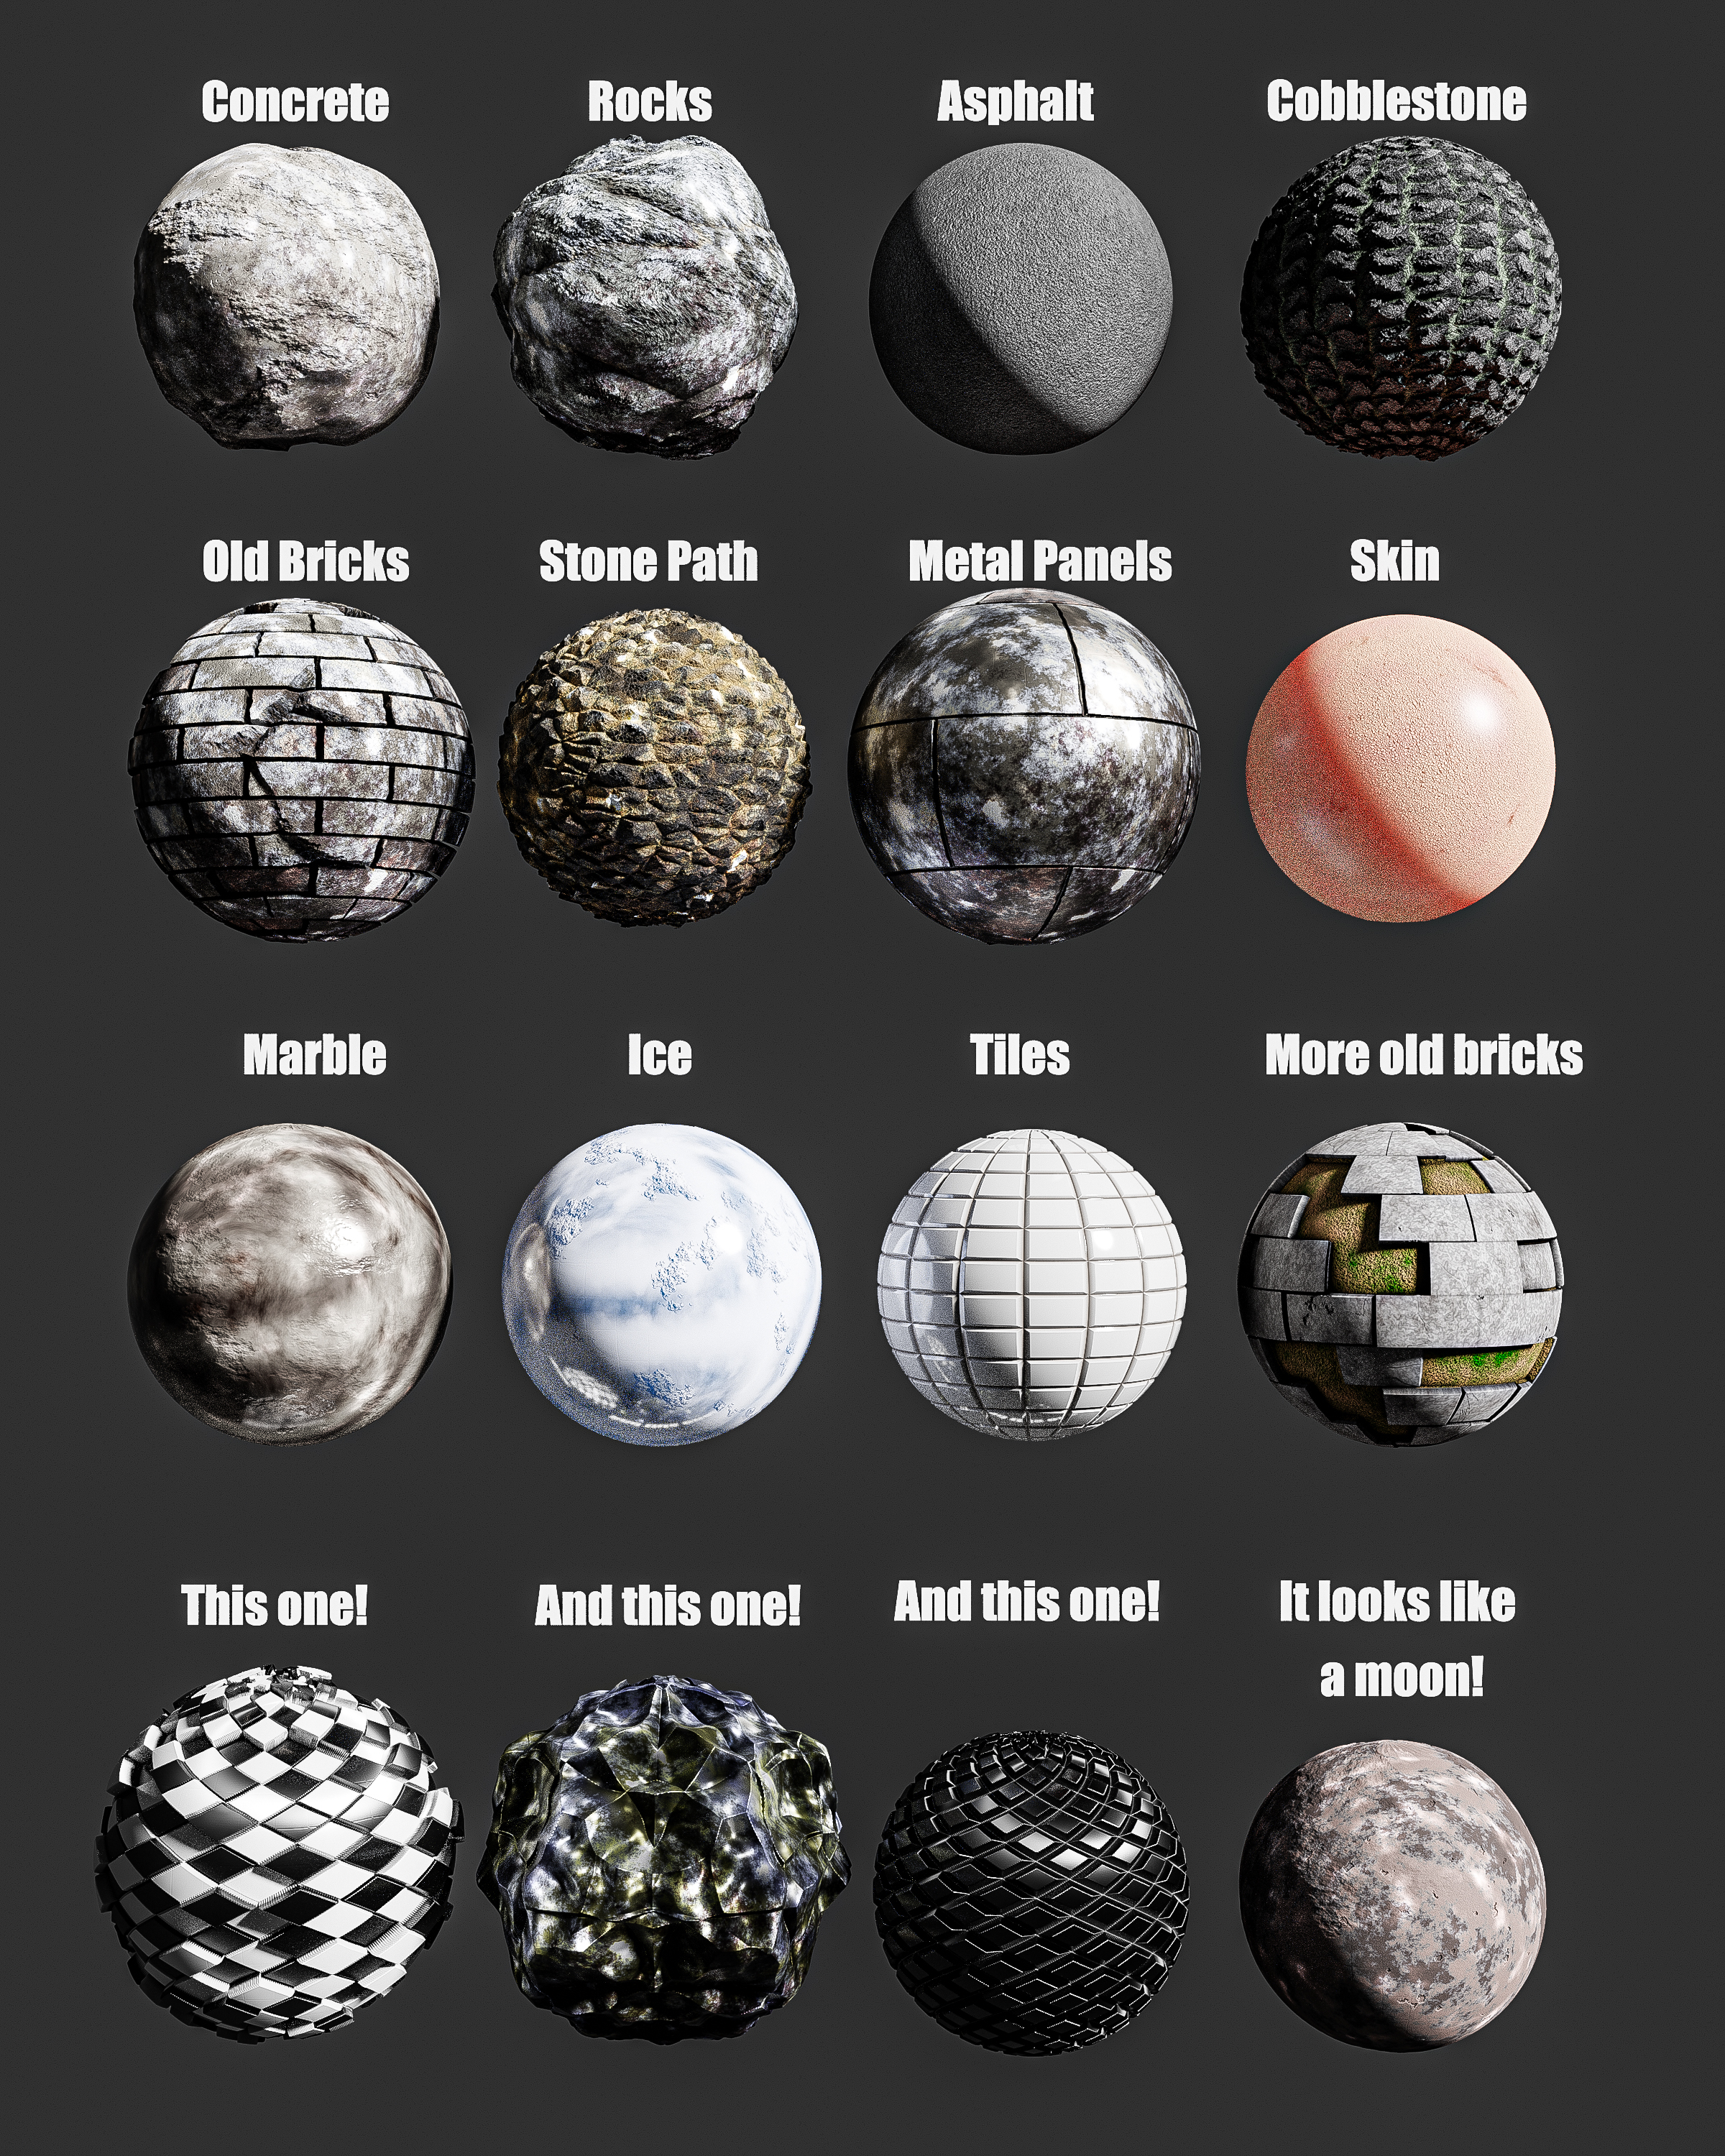
In the Master file in the downloads, contained in the blend file are the 16 materials in the image below that I created using the ISB, just to help with the process as they can be used as material templates to start with where you can then make your changes.
There are also a new set of Colour FX mixers for when using Dielectric controls and various other improvements and slight changes or fixes, all detailed at the end of the latest manual, also in the downloads.
Kindest regards,
Nick
UPDATE to v3.3
18.03.21
Hi all,
Another update! I'm quite excited about this one, I've been having a lot of fun with it. I've added a custom colour and custom roughness control and an emission control. Doesn't sound too exciting I'm sure, but the ability to draw and paint over the top of the ISB opens up a lot more possibilities. The image below shows the ISB just using it's own colours on the top house and the lower house has been painted on, adding dust, streaks and graffiti.
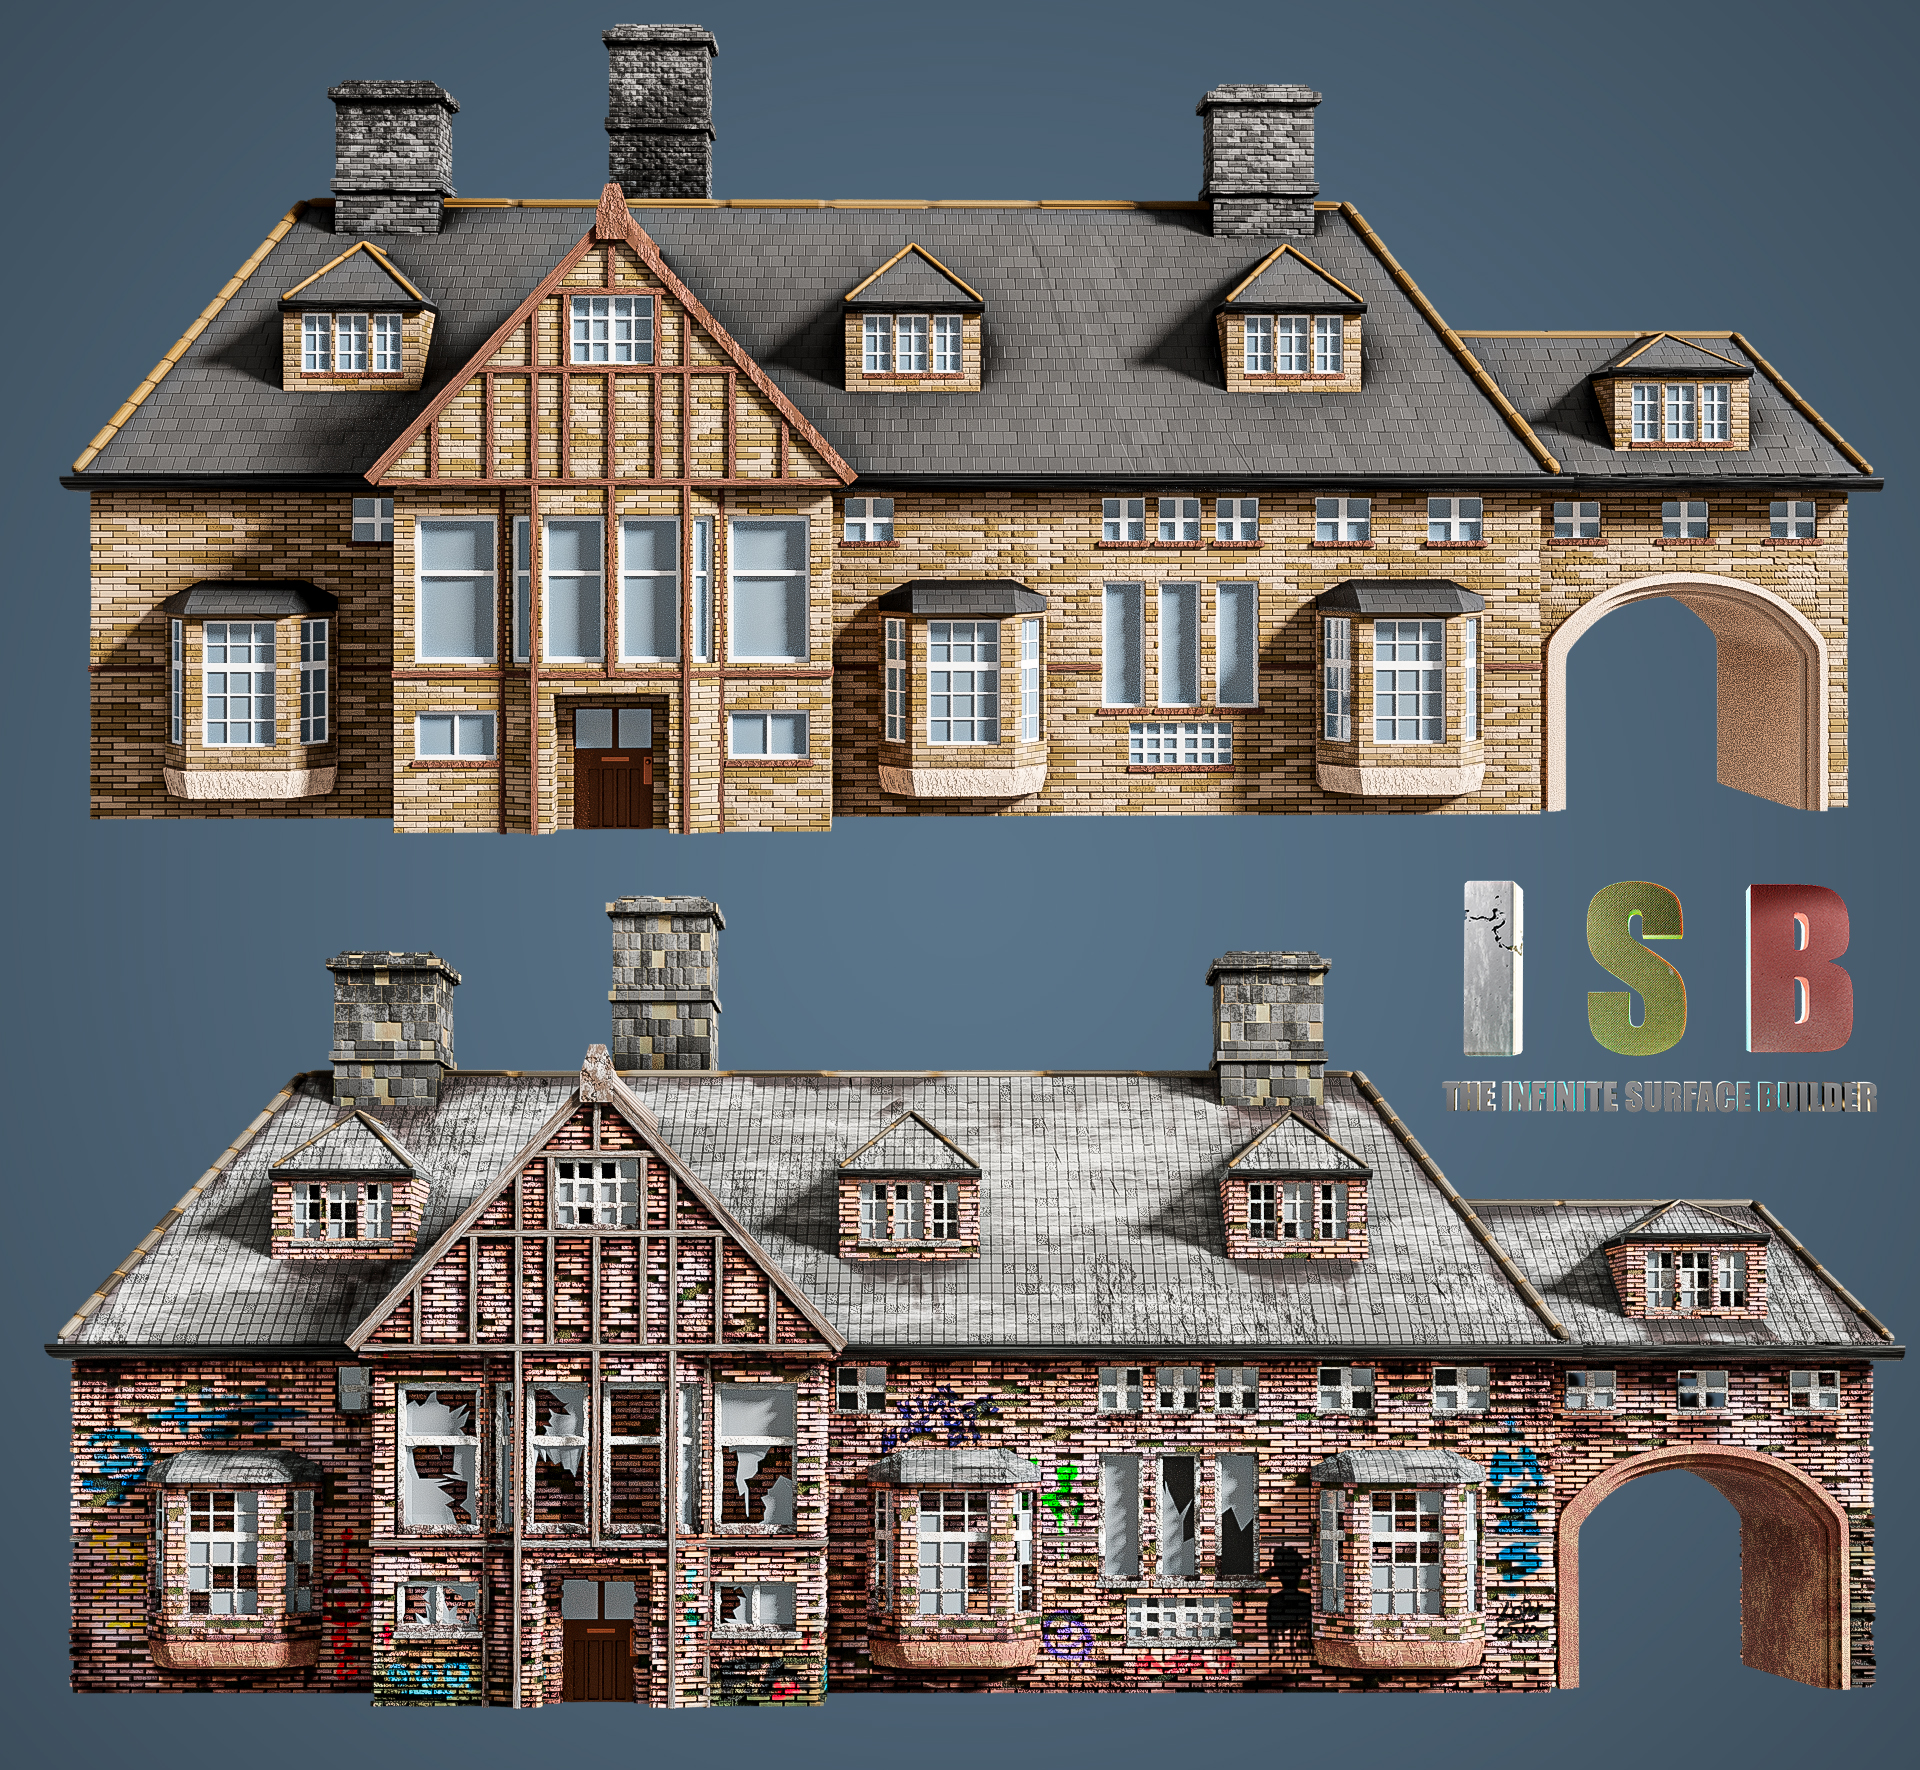
The process is detailed in a step-by-step guide in the latest manual, available in the downloads along with the latest ISB version, 3.3. There's a couple of extra additions, like independent horizontal and vertical scale controls for Colour FX 1 and Bump FX 2.
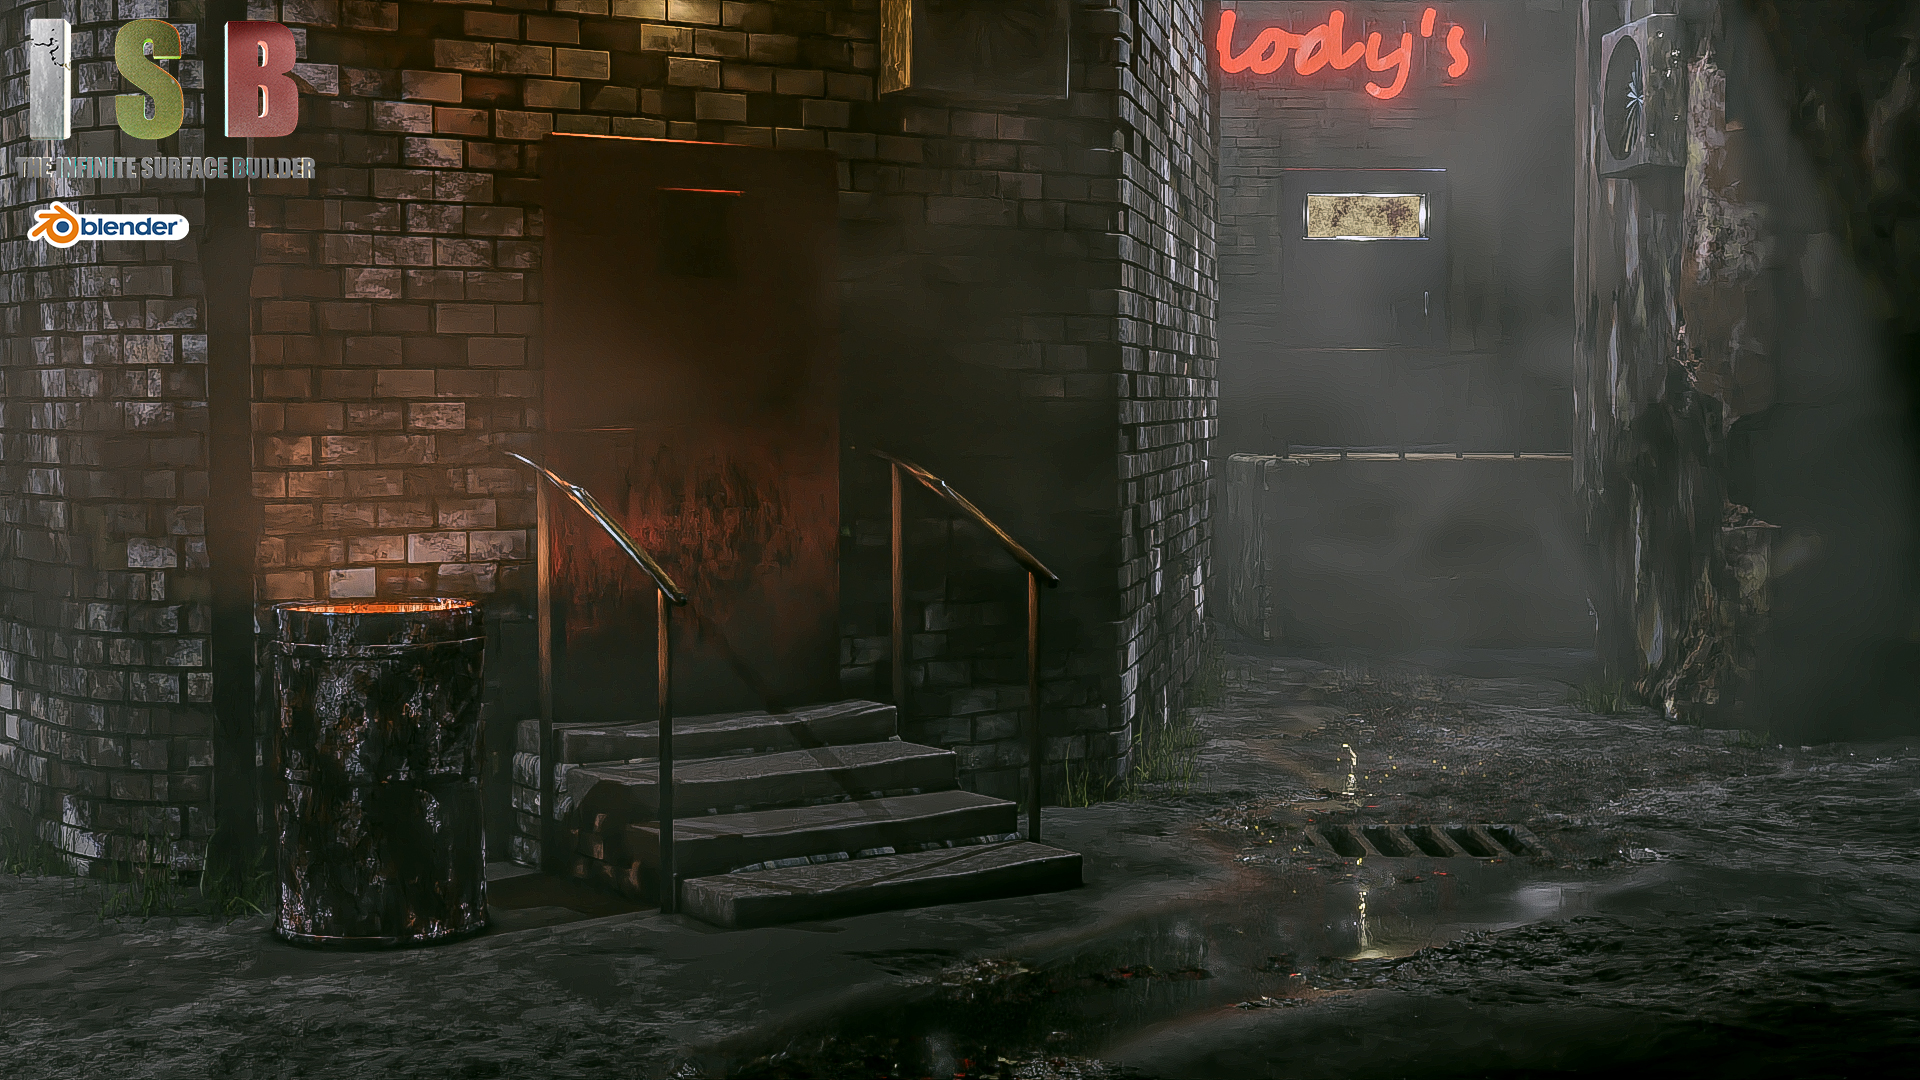
The new ISB emission controls helped to create the sign in the below image, everything else in the image is also the ISB.
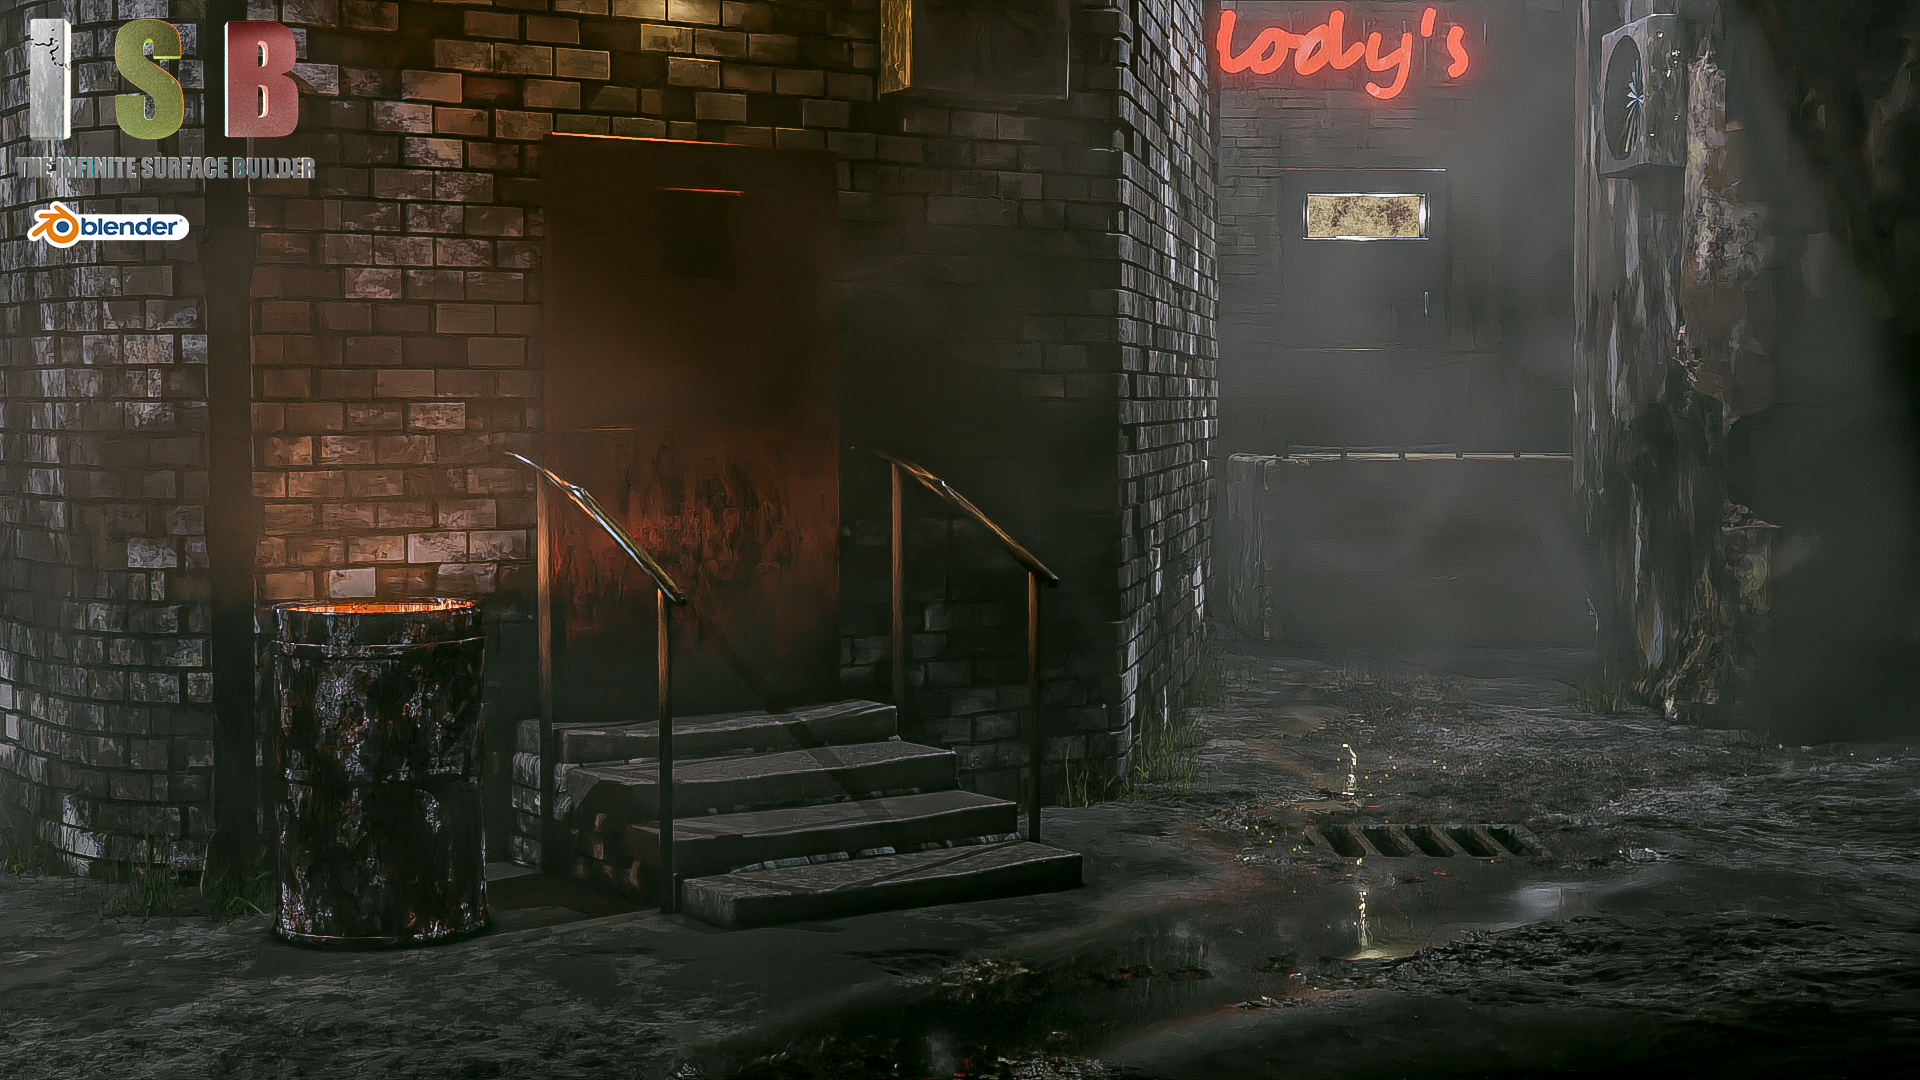
Please have a butcher's at the latest manual, everything is explained in there.
UPDATE to v3.4
20.11.21
Hi all!
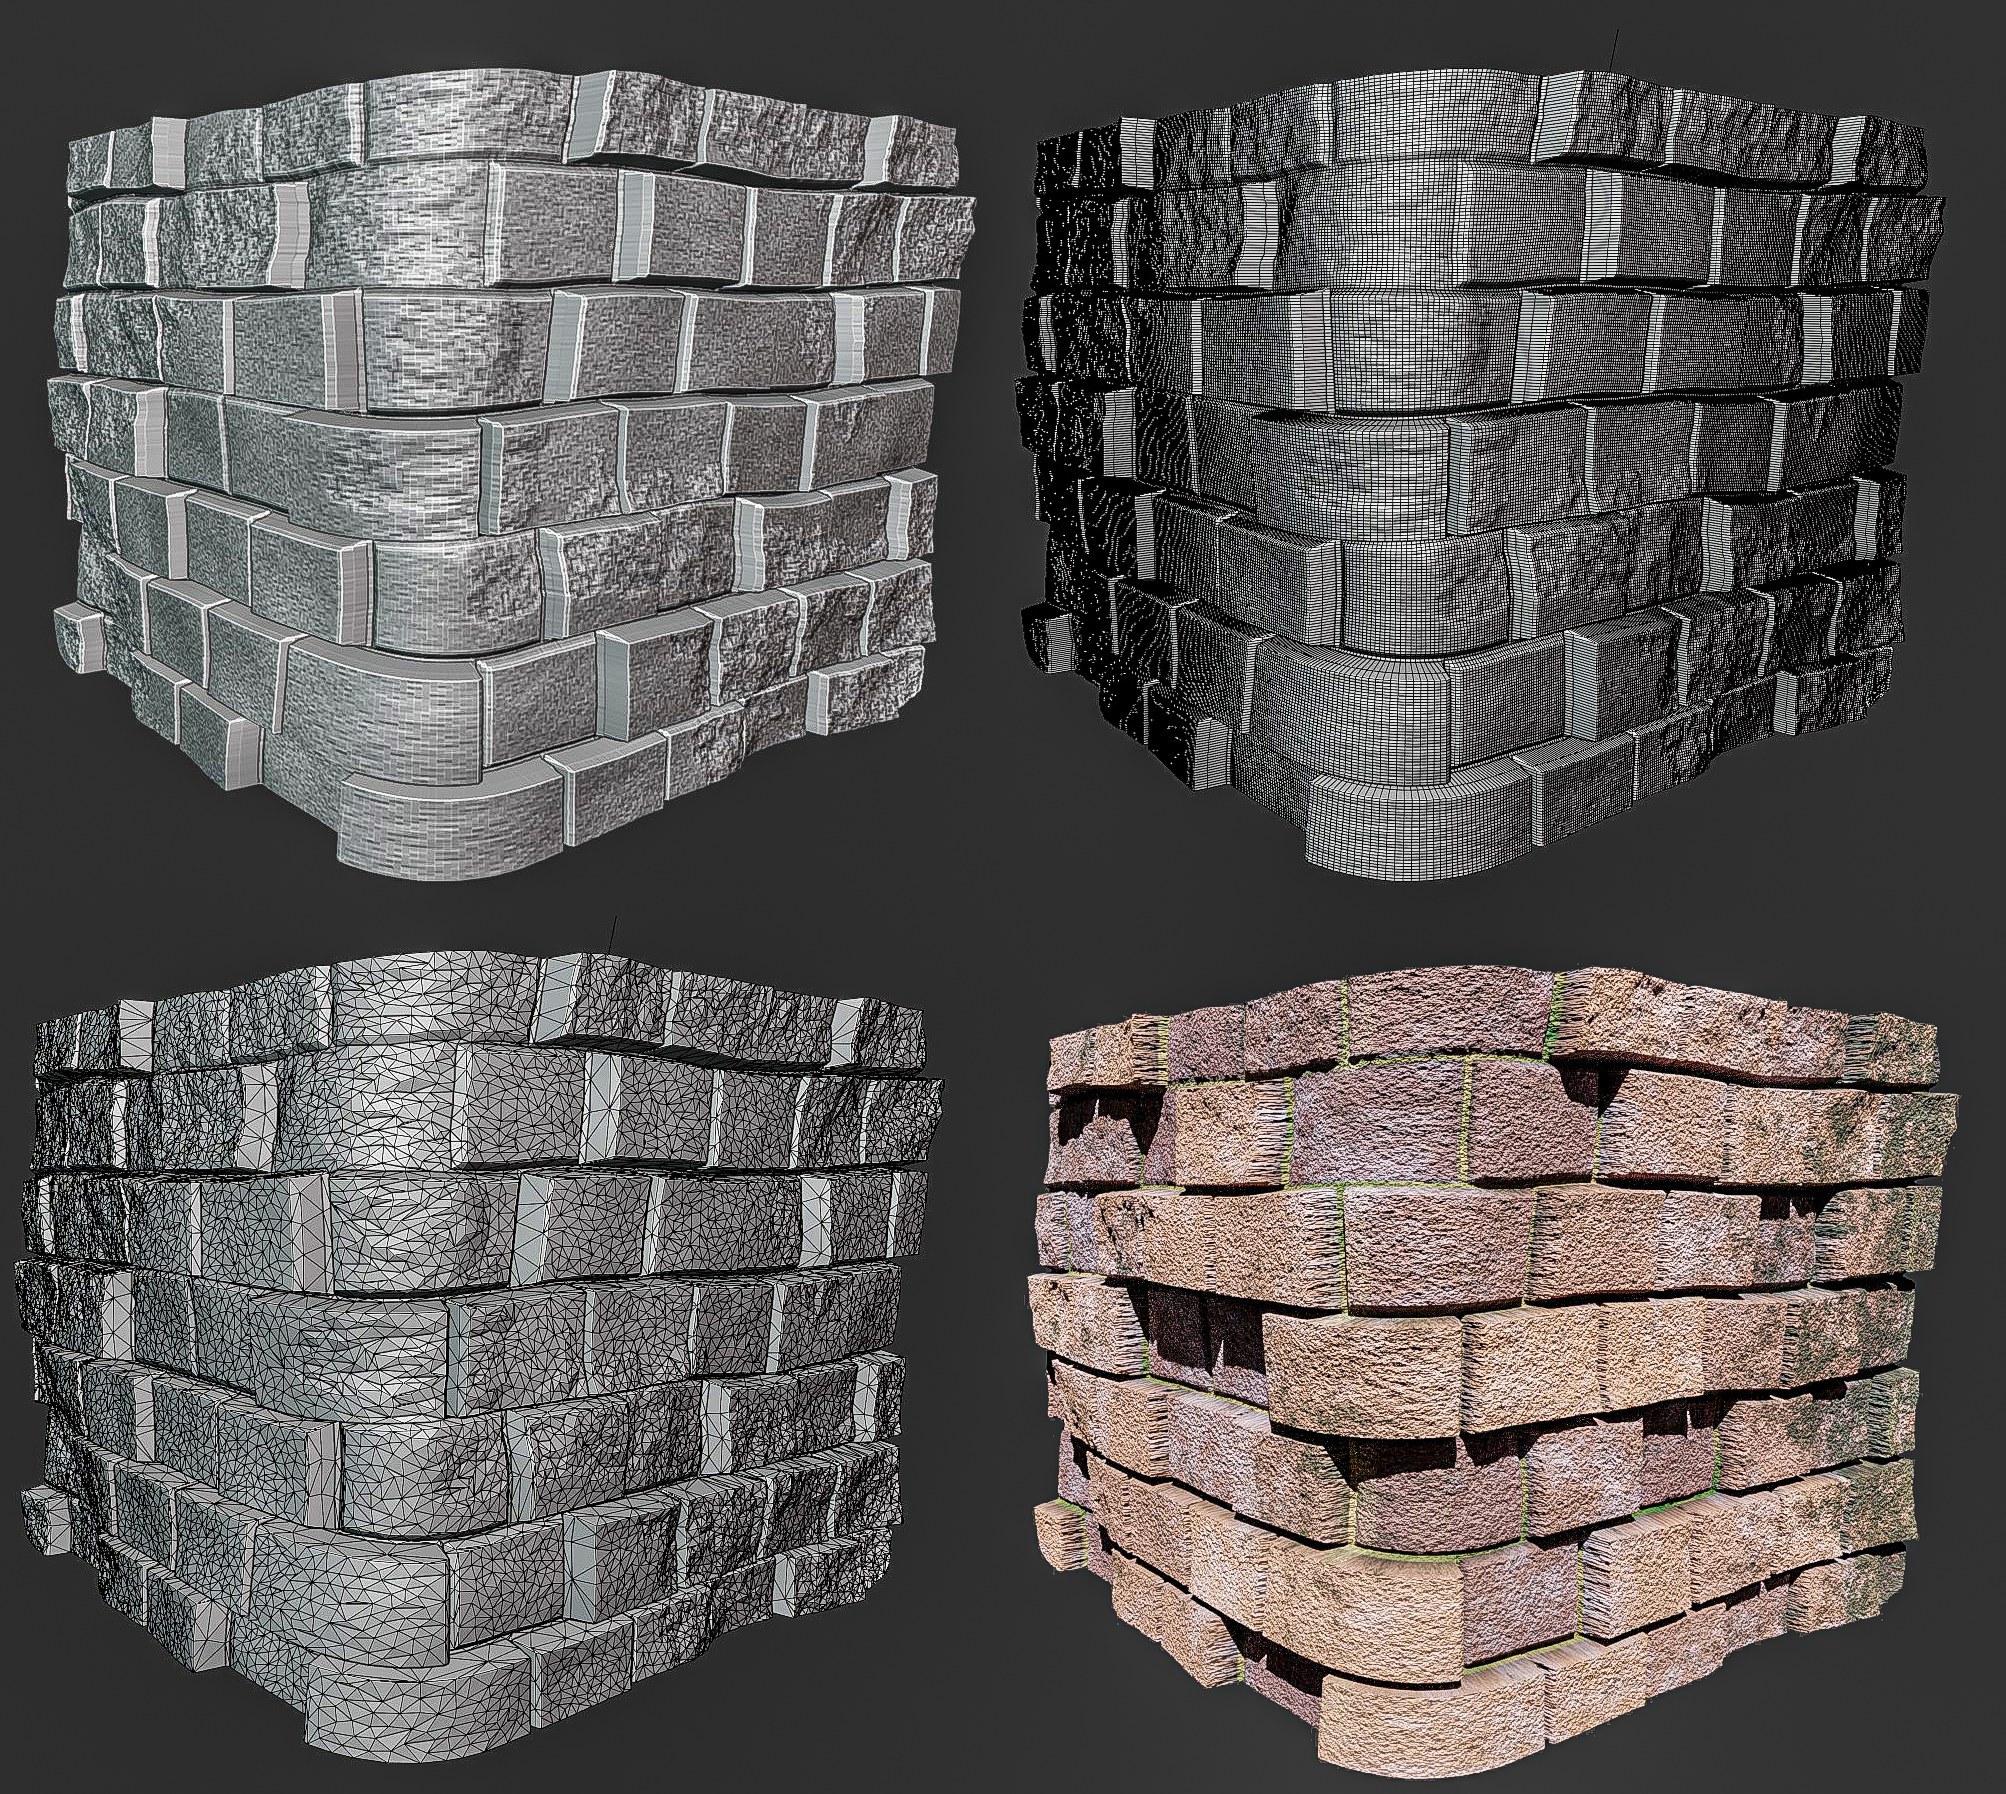
I've uploaded the latest update to the ISB, v3.4, to the downloads. I've added a new baking control area to allow you to bake out all your maps to use the ISB in Eevee or export your creations to other 3D software. There are some limitations, which are discussed in detail in the below video, which is a guide to the complete baking process, but overall it's a very quick and easy process.
https://www.youtube.com/watch?v=lq-p4wA974Y&list=PL_8QZ-hJT-uI61dXq2u3IknFVmnJisD5c
This image is the same ISB shape in various forms after baking.
I hope you have even more fun with it!
Nick
Discover more products like this
procedural textures Material terrain surface Cycles NS stone seamless textures #nature nick sayce landscape buildings natural grass metal Skin procedural tiled wall brick wall Concrete bricks tree fabric Node nsdesigns Pavement Tiles building reptile human skin Shader infinite procedural brick wall blender denim Rock Trees nick sayce designs


