Material Composer


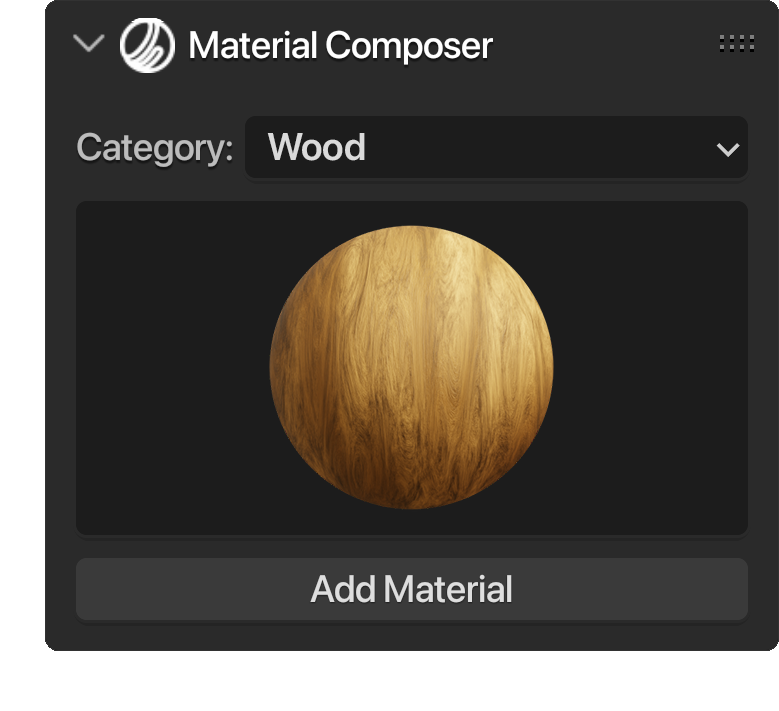
With over 85 procedural and semi-procedural materials to choose from, you'll have an incredible variety at your fingertips. Each material has been carefully crafted to ensure exceptional quality, providing stunning visual results for your renders in both EEVEE , Cycles and EEVEE Next render engines. Moreover, these materials are conveniently categorized, allowing for easy navigation and quick selection based on your specific needs.
What sets these materials apart is their versatility. Material Composer empowers you to customize and fine-tune every aspect of the material, allowing you to achieve the exact look and feel you desire. From adjusting the color, roughness, and metalness to manipulating patterns, textures, and surface details, the possibilities are endless. The user-friendly property names make it intuitive and effortless to experiment and achieve the desired outcome.

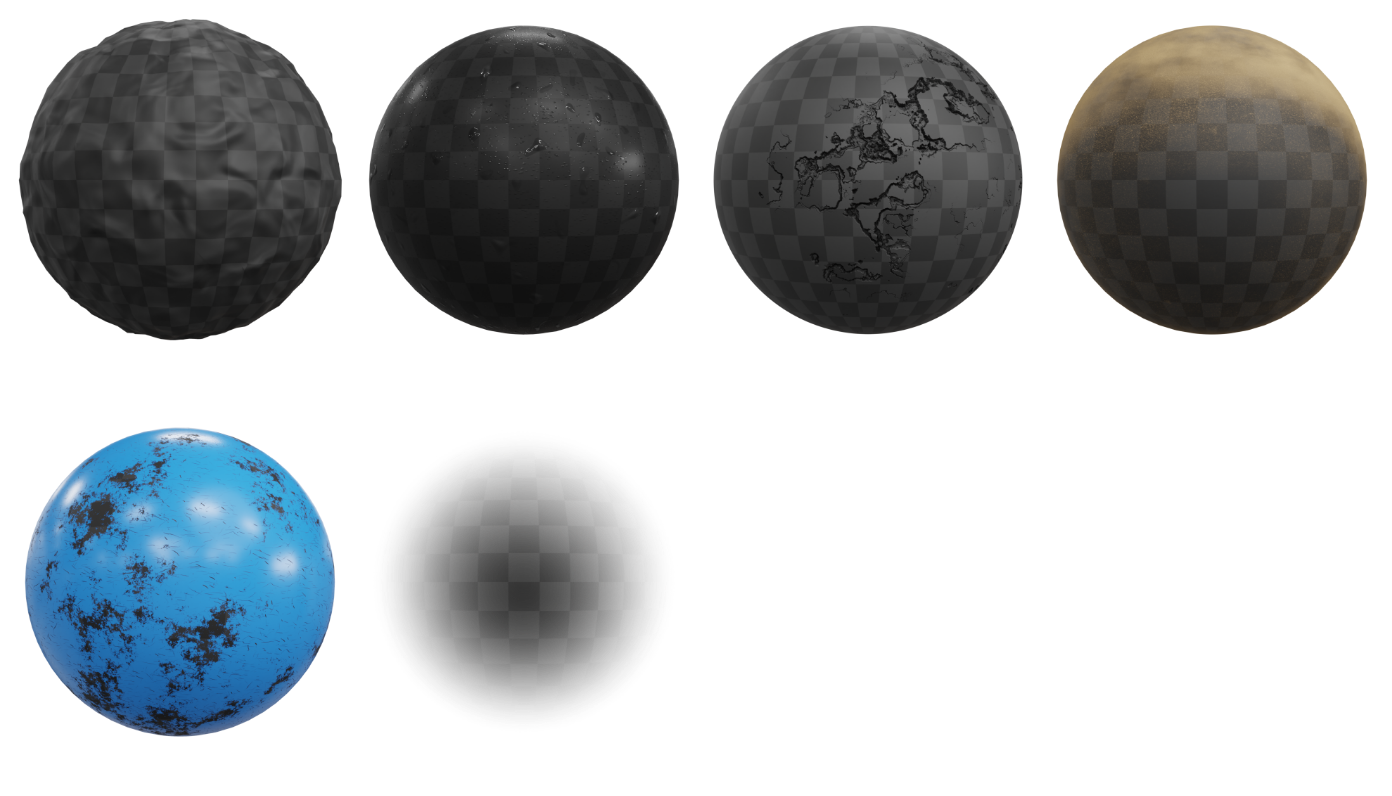
With Effects, you have the flexibility to enhance any material, even if it wasn't created using Material Composer. These effects allow you to add a touch of realism and detail. Whether you want to incorporate dust particles, rain droplets, or paint effects, the possibilities are endless. The Effects feature is designed to work harmoniously with any material, enabling you to elevate its visual impact and achieve stunning results.
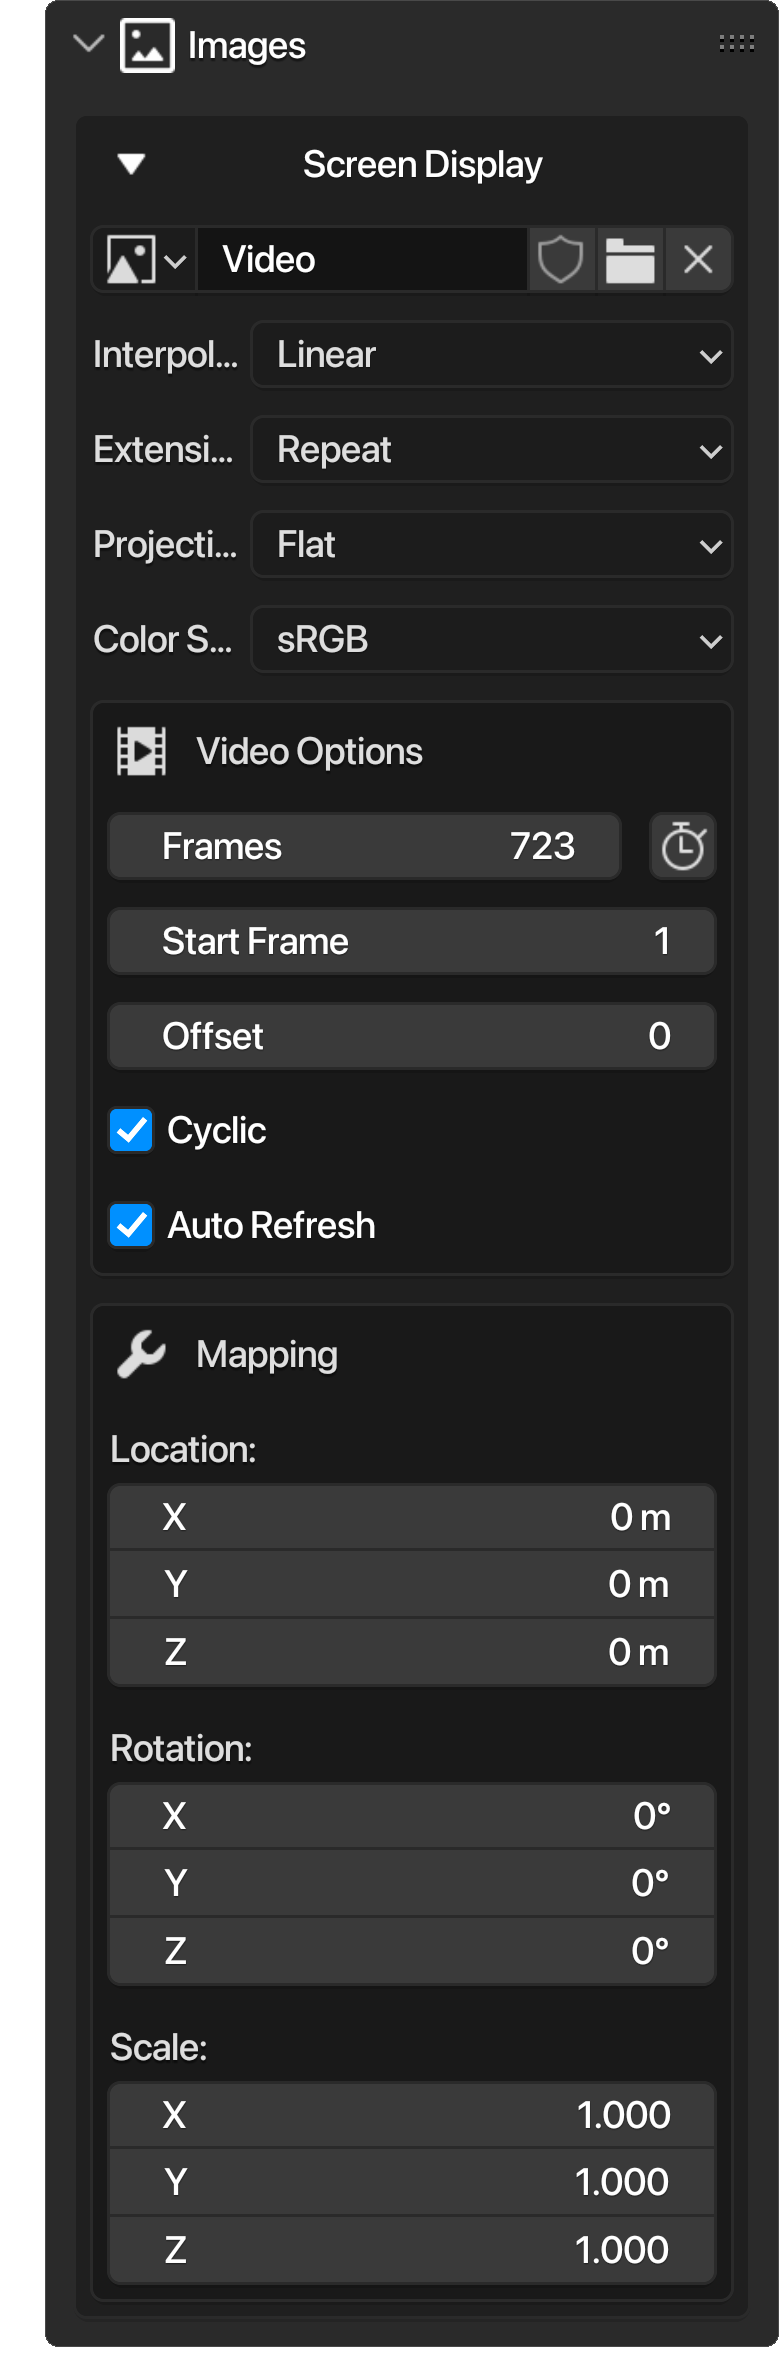
The second panel of Material Composer introduces a game-changing feature that simplifies the process of changing images within node groups. With this panel, you no longer need to enter the node group and search for image texture nodes manually. Instead, you can conveniently access and modify the images directly from the panel itself. This functionality is particularly useful for materials that involve screens or displays, Such as those provided by Material Composer.
Not only does this save you time and effort, but it also provides easy access to all the image properties you need. From adjusting extrapolation and color space to fine-tuning image mapping, you have complete control over how the images are displayed within your materials. This level of customization allows you to create dynamic and visually captivating screen materials.
Furthermore, if you select a video or an image sequence, the panel offers additional options to enhance your workflow. You can specify the number of frames, set an offset, enable auto-refresh for real-time updates, and even utilize the "match movie length" button to automatically adjust the video's playback length to match the actual duration of the video file.
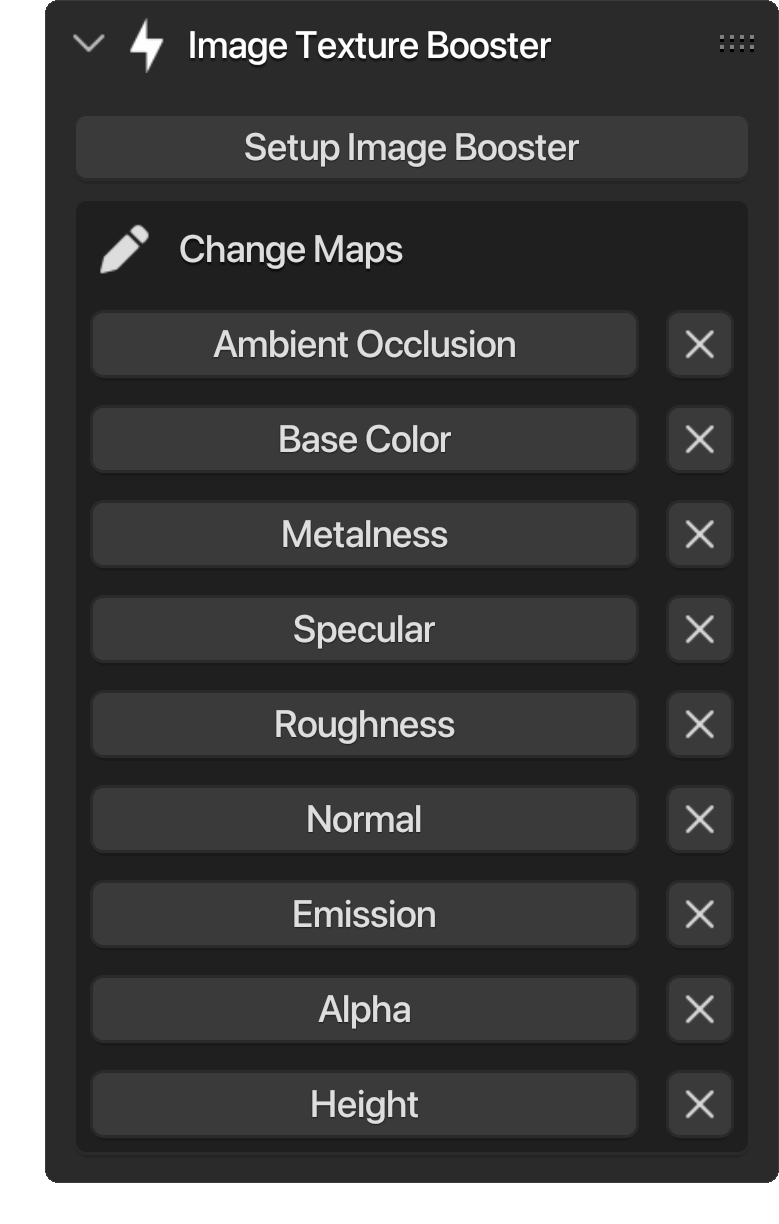
The Image Texture Booster panel is a revolutionary tool that takes material customization in Blender to a whole new level. With its advanced functionality, this panel allows users to effortlessly select downloaded texture maps from any texture website and automatically adds them to a node group based on their names. No more tedious manual mapping!
The Image Texture Booster panel intelligently assigns the texture maps to their corresponding slots, making the "diffuse" texture the base color map, the "roughness" texture the roughness map, and so on. This seamless integration saves you valuable time and ensures accurate material representation.
But what if you want to make changes or feel that the automatic mapping didn't quite get it right? No problem! With the Image Texture Booster, you have the flexibility to change textures anytime. Simply select the Image Texture Booster node group and use the intuitive buttons in the panel to switch textures. It's as simple as that!
Here Is the node group that you get with the Image Texture Booster. It empowers users to manipulate image textures in any way they desire. Adjust the material color, overall roughness, metalness, and a host of other parameters to achieve the perfect look for your materials. Eliminating a major downside in image textures which is the difficulty of manipulation.

One of the standout features of the Image Texture Booster is its ability to break the repetitive tiling pattern commonly associated with image textures. Within the Detiling section of the node group, you can randomize the location and rotation of different parts of the image textures. This innovative feature effectively eliminates the telltale signs of tiling, resulting in a more natural and realistic appearance.

To add a decal, just click on the "Add Decal" button. This opens up a browsing window where you can select the decal texture maps, such as the color, normal maps, height maps, and more. Once you confirm your selection, a new node group will be automatically added to the node tree. Similar to the Image Texture Booster, you can change the texture maps anytime you want.
Connecting the decal node to your previous material is a breeze. Simply connect the outputs of the material to the decal node and connect the outputs of the decal node to the material output. This integration seamlessly incorporates the decal into your material.
Now, here comes the exciting part. To position the decal precisely, you can add an empty object to your scene. With the decal node selected, go to the Decal panel and choose the new empty object. The decal will now be placed wherever the empty object is located.
The Decal Node provides a comprehensive set of controls, enabling you to adjust the decal color, overall roughness, metalness, and a wide range of other parameters. It also allows you to add height to your decals, adding depth and dimension to your scenes. This feature brings an extra level of realism and visual interest to your materials, making your decals truly stand out.

Material Composer introduces the Decal Mode, accessible through a button with the  icon located in the top right corner of the 3D view header. When activated, this mode adjusts the snapping and transform coordinates options to seamlessly align with the process of adding empty objects that adhere to the surface of objects. This ensures precise placement and alignment of decals. When deactivated, the settings return to their original state, providing flexibility and convenience in your workflow.
✱ The full version includes a "Check for Updates" panel.
✱ The Material Library offers a collection of utility nodes that enable you to create your own materials, such as "Blur," "Combine Normals," and many others.
Choose a product version:
| Published | 6 months ago |
| Blender Version | 3.4, 3.5, 3.6 |
| License | GPL |
Have questions before purchasing?
Contact the Creator with your questions right now.
Login to Message