Blender 2.8 Creating Your First 3D Game Model

Blender 2.8: Creating your First 3D Game Model will provide you with a thorough workflow and all the tools to create the well featured in the course introduction.
If you have ever wanted to create a game ready 3D model that looks like it belongs in a triple AAA game, then this course will make a fantastic starting point to begin your journey. Everything we create together in this course will be using the latest free software - the all-new Blender 2.8.
This course is aimed at Blender 2.8 beginners and it will provide you with the tools to create the asset in this scene; a medieval well. It will also teach you the basics of texturing, UV-unwrapping, lighting, and rendering in Blender 2.8. This is one of the very first courses on Blender 2.8 since its release last month.
I will introduce you to all the shortcuts in Blender 2.8 and screen-casting will help you keep up with my keystrokes as I explain everything. Complete beginners to Blender 2.8 will quickly find their feet and before you know it, you will be creating scenes that look like you have spent years in Blender.
Purchasing this course will give you more than just the tools to model a 3D game-ready medieval well. The course includes 45 texture maps and 1 reference image all created by me, 3D Tudor, and unique to this course. Most of the textures are also seamless, so they can be easily used in any assets you create in the future. A big part of this course includes building structural supports for your well's roof, and that is one of the many transferable skills you will learn and be able to apply to your future work.
Interesting highlights include showing you how to build a well foundation and how to texture realistic rocks with moss growing on them. We will also build models that you usually see in games, such as buckets, and I will show you how to make a water shader from scratch. Together, we will build the well from scratch from beginning to end, with nothing left out or left to guesswork.
Together, we will also be making good use of the Blender 2.8 modifiers - including 'mirror', 'solidify' and 'array mesh' to speed up your workflow. This course will provide you with a complete model creation pipeline, which you can then apply across your new ventures.
The focus of this course is to show you how to build realistic models on a real-world scale. Lighting and rendering is also an essential part of this course, and after you have finished modeling, I will show you how to let a blue sky illuminate your medieval stone well.
In the end, you will also come away with the knowledge of knowing how to render in the all-new Blender 2.8 Eevee render or in the trusted Blender Cycles. I will now take you through some of the lessons in this course.
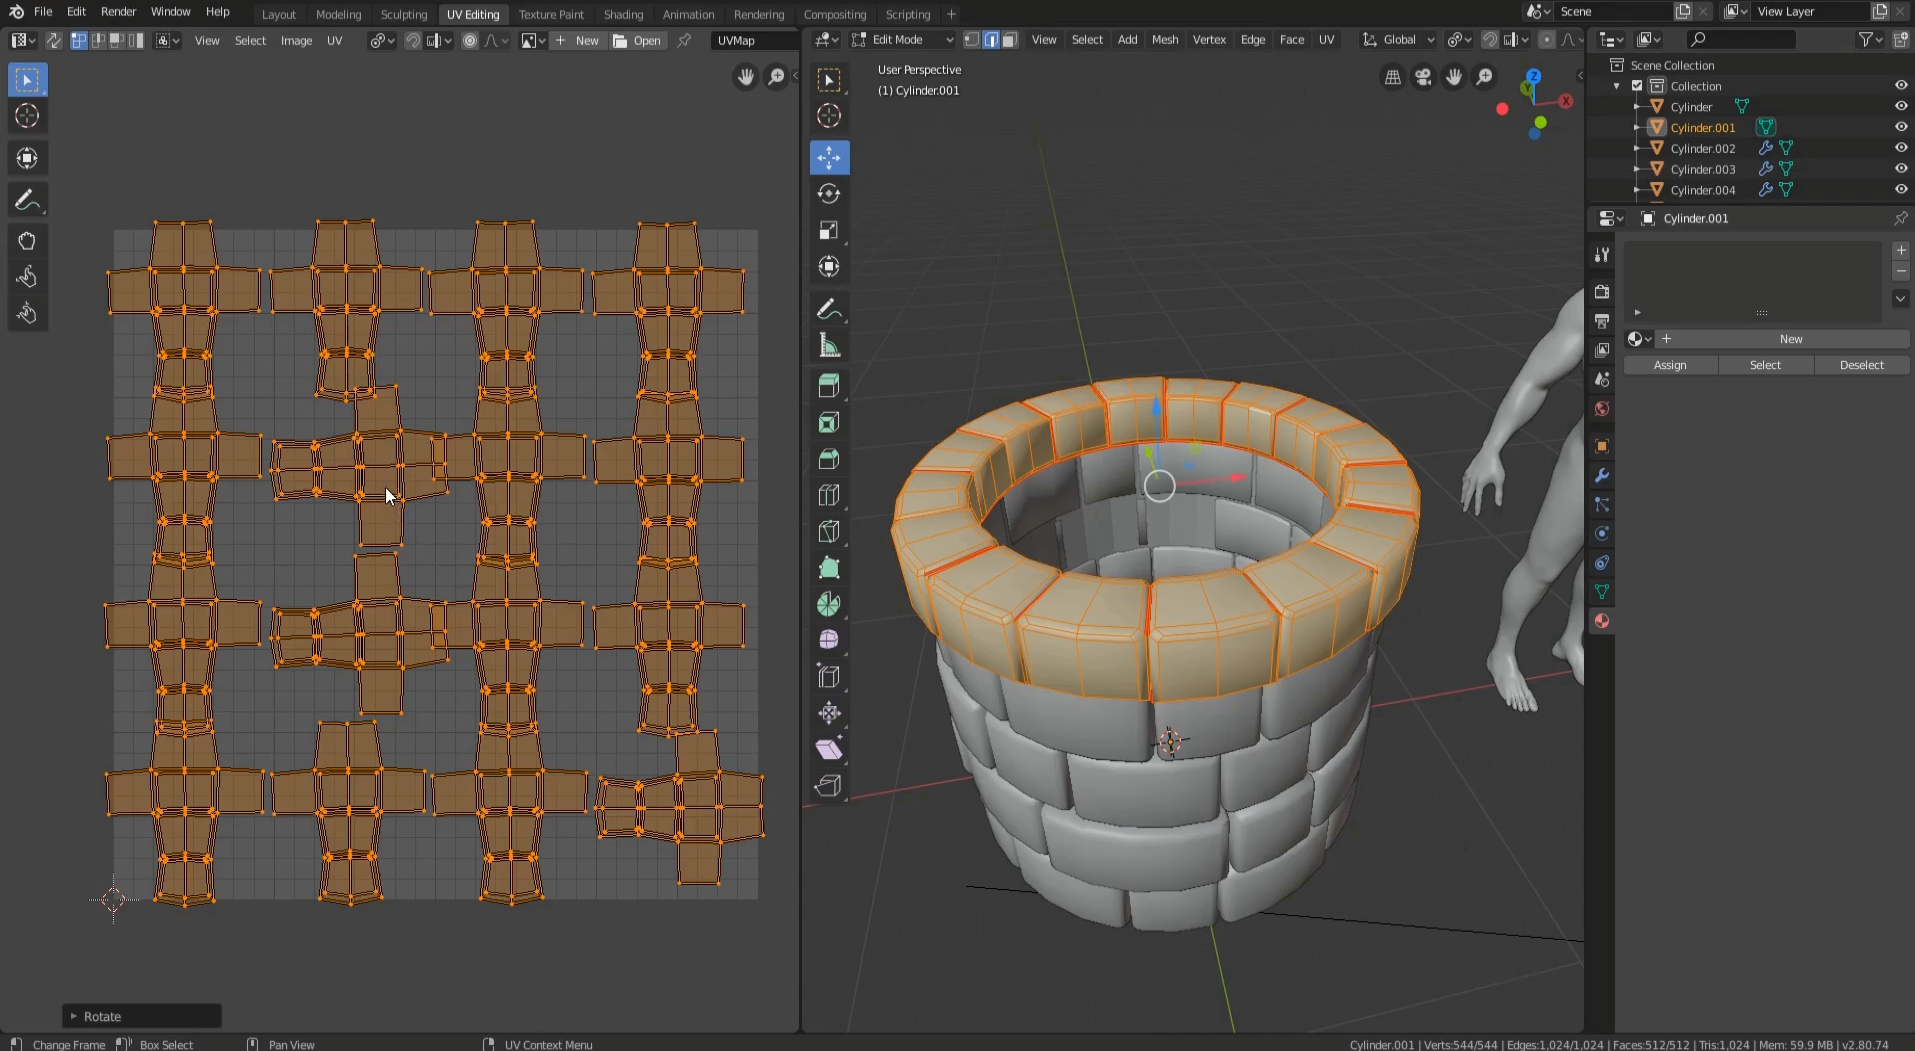
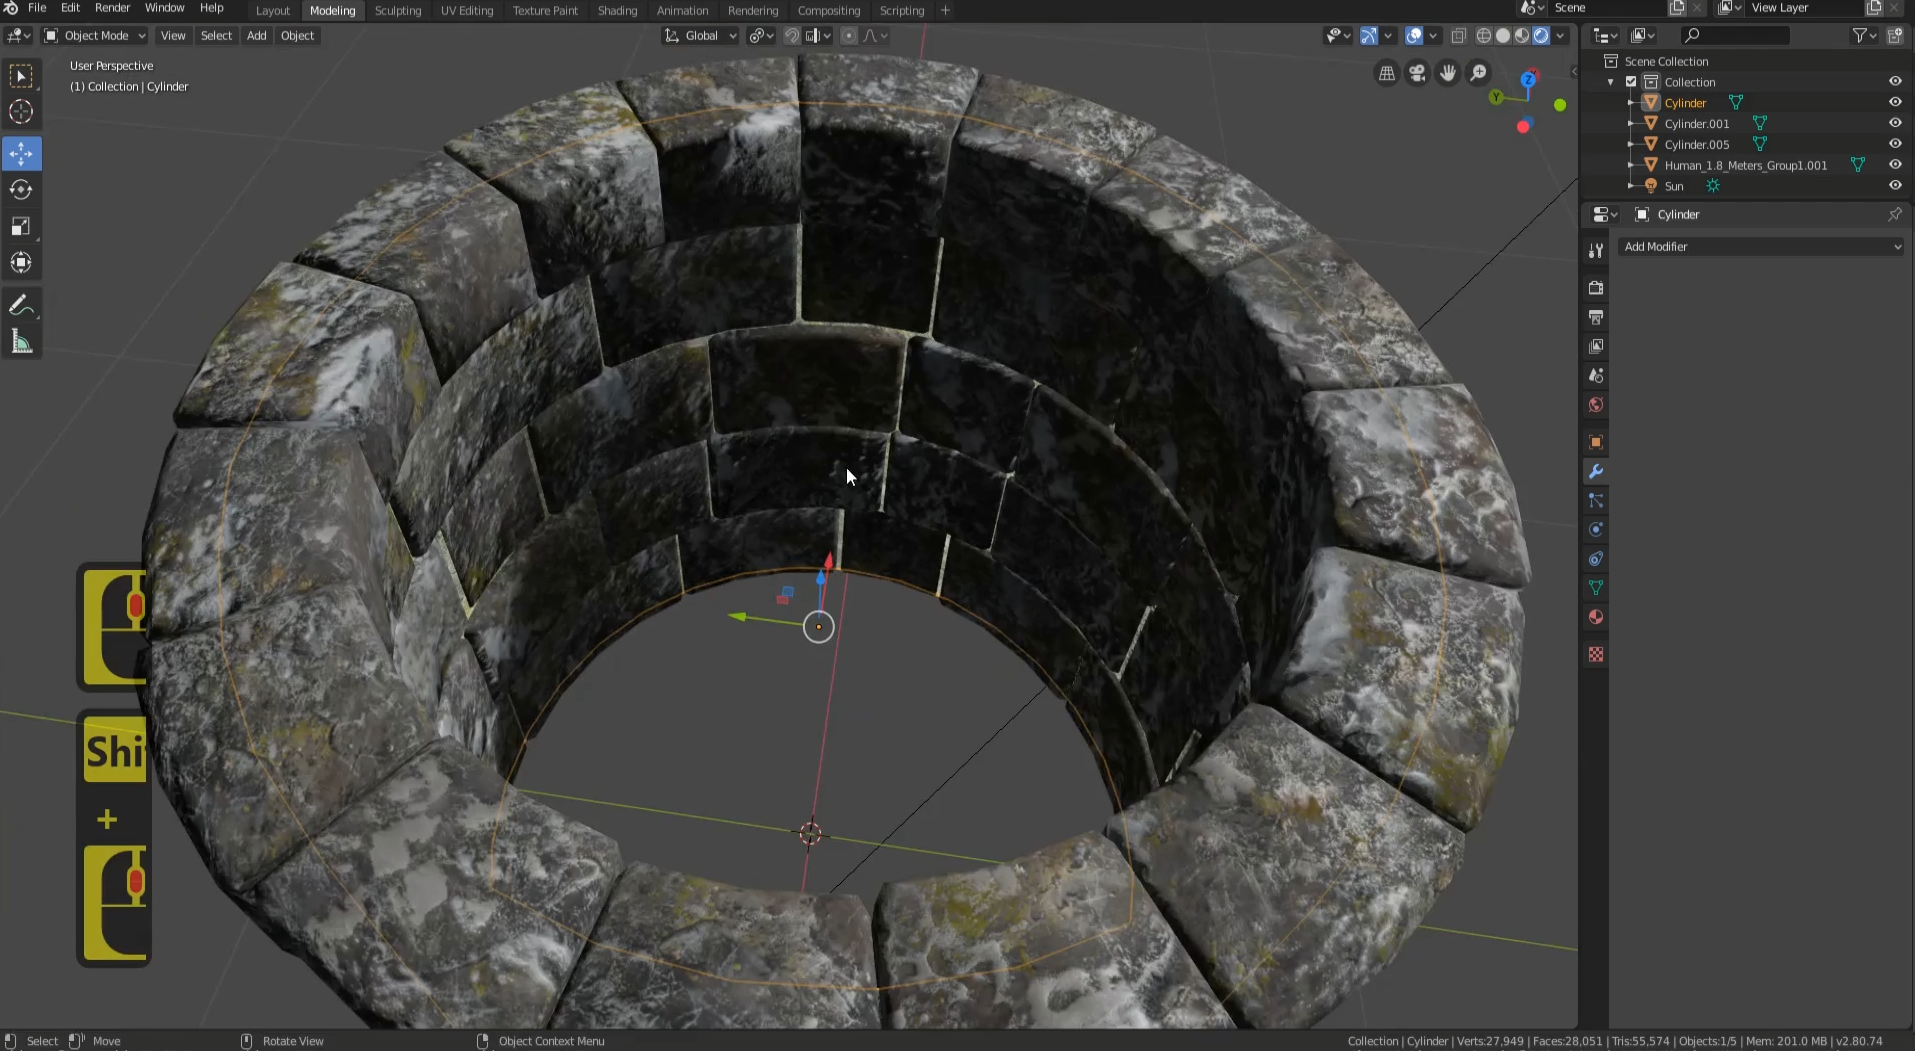
The first couple of lessons focus on creating the base for the well. You will learn some great techniques, showing you how to create a realistic stone effect. You will also learn the tips and tricks for highly effective UV-marking and UV-creation.
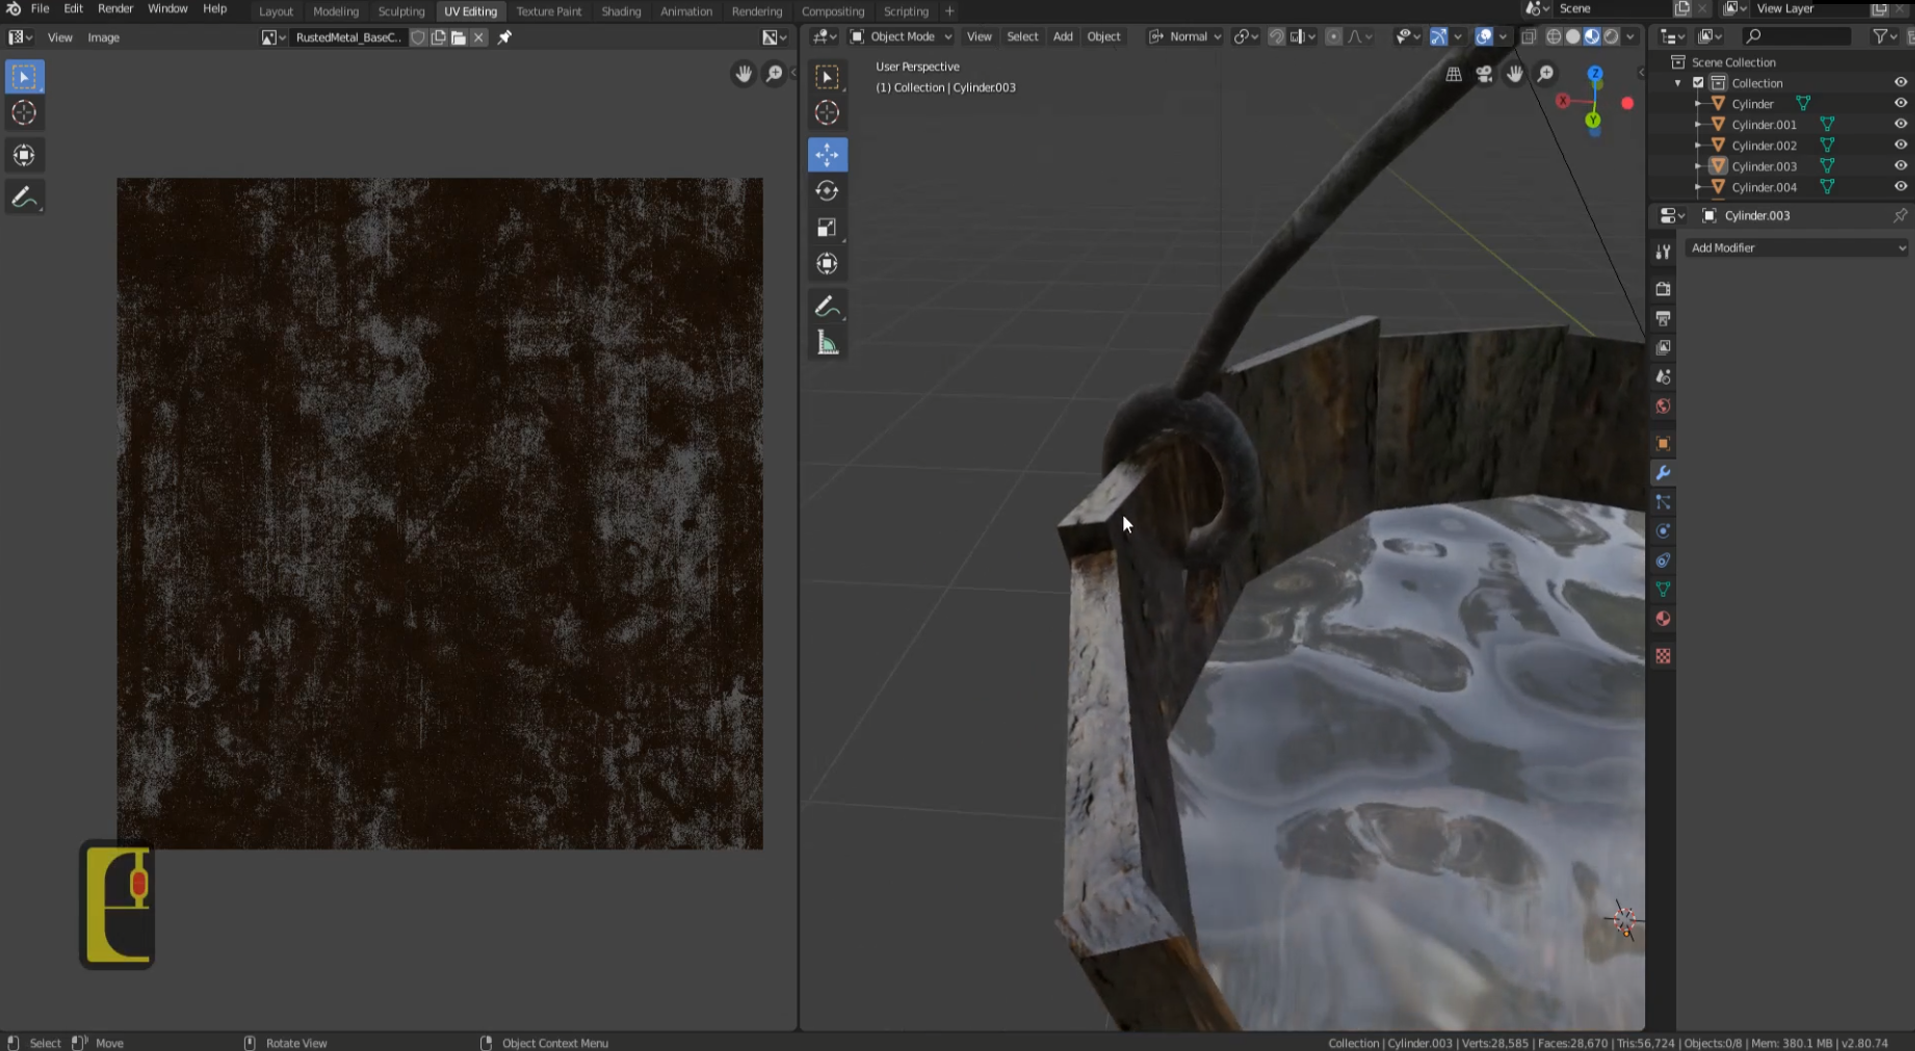
Lessons 4 to 7 are all about creating a triple AAA quality bucket that looks like it was created by an industry professional. We also create the water node from scratch, suing Blender 2.8's inbuilt node system exclusively. Knowing how to make a shader from scratch will be very useful for your professional 3D modeling career for years to come.
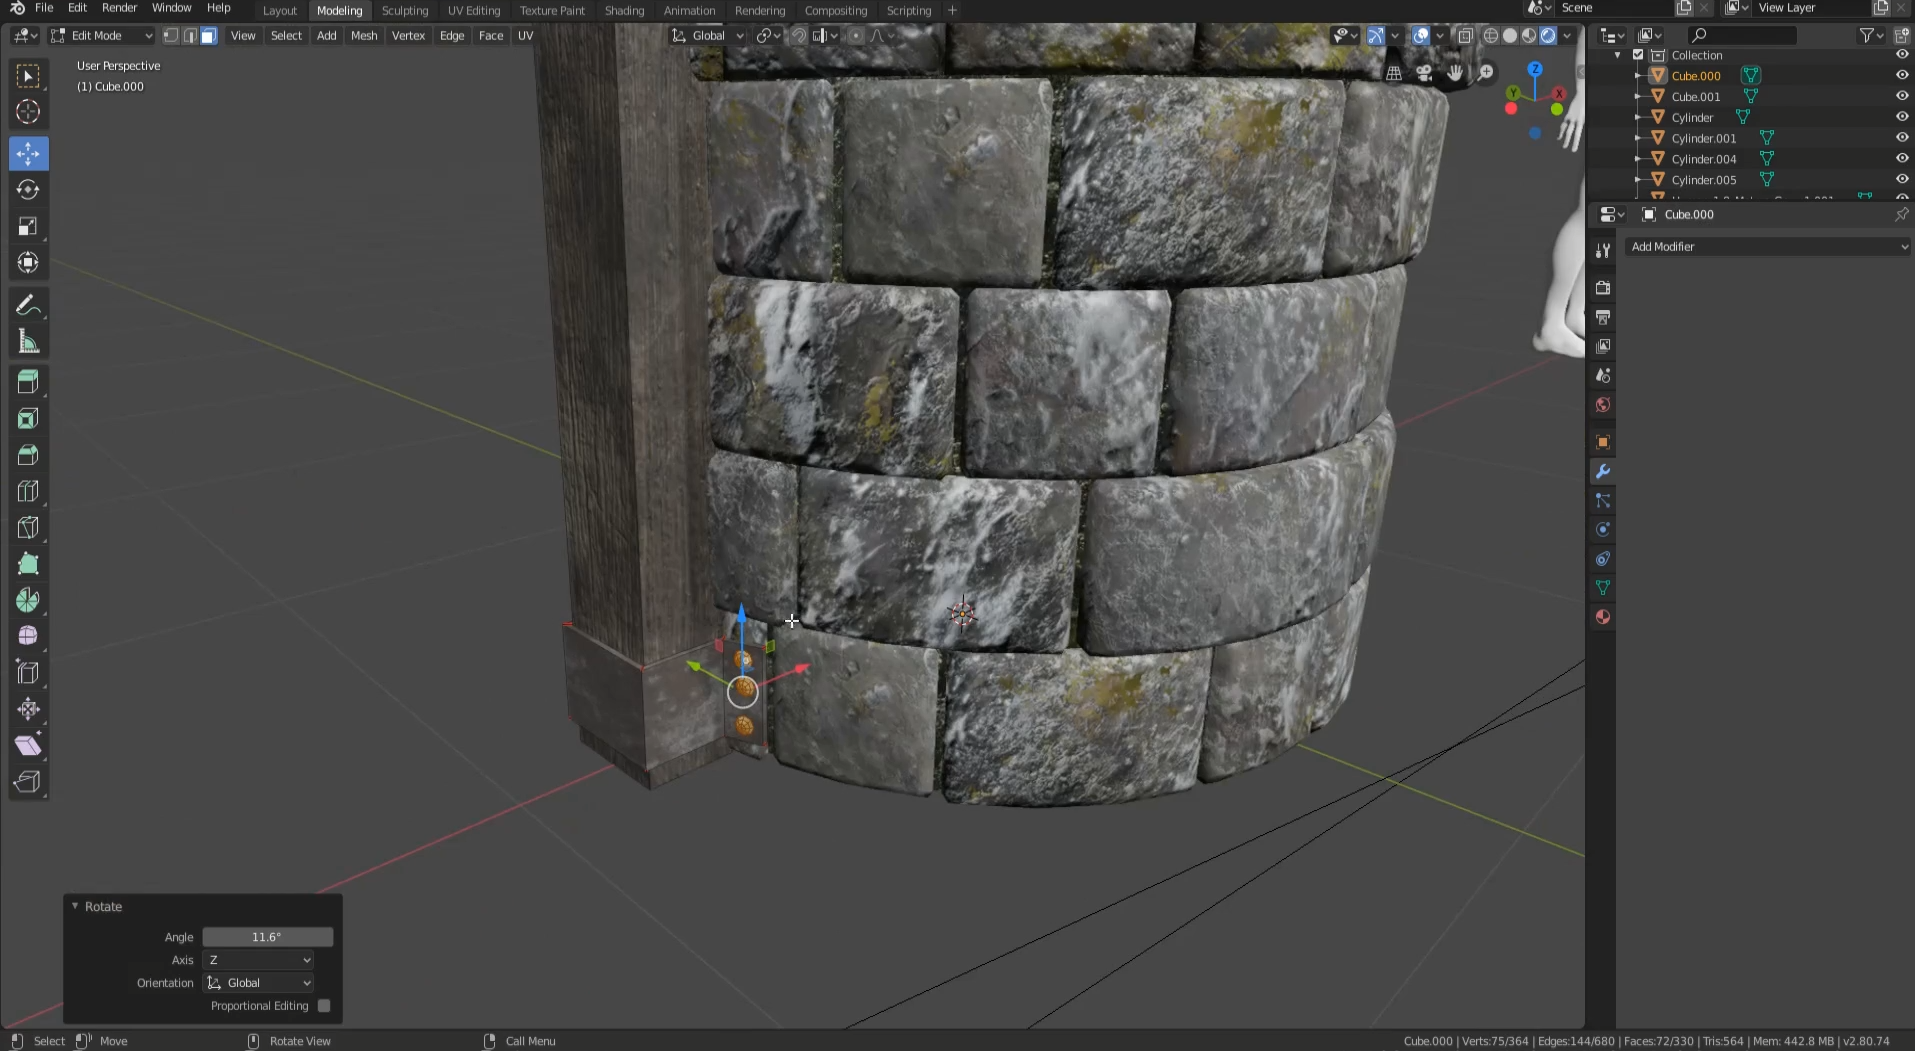
In lesson 8, we look at the structural integrity of our 3D model. Your well will not only look realistic and function in a life-like way, but it will also be structurally sound. The 3D modeling industry calls this referencing and it takes your models up a notch on believability.
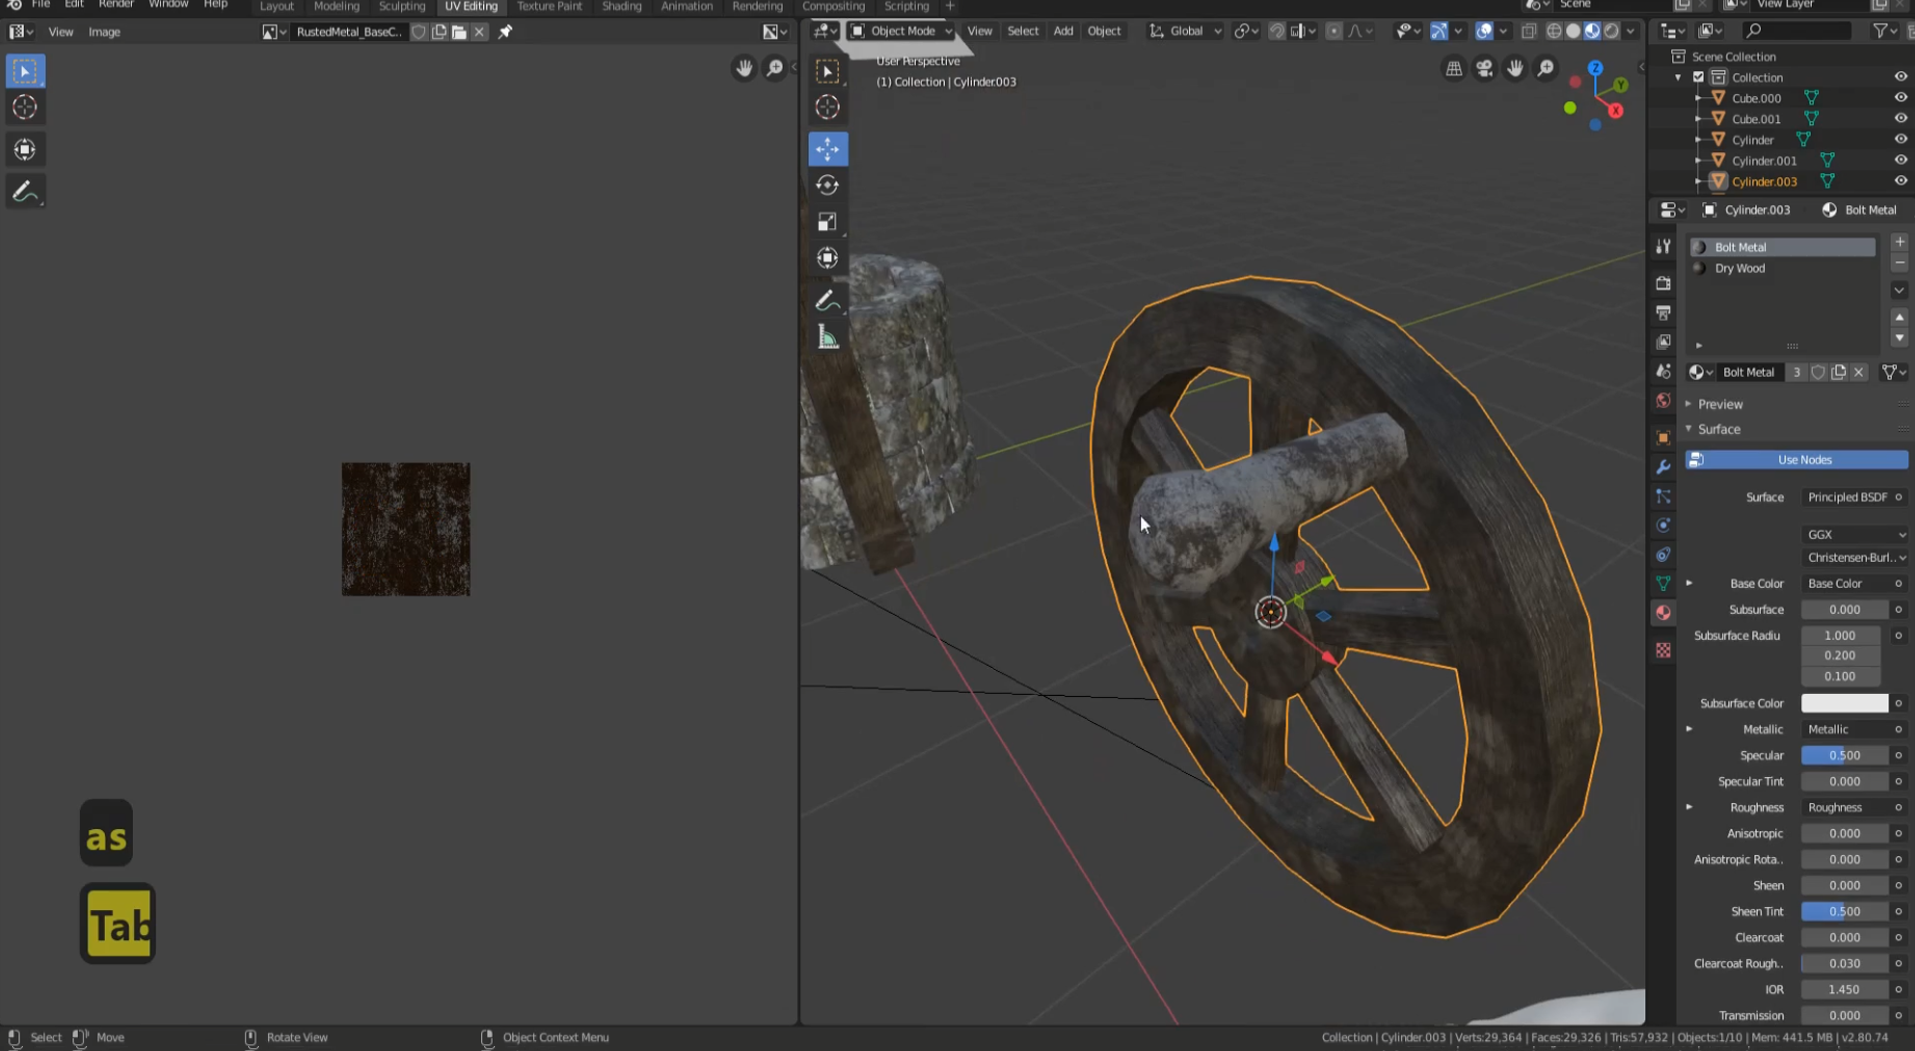
In lesson 9, we take a look at how the well's technical functionality. This lesson will be focused on creating the turning mechanism that will propel the filled bucket back to the surface. You will learn the ins and outs of some great Blender 2.8 modifiers that will speed up your workflow up immensely. Faster workflow allows you to create more models, but more than that, high-level models quicker and easier.
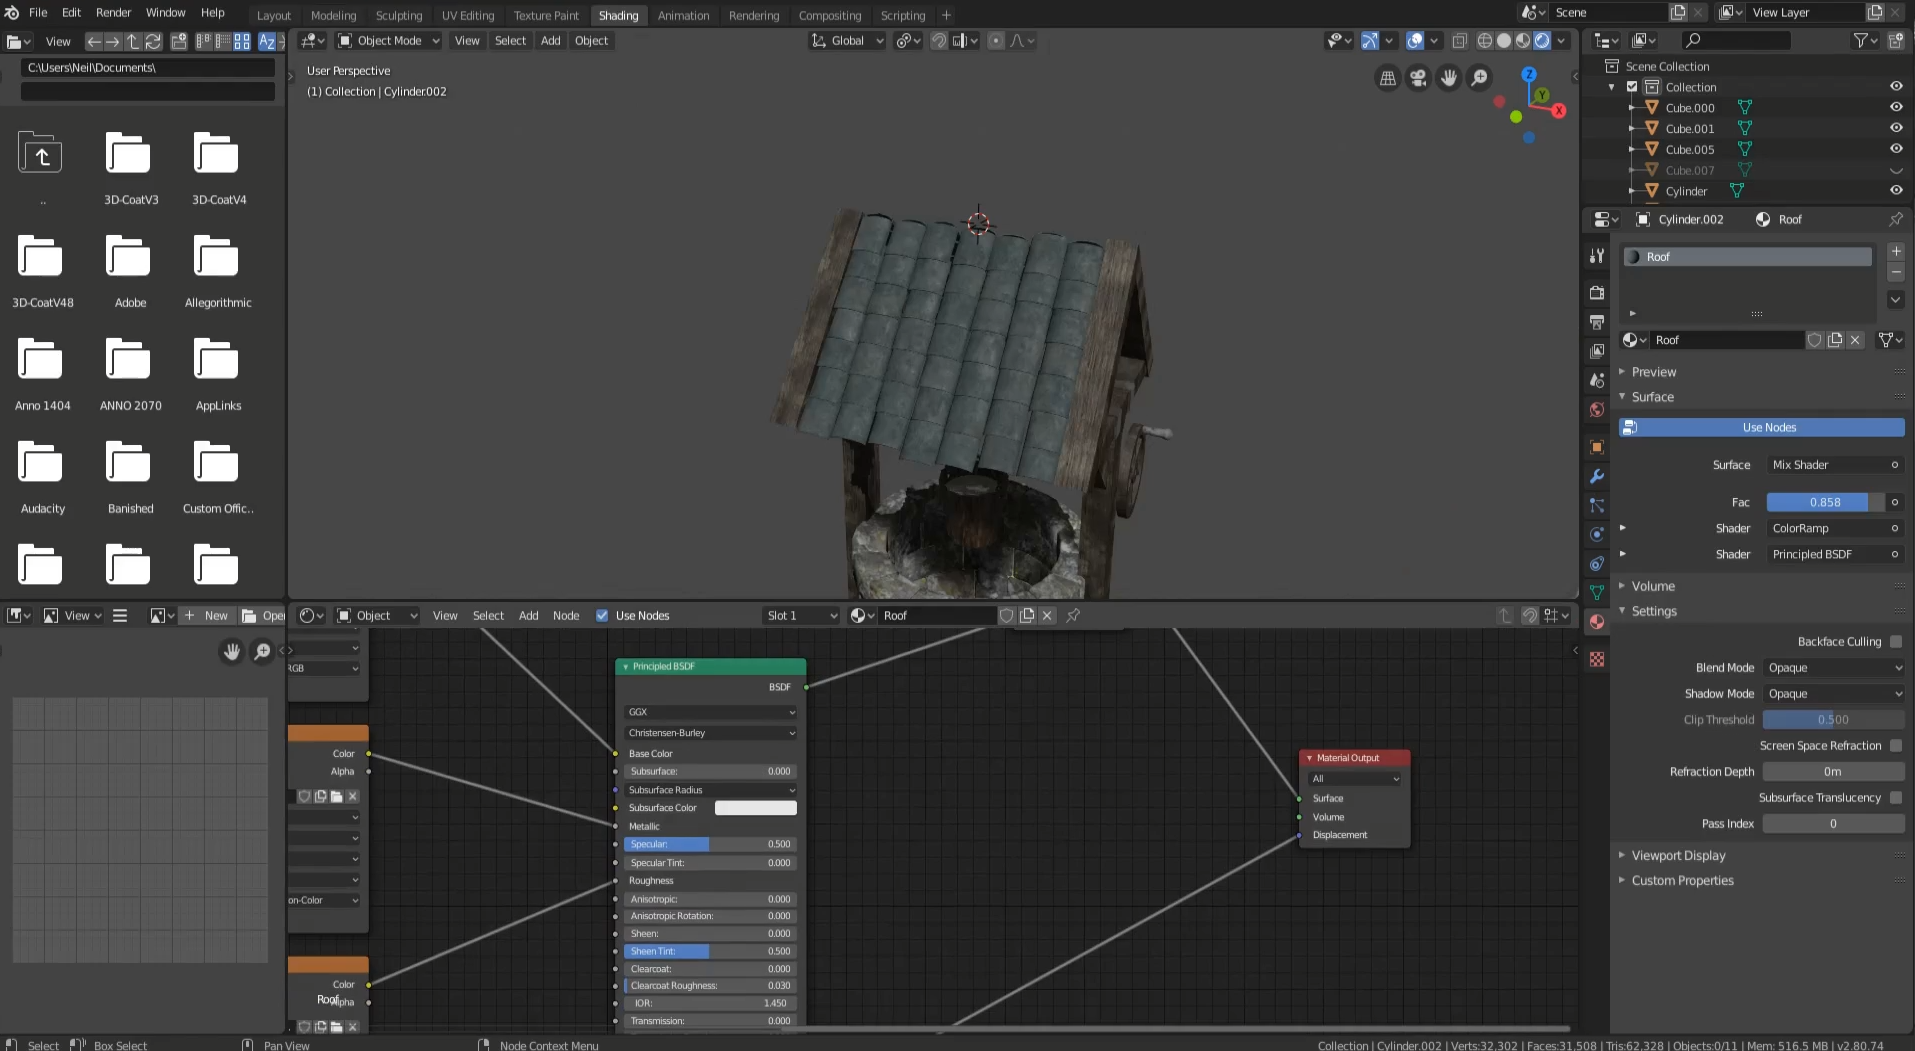
Lesson 11 will teach you advanced and basic skills around creating roofs. You will walk away from this short but incredibly in-depth lesson, fully equipped with the knowledge to tackle any roof of any kind. One of the advanced features of this lesson includes making rounded tiles, which takes this medieval well to the next level.
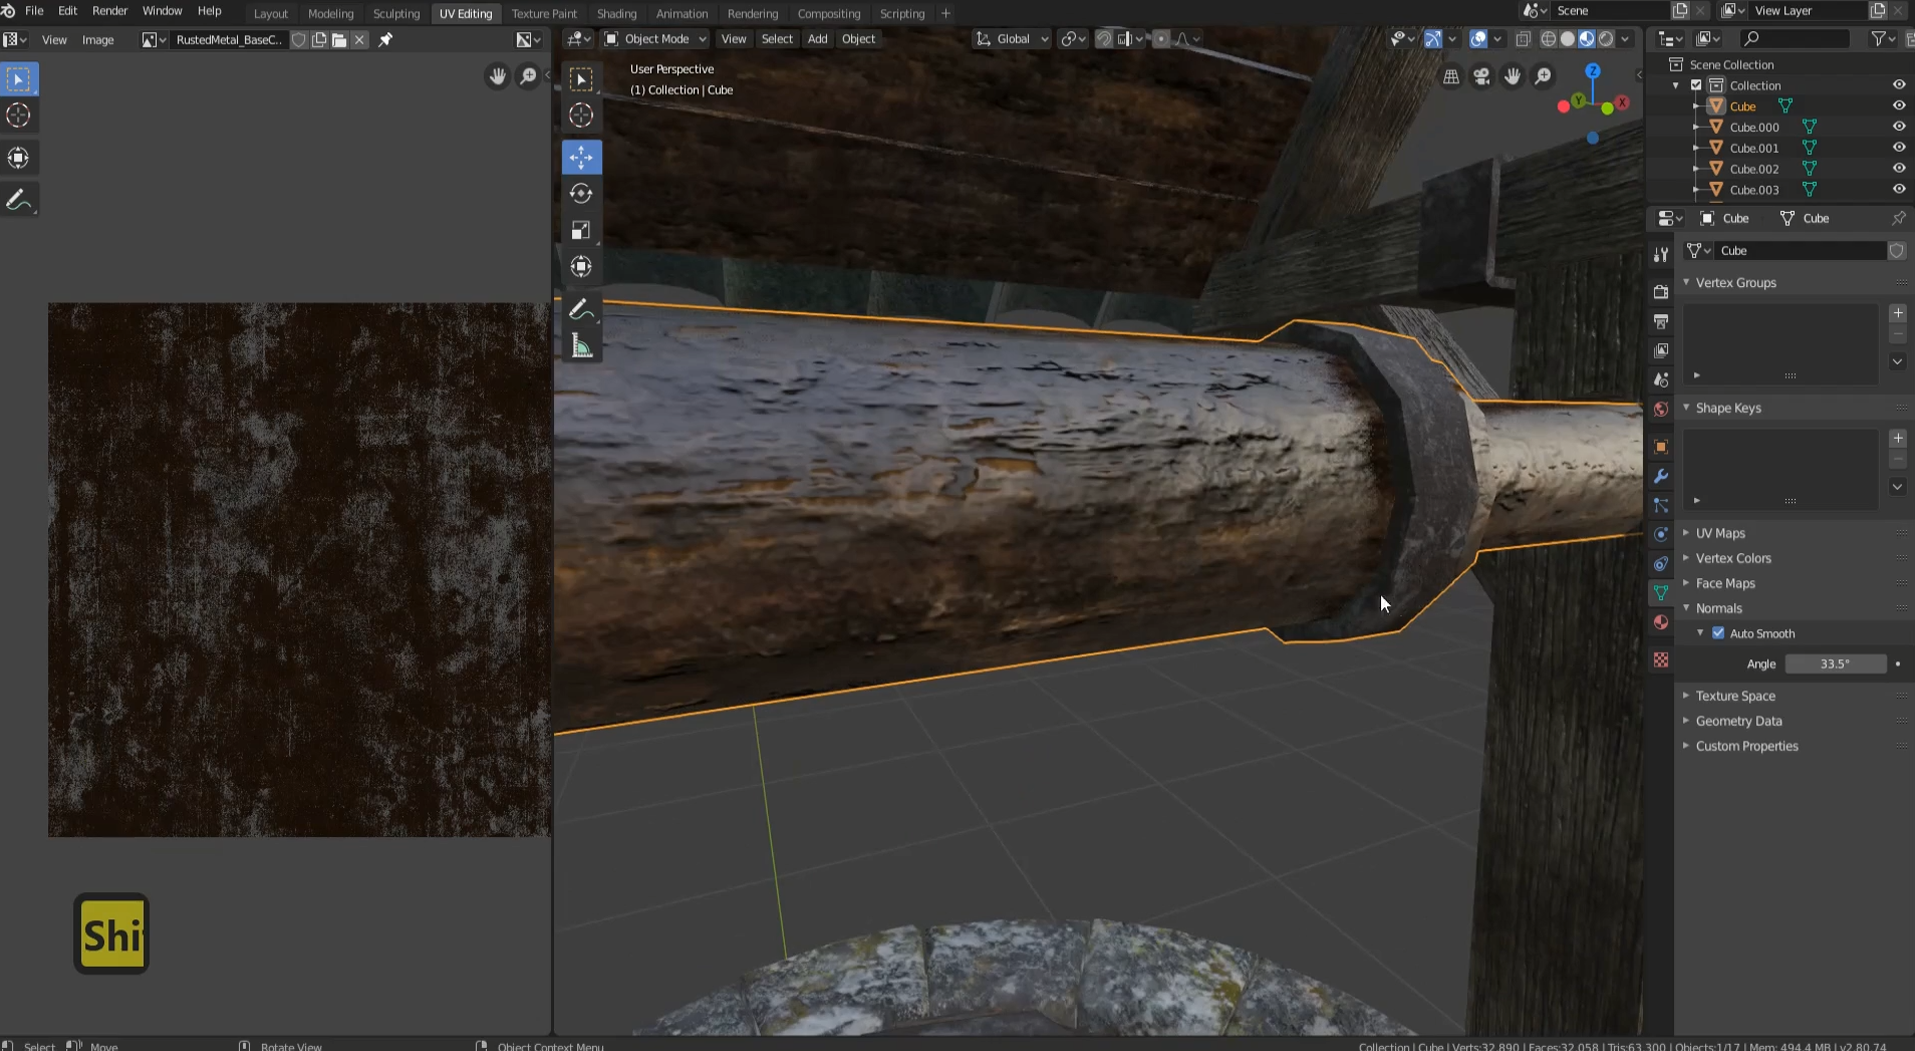
- Lesson 13 focuses on increasing the realistic feel of the well mechanism without impairing its intended function. We also look at re-topology and I will show you how to optimise polygons not only for faster renders but also for efficient use in gaming engines.
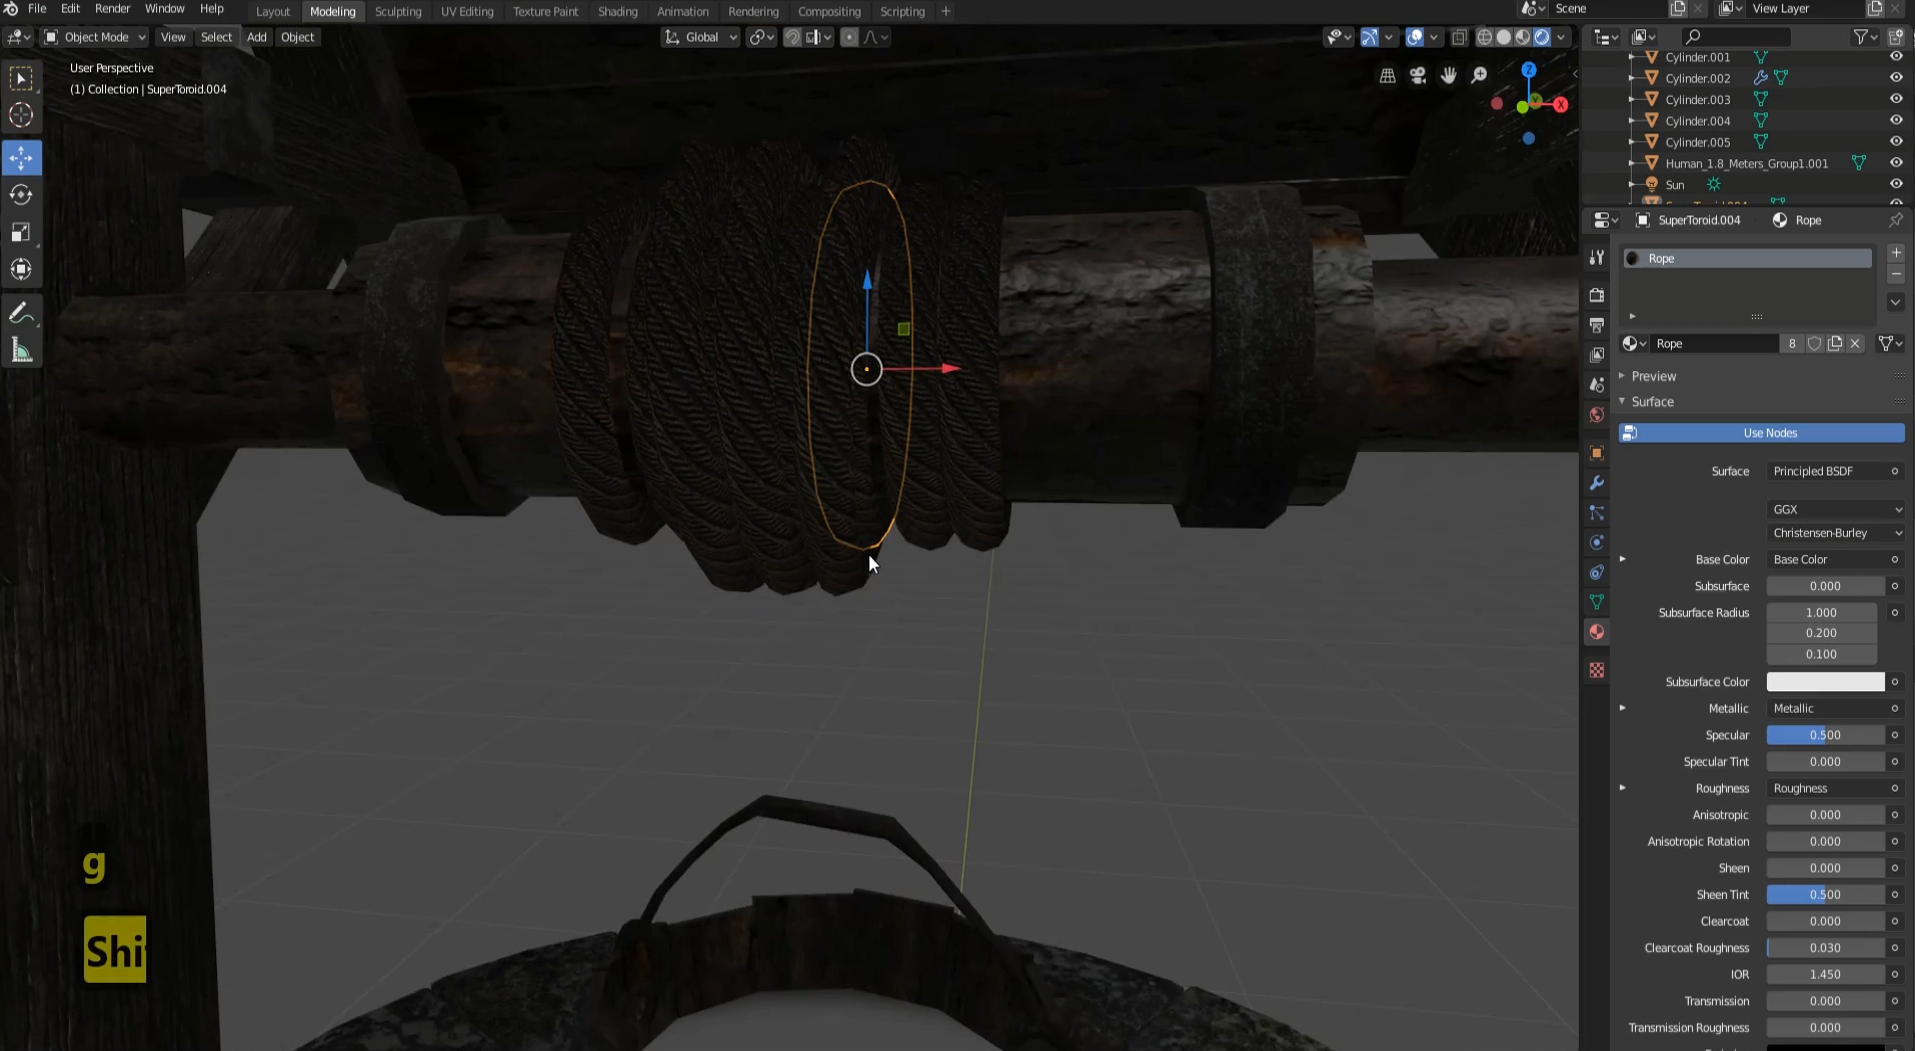
Lesson 14 follows on from the previous lesson and in it, I am dedicated to showing you how to make the rope and hook that connects the well mechanism to the bucket. We are now adding the final details to our model, and the rope, like the rest of the build, is built to a high level of modeling. As we finish this lesson, you will wonder how you accomplished so much in a few hours.
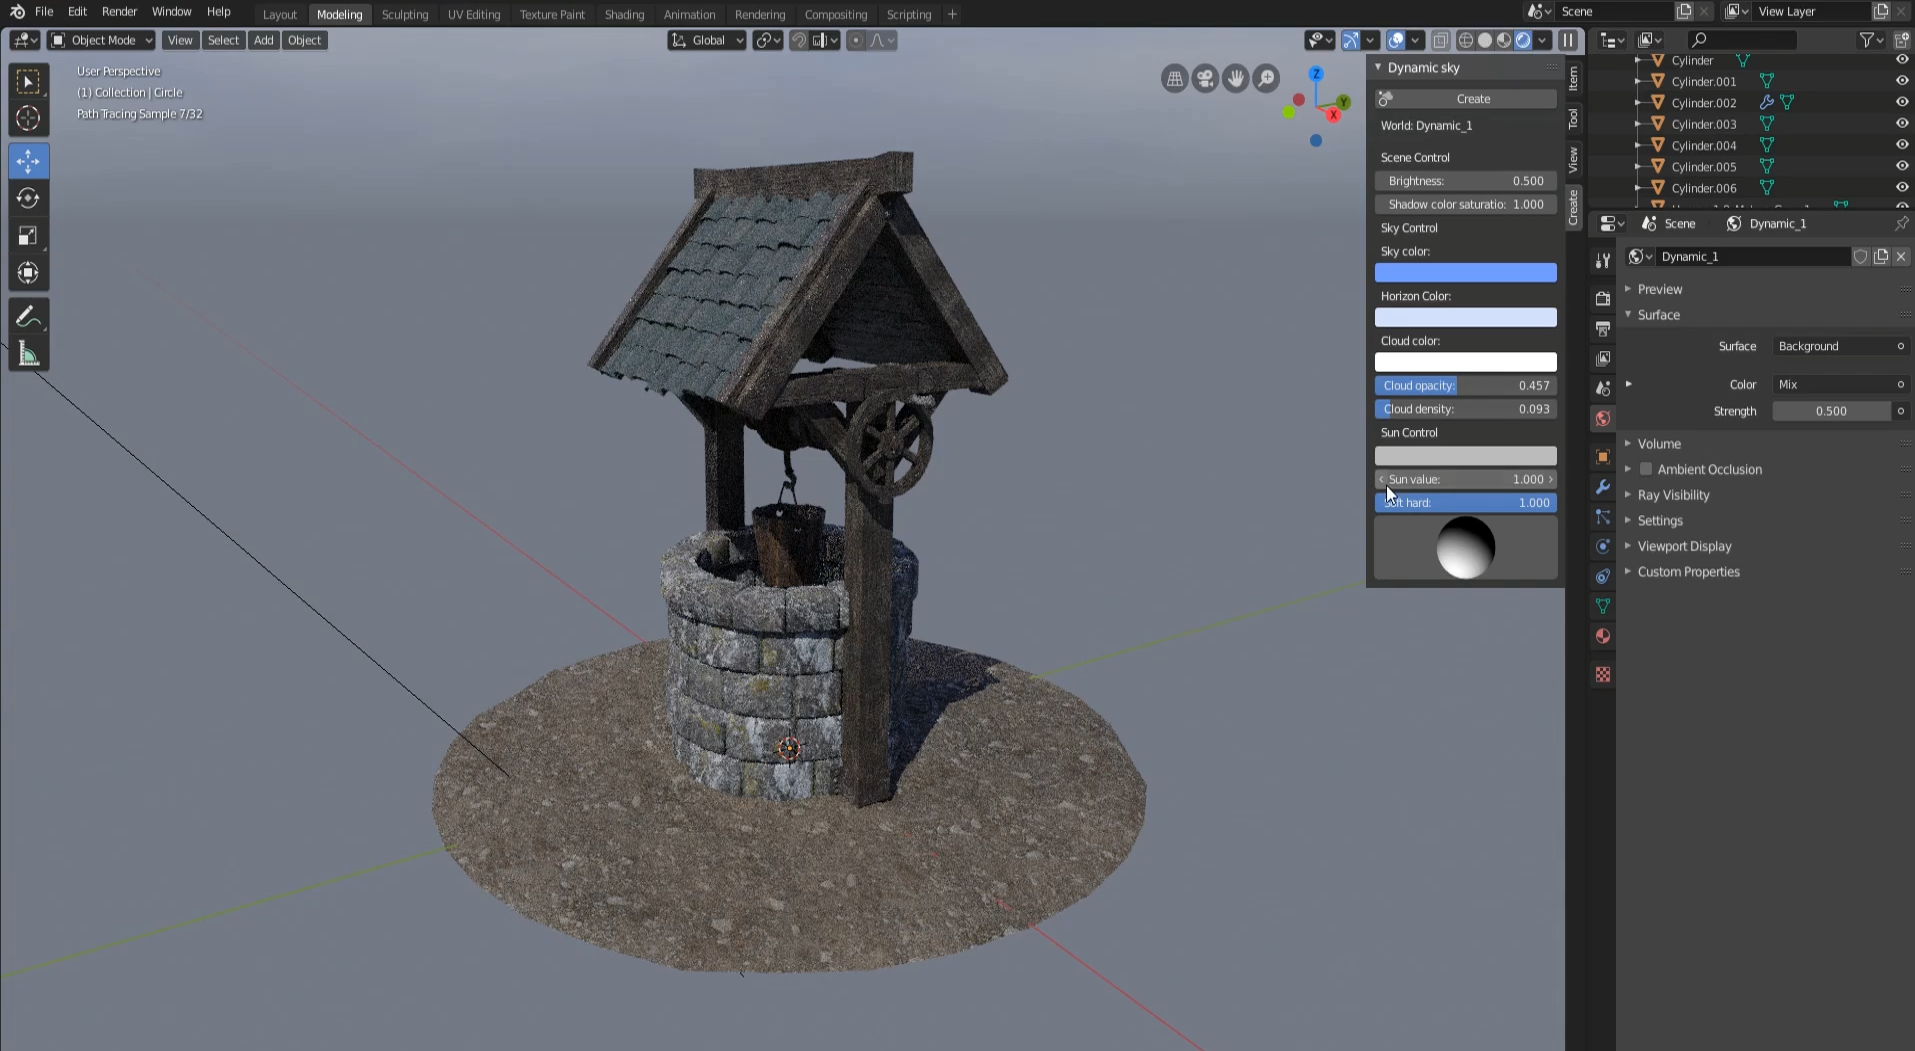
The course comes to an end with lesson 15, where we perfect your model. We look at everything from the soil to the sky. A big part of this final lesson involves lighting the scene and rendering it out in Blender 2.8 step-by-step. While we look at the details of setting up a scene for a render, I will show you ways to really make our 3D game model pop.
Please enroll and join me on this journey to making a game-ready medieval well and starting your 3D modeling adventure.
Happy modeling everyone!
Neil 3D Tudor
Discover more products like this
modelling summer21 bucket bcon22 video training moss beginner summer24 Lighting summer23 video eso video tutorial bfcm19 3d tudor course retopology mobile guide summer20 low poly spring23 witcher bfcm21 spring24 loveblender tutorial Render winter24 Material spring20 medieval Warcraft bfcm20 bfcm23 Game Cycles bfcm24 Texturing warhammer eevee Water uv cobblestone unwrapping training spring21 bfcm22 stone 3dtudor


